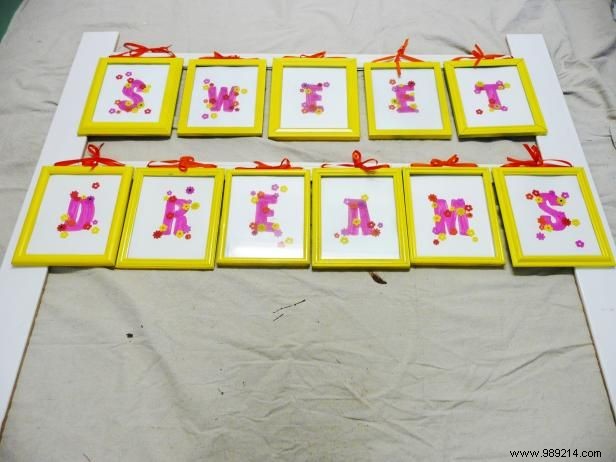
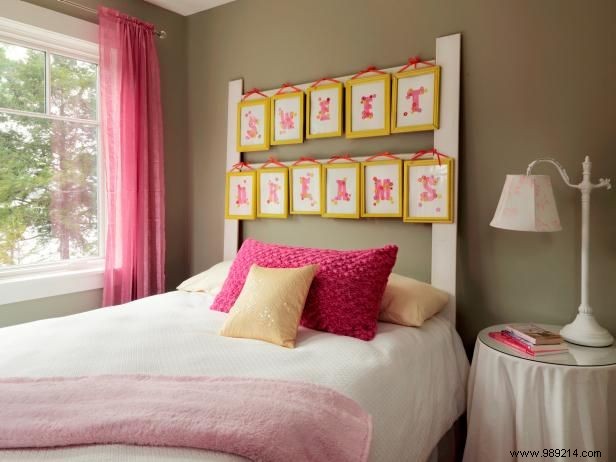
This budget-friendly project transforms thrift store finds into a stunning headboard. Picture frames were sourced affordably from a local thrift store, while the frame itself was built from scrap wood. We spelled out "Sweet Dreams" and accented each letter with flowers. Personalize yours with a custom message or your child's name.
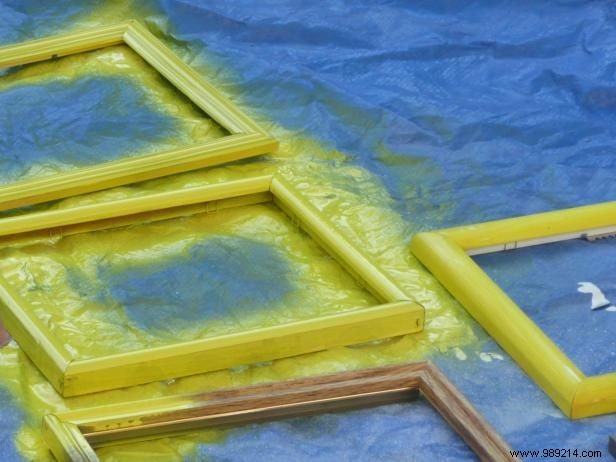
Remove the glass and backing from the photo frames. Paint all frames the same color—we used yellow. Apply two coats for full coverage if needed.
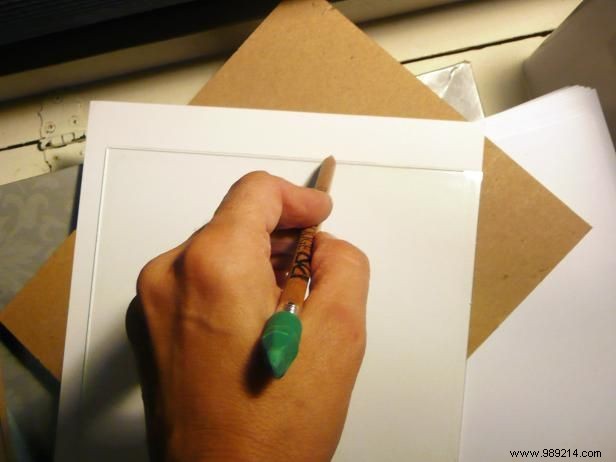
Cut cardstock to fit perfectly inside each frame. Print large letters from your computer, trace onto the paper, and color them. Let dry, then add flower stickers around each letter.
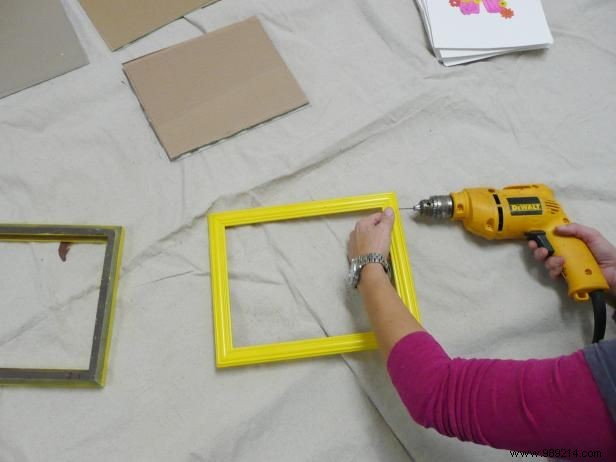
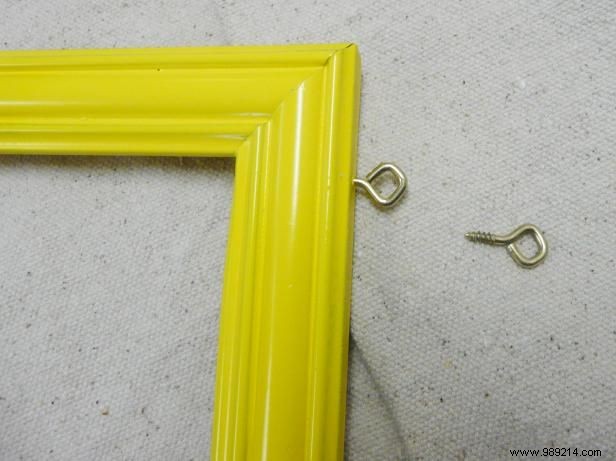
Use a small drill bit to make two holes at the top of each wooden frame. Screw in small eye bolts.
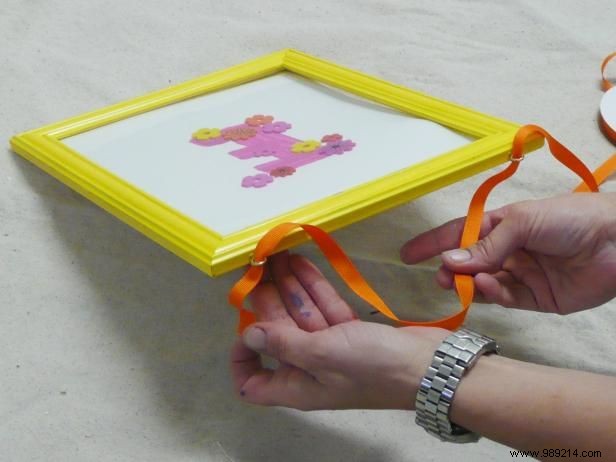
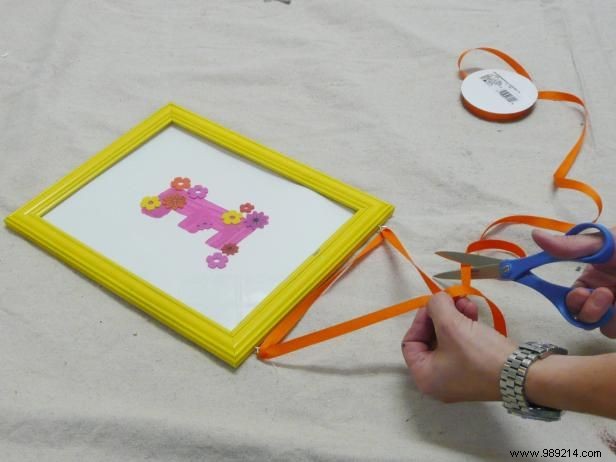
Place the cardstock and glass back in the frames and secure. Thread ribbon through each eye bolt, tying in the center. Make all ribbons the same length.
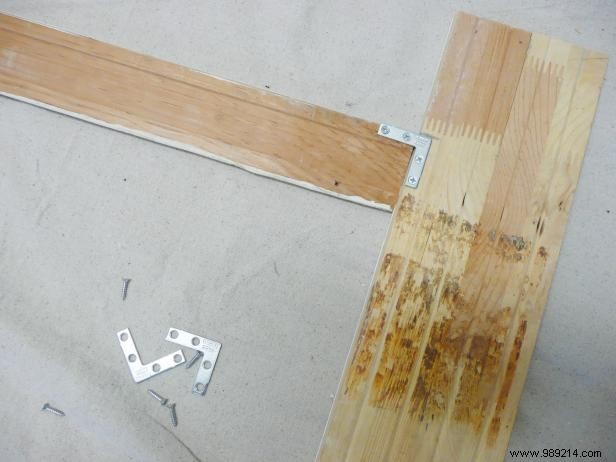
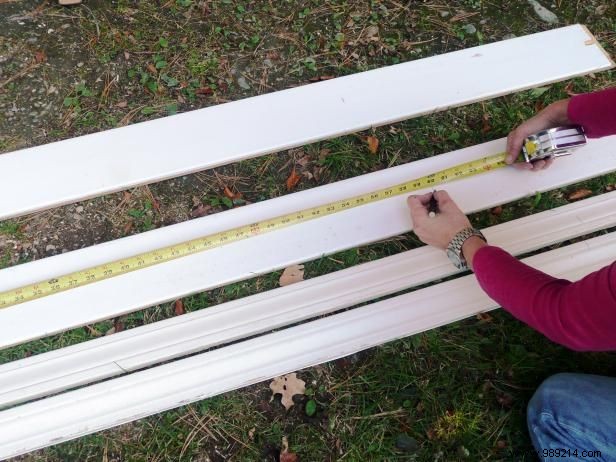
Construct the frame from wooden boards: cut two at 50 inches for horizontals and two at 60 inches for verticals. Paint if desired. Attach horizontals to verticals on the back with L-brackets.
Arrange frames as desired. Pull ribbons to center and mark nail spots on horizontal pieces. Hammer nails into marked locations.
Photos: Susan Teare. Design: Joanne Palmisano.
Secure the wooden frame to the wall, nailing into studs. Countersink nails, fill with wood putty, and paint. Hang frames from the nails.
Joanne Palmisano is the author of Salvage Secrets (W.W. Norton, September 2011). Visit her blog, also called Salvage Secrets.