Family Encyclopedia >> Home & Garden

DIY Driftwood Serving Tray on Wheels: Easy Step-by-Step Guide

DIY Driftwood Serving Tray on Wheels: Easy Step-by-Step Guide

By Susan Teare

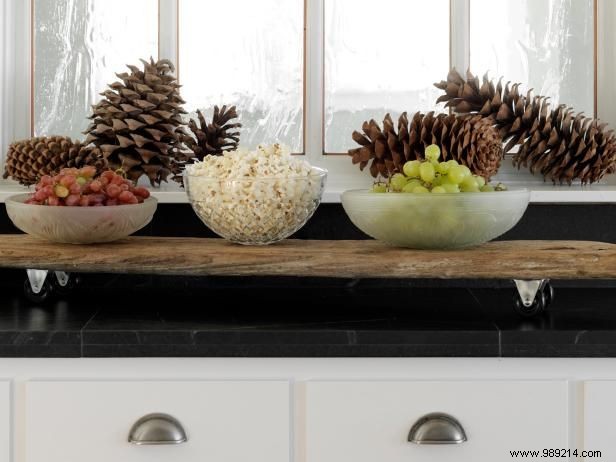
This straightforward DIY project creates a rustic serving tray perfect for snacks, fresh fruit, or displaying favorite trinkets. With years of crafting experience, I've found guests admire the handmade details as much as the treats it holds.

Materials and Tools

  • Phillips head screwdriver
  • Vintage glass shades with holes in the center
  • Recycled cabinet knobs that screw on
  • Piece of reclaimed wood or driftwood
  • 4 wheels with hardware brackets
  • Wood sealant

Prepare the Materials

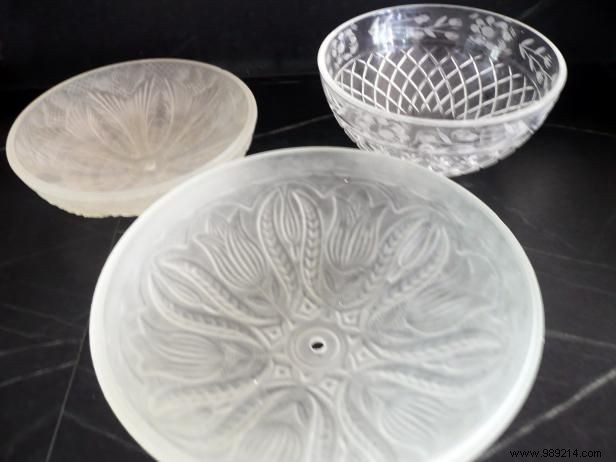
Wash the glass shades with hot soapy water and dry thoroughly. Clean and seal the wood piece—for authentic charm, we used driftwood found floating in a lake.

DIY Driftwood Serving Tray on Wheels: Easy Step-by-Step Guide

Attach the Wheels

Secure the wheels to the wood's underside using a screwdriver or hole punch gun. Ensure they are evenly spaced and level for smooth mobility.

Position the Glass Shades

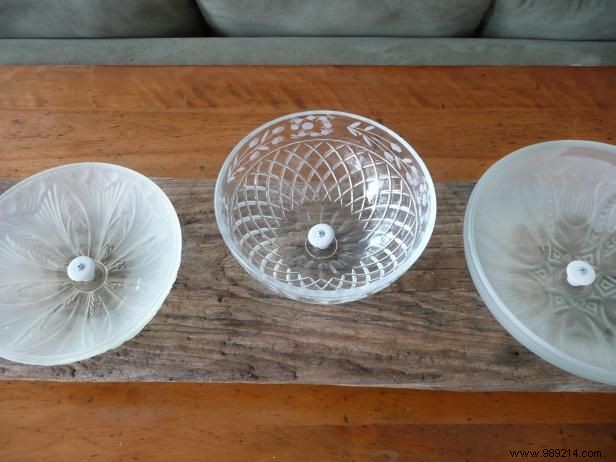
Arrange the serving bowls (glass shades) on the wood to finalize their placement.

DIY Driftwood Serving Tray on Wheels: Easy Step-by-Step Guide

Secure the Shades to the Wood

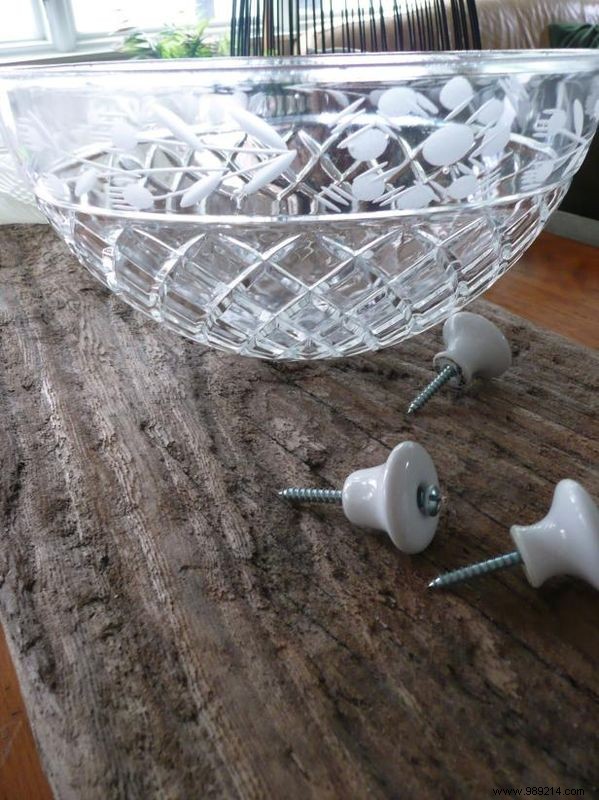
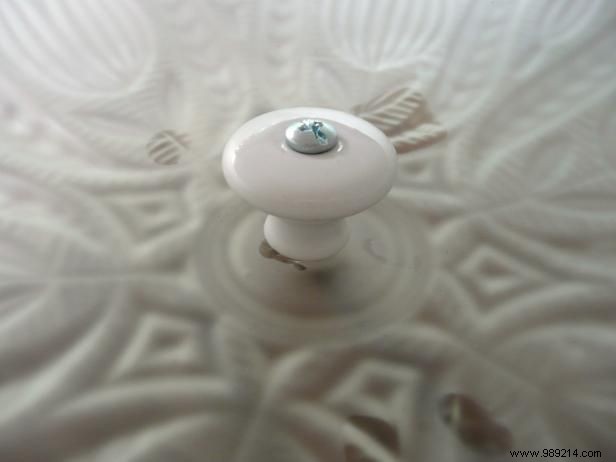
Insert knobs through the holes in the glass shades and screw them into place for a sturdy hold.

DIY Driftwood Serving Tray on Wheels: Easy Step-by-Step Guide DIY Driftwood Serving Tray on Wheels: Easy Step-by-Step Guide