Begin by applying polyurethane to all cut edges and your 2x4 stock for protection and a smooth finish. Next, carefully remove existing trim. Score the tops of the baseboards with a utility knife to break the paint seal and caulk. Use a pry bar and hammer to gently pry off the baseboards. Then, remove any decorative trim near the ceiling using the same pry bar.
Head to the window and score the caulking joint around the sill. Carefully pry it off—this will be replaced with a custom wooden sill that matches your rustic theme. Finally, remove the casing around the doors.
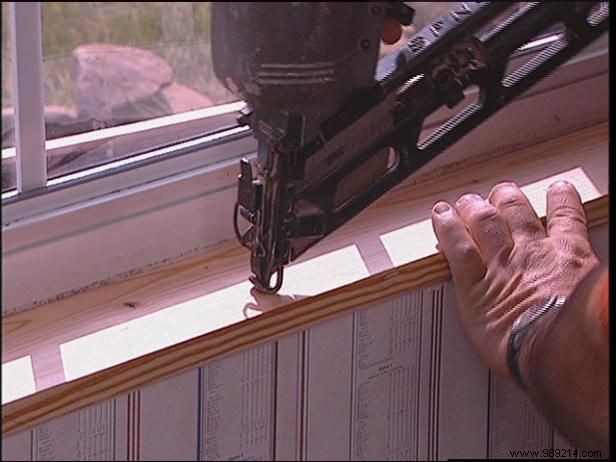
In a typical project, trim goes last, but here we install it first so the wood paneling can butt neatly against it. Measure the window's inside dimensions: width, sill depth, and side heights. Cut 1x6 pine boards to length, ripping them to the required depth on a table saw. Position and secure the new sill with 2-1/4-inch nails. Attach the top apron, then the side pieces, wrapping the window interior. For the exterior, measure outside dimensions and cut 1x4 ribbed casing. Align it with the sill, maintaining a 1/4-inch reveal, and nail in place.

Measure and cut the side trim pieces, installing them as before. At the top, align the mitered corners precisely and nail them securely. For extra strength, add nails where the corners meet on the sides.
Install the door trim starting with the inside corner blocks (plinths). Measure their length and width, cut to size, and rip on the table saw for a perfect fit. Secure them to the door frame using a nail gun. With sides in place, measure, cut, and nail the top header. Finish by cutting and nailing the front jamb trim.