Refresh your wall decor on a budget by sourcing wooden objects from thrift stores, garage sales, or your own collection. Varying shapes, sizes, and proportions add visual interest. Unify them with a whitewash finish for a cohesive, professional look.
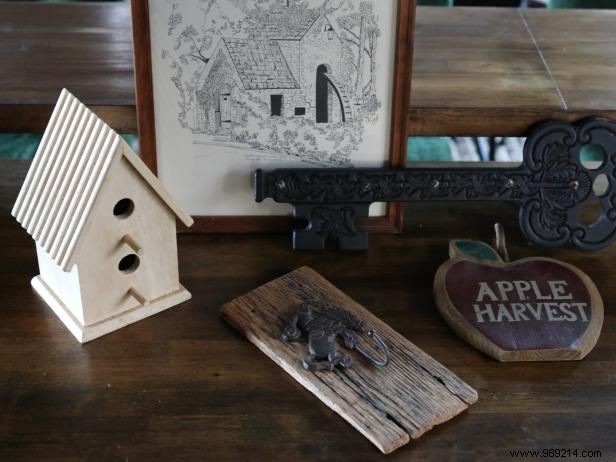
Choose solid wood pieces over veneer, which sands poorly and won't hold the finish well.
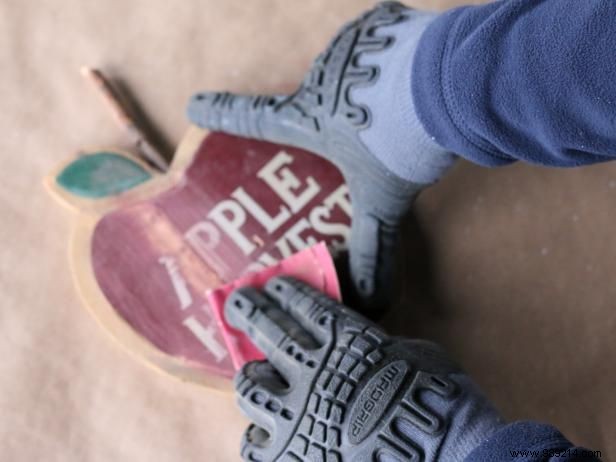
Colorful painted finishes must be stripped before whitewashing, or colors will bleed through. Use fine-grit sandpaper with a sanding block or orbital sander to fully remove old paint.
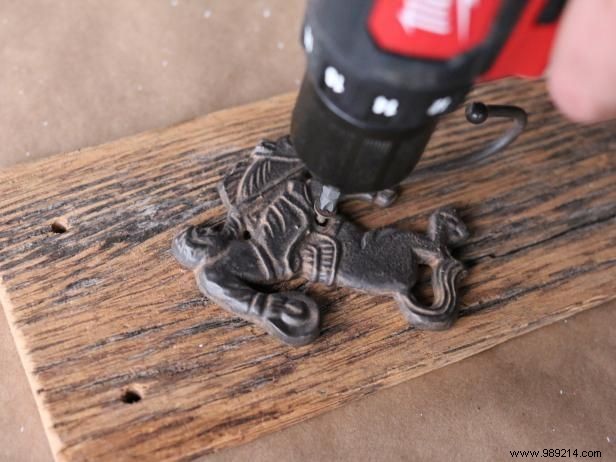
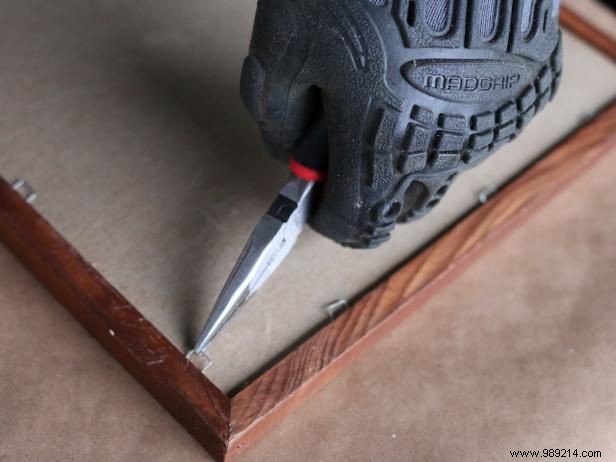
Whitewash excels on wood but not metal, ceramic, or stone. Detach ornaments or trim before applying, then reattach after drying. For picture frames, remove the back panel, art, and glass using needle-nose pliers or a drill—far easier than masking.
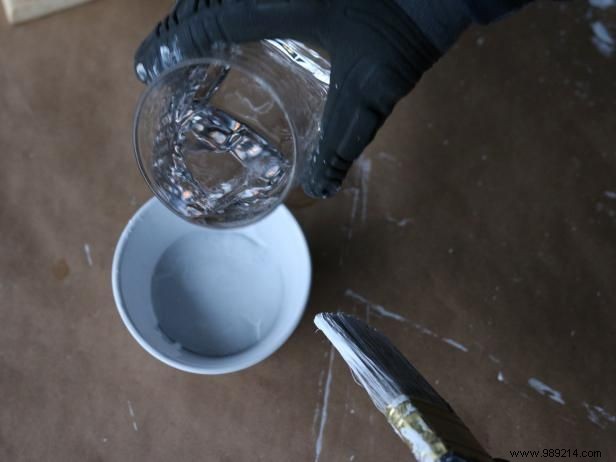
Mix two parts white latex paint with one part water. Dip your brush, stir until smooth, and apply. Its milky texture can create bubbles on smooth surfaces—brush them out for an even coat.
On smooth surfaces, watch for bubbles from the milky mixture. Brush evenly to smooth them and achieve uniform coverage.
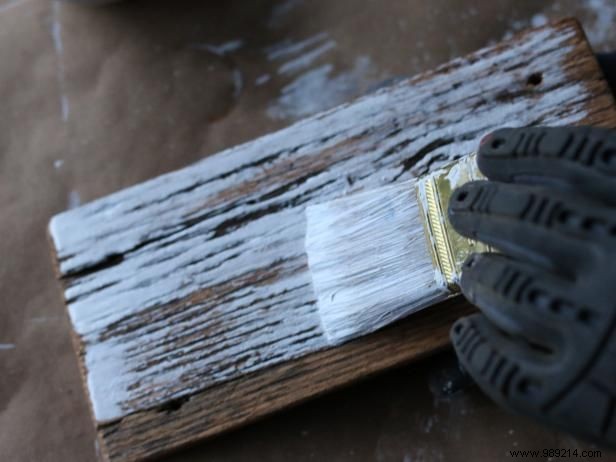
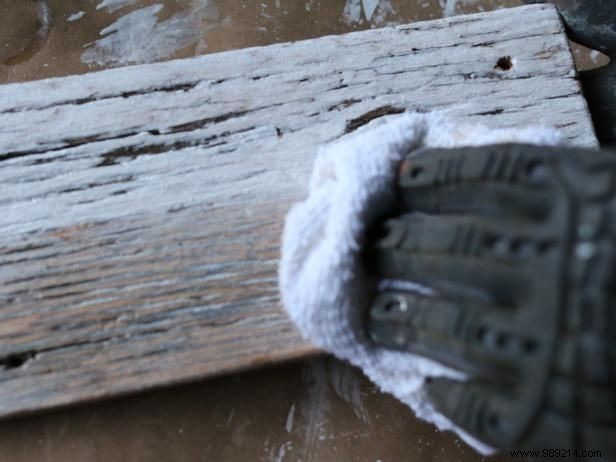
Rough, rustic wood absorbs whitewash quickly—double-load your brush for full coverage. These surfaces dry fast, so use long strokes. After applying, wipe with a damp cloth to let the grain show through for an authentic, organic finish.
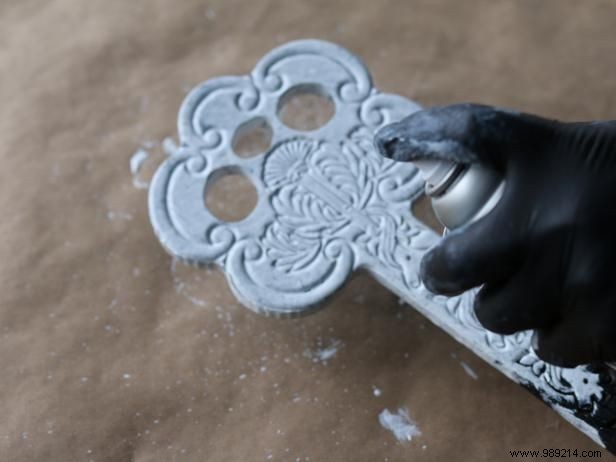
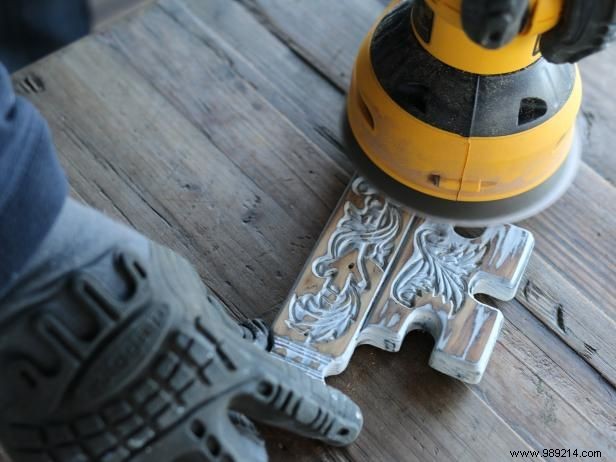
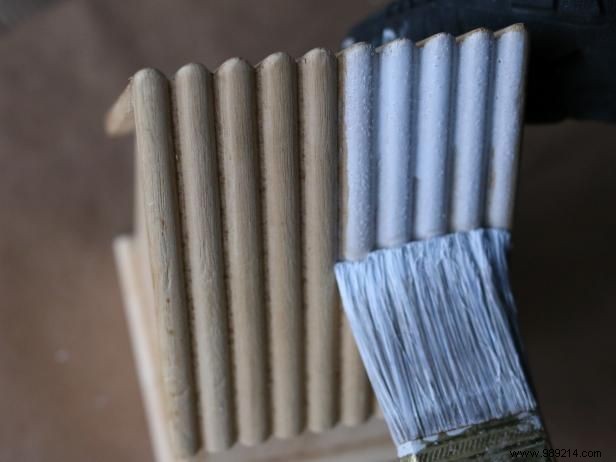
For carvings, spray with flat white spray paint to fill crevices. Once dry, use an orbital sander with fine-grit pads, moving randomly to distress the surface for a whitewashed, aged effect.
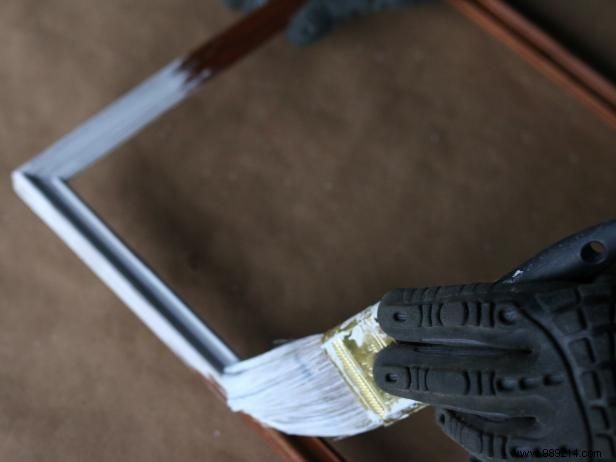
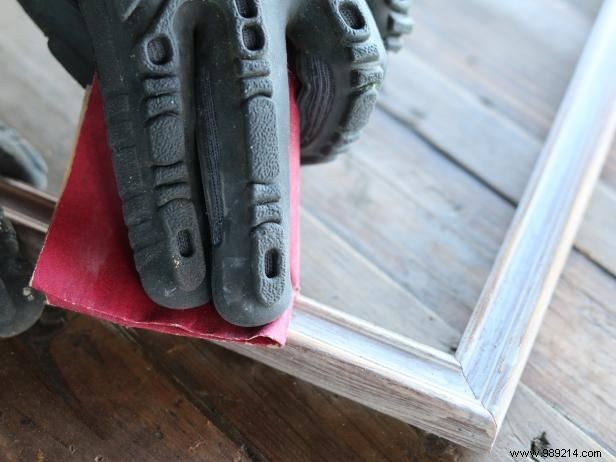
Apply a light brush coat to 80% opacity, working end to end. After drying, lightly sand edges with fine-grit paper for a naturally aged, worn appearance.