As a seasoned DIY crafter with years of experience creating retro holiday decor, I've mastered this striking giant mid-century modern Christmas ornament. Add an atomic-age glow to your celebrations—display one or more of these fringed onion dome ornaments on a credenza or mantel, or hang them in a window.
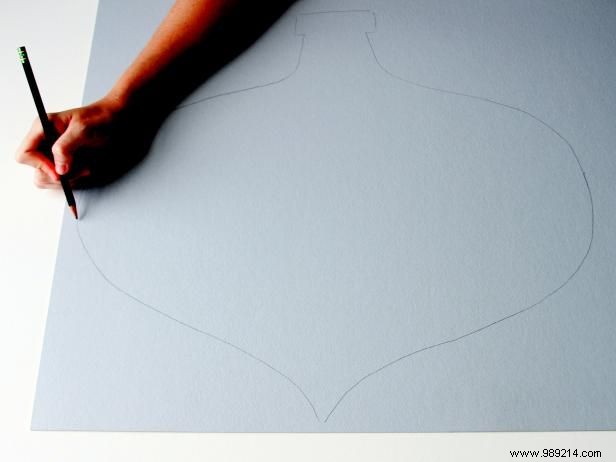
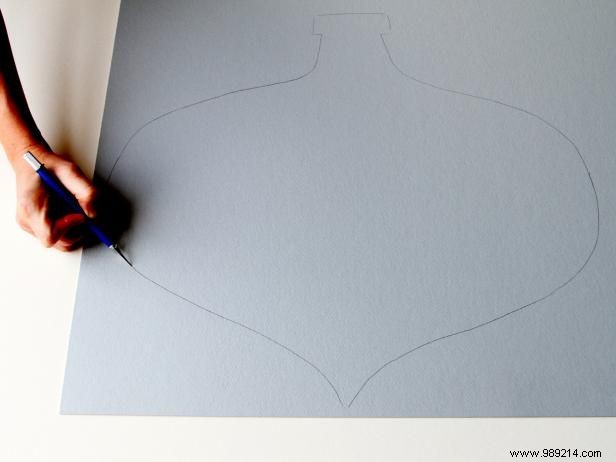
Sketch a large mid-century-inspired ornament shape (1 to 2 feet across) on sturdy cardboard or foam core. If freehand drawing feels tricky, search online for a template or pattern to trace.
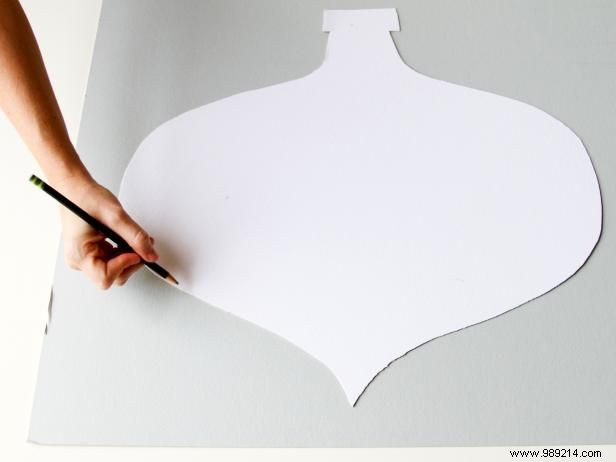
Use a utility knife to carefully cut out the shape from the cardboard. Place a cutting mat or scrap board underneath to protect your work surface.
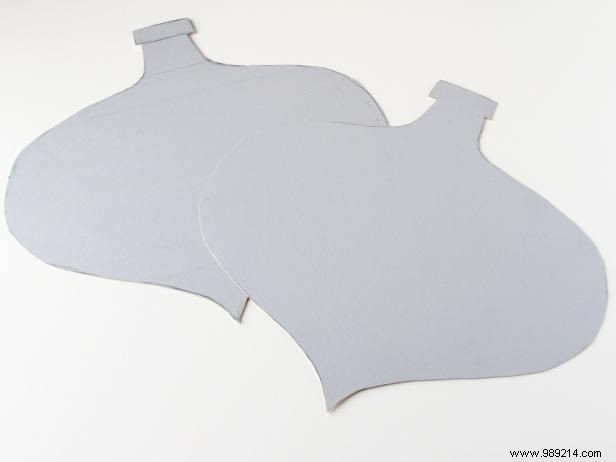
Flip the ornament shape so the clean side faces down. Trace it onto a second piece of cardboard, then cut it out with the knife. Now you have two identical ornament halves.
For the ornament's sides, use a ruler to draw long rectangular strips about 3 inches wide on your cardboard. Cut several as needed based on your ornament's size.

Place one ornament half face-up. Secure the strips to its edge with masking tape, applying it to both the inside and outside. Follow the curves closely for a seamless fit.
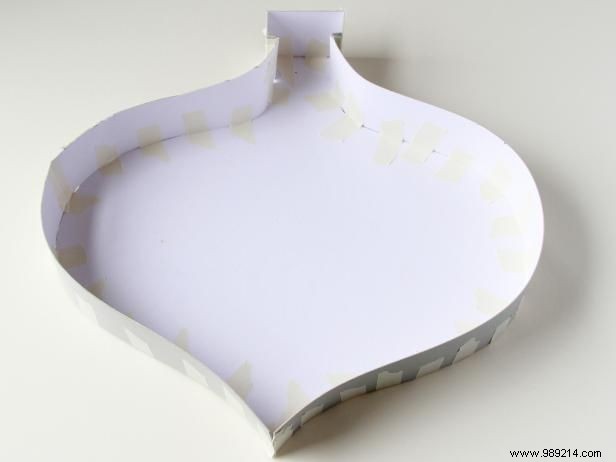
An extra pair of hands makes this easier—one person tapes while the other holds the strips flush. Multiple strips may be needed for the sides, but they'll be hidden once assembled.
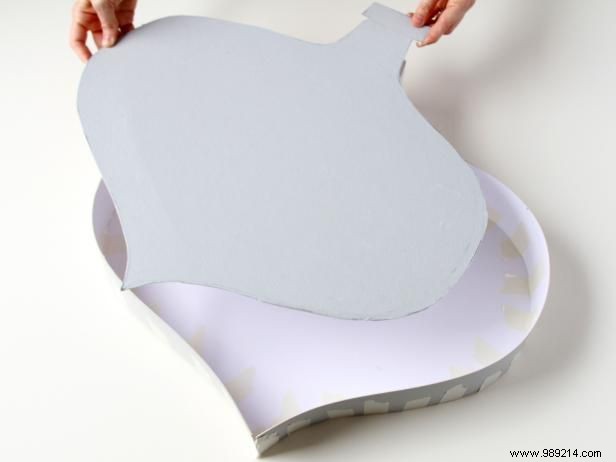
Position the second ornament half on top and secure it with more masking tape, completing the 3D structure.
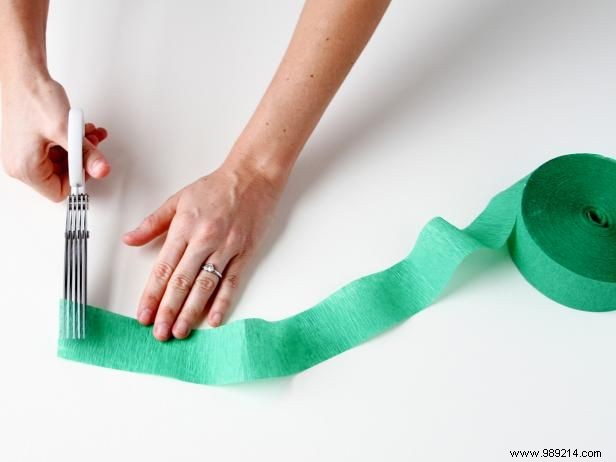
Use fringe scissors on a roll of streamer paper, leaving 1/4 to 1/2 inch uncut at the top for stability.
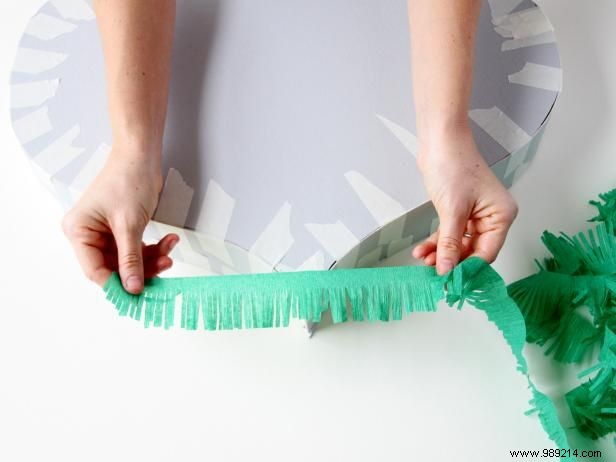
Add a drop of glue to the ornament's bottom edge and the top of the fringed strip. Press the fringe onto the glue line, wrapping fully around before trimming excess. Repeat 1/2 inch apart for layers.

Midway through, switch to a contrasting color or metallic fringe for visual interest. Continue layering with the original color until fully covered. Your retro ornament is complete and ready to shine!