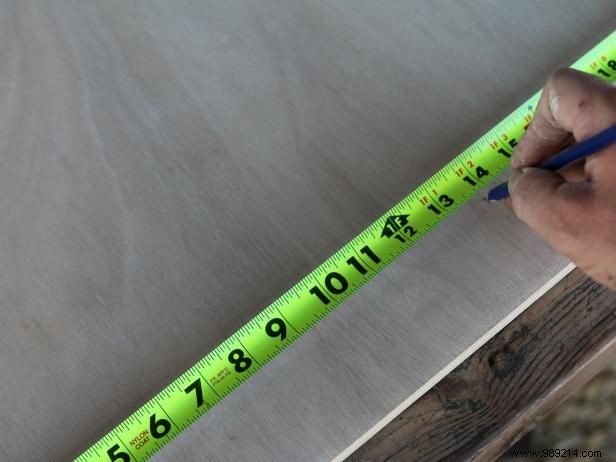
As a DIY expert with years of hands-on crafting experience, I recommend measuring the desired height and width for each number. Use a tape measure and pencil to mark the plywood precisely—these lines ensure accurate sizing when cutting.
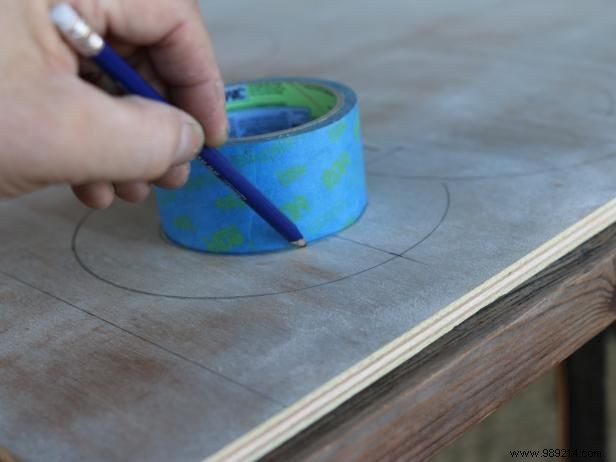
For sharp edges, print numbers on paper, cut them out as templates, and trace onto plywood—or freehand draw them directly. For perfect circles, trace round objects like bowls (6" to 12" diameter) or use painter's tape as a guide.
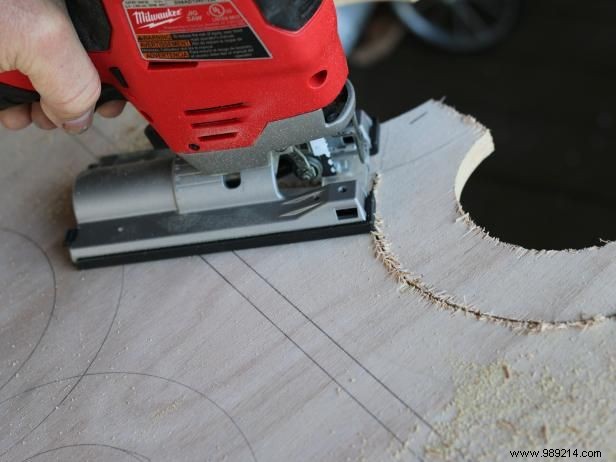
Once traced, guide a jigsaw along the outline to cut each number precisely from the plywood.
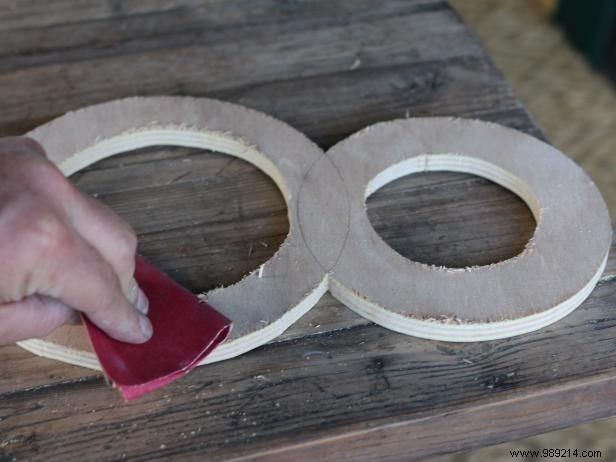
Smooth all edges with sandpaper and a sanding block for a professional finish and safe handling.
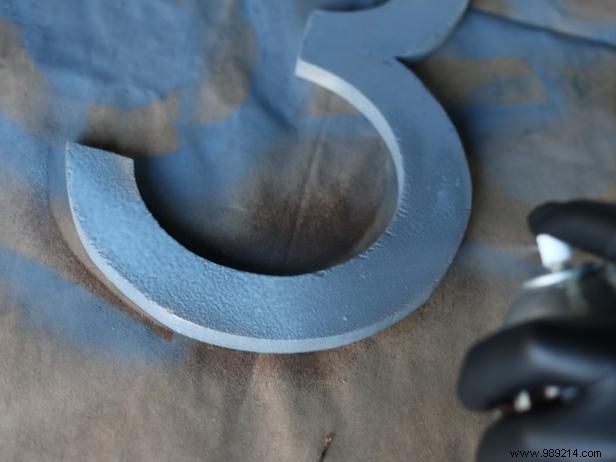
To ensure moss adheres well, prime the plywood surface. Lay numbers on kraft paper, hold the spray primer 8 inches away, and apply in even, controlled bursts.
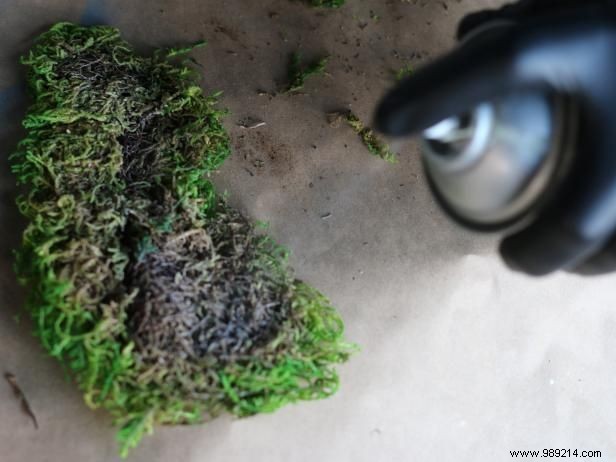
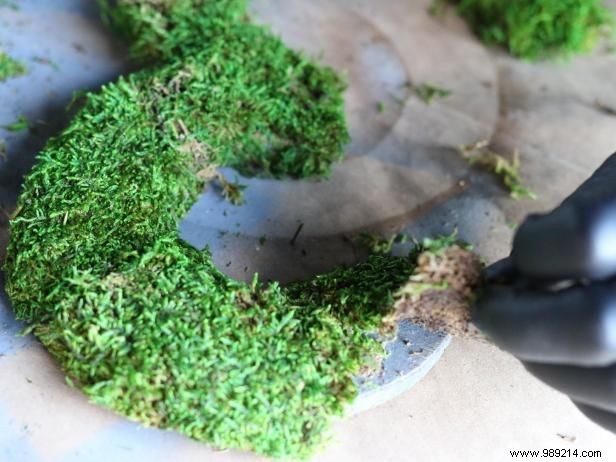
Once primed and dry, spray adhesive on the bottom of the moss (hold can 8 inches away, moving in even sweeps). Press moss firmly onto the front and sides of each number until fully covered.
Rustic Blank Photography, LLC
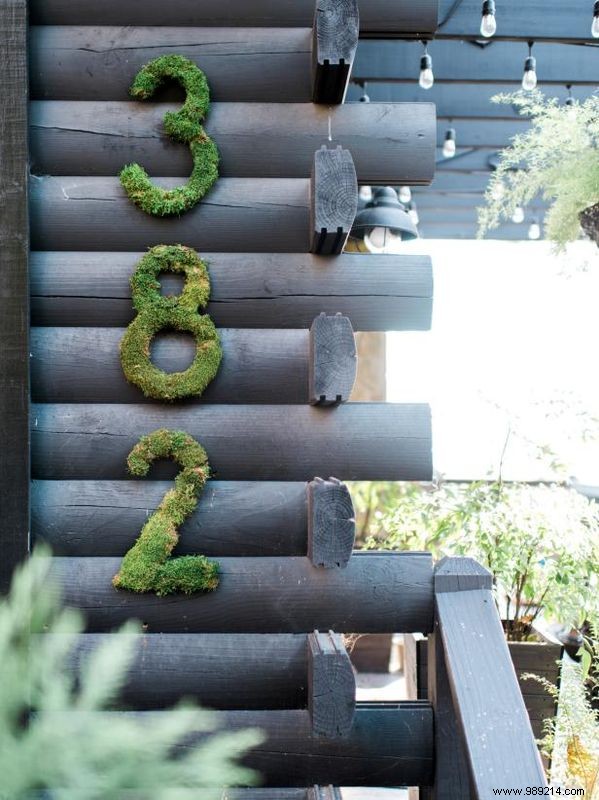
Position numbers on your house's exterior wall. Drill and drive 2” wood screws through each one to secure firmly. Patch or trim moss over screw heads for a seamless look. Maintain by misting with water when dry.