As a seasoned DIY crafter with years of creating standout Halloween displays, I recommend this simple, budget-friendly project that's perfect for family involvement. Source a thrift store frame, wrap it with string and cotton for a realistic spider web effect, then add spiders and a "Welcome" message for an inviting yet spooky porch greeting.

Apply a coat of black paint to the frame and let it dry thoroughly.

Hammer small wire nails along the back edge of the frame, ensuring they protrude only about 1/4 inch. Place felt pads on the back corners to protect surfaces from scratches.
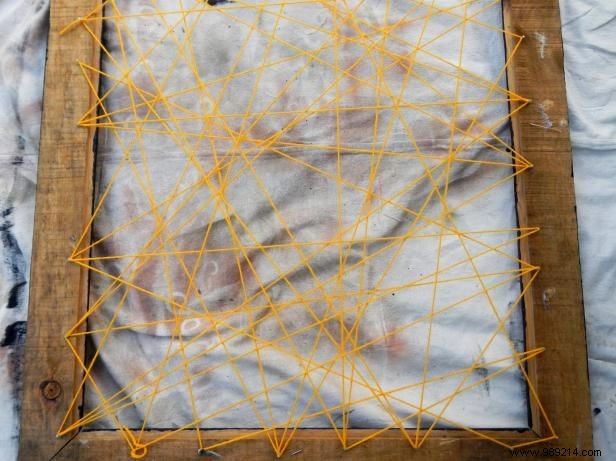
Weave yarn back and forth around the nails in a random crisscross pattern. Tie the yarn periodically to hold it in place.
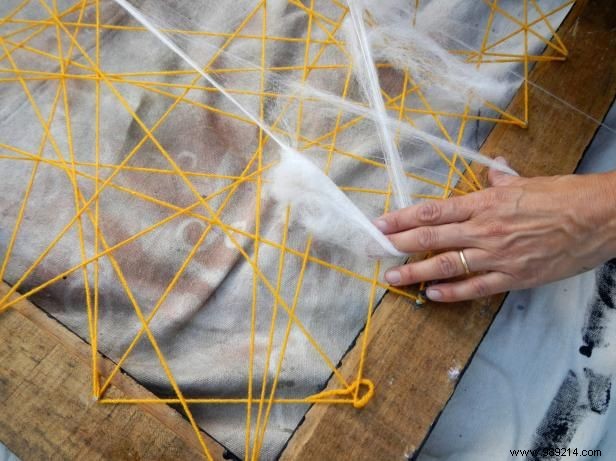
Stretch white cotton material behind the yarn web, securing it along the same nails for a ghostly cobweb layer.
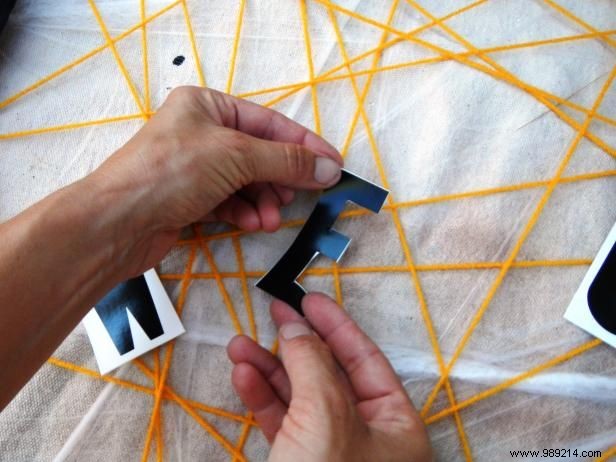
Hang self-adhesive letters spelling "Welcome" in a random yet readable pattern on the web threads. Or print your message on sticky paper for a custom touch.
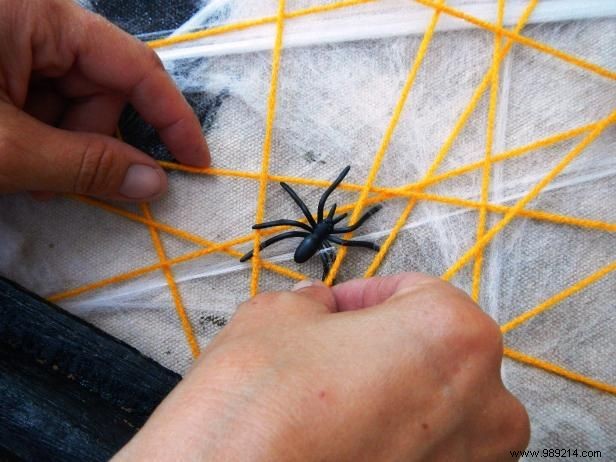
Place plastic spiders across the front, tucking them into the threads and cotton for a lifelike creepy effect.