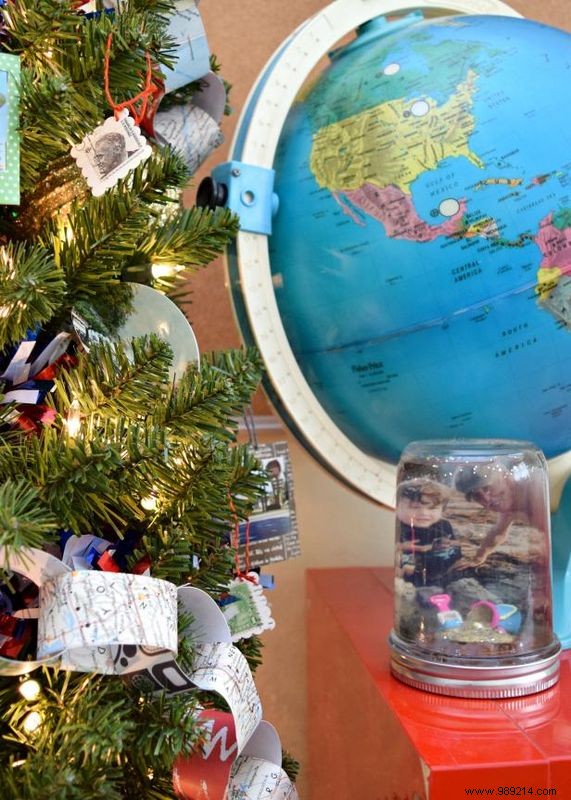
Make the best keepsake of your vacation, a personalized snow globe with your vacation photos stuffed inside.
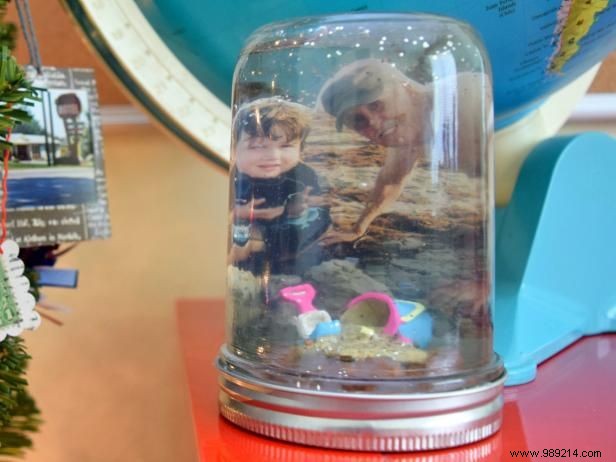
Whether you want to remember a trip around the world or a trip to the neighborhood pool, these DIY snow globes are perfect for displaying your photos. Think of them as picture frame dioramas with glittery falling snow.
In this episode of DIY this with Jennifer Perkins You can see more on how to make a mason jar snow globe.
Jennifer perkins
Jennifer perkins
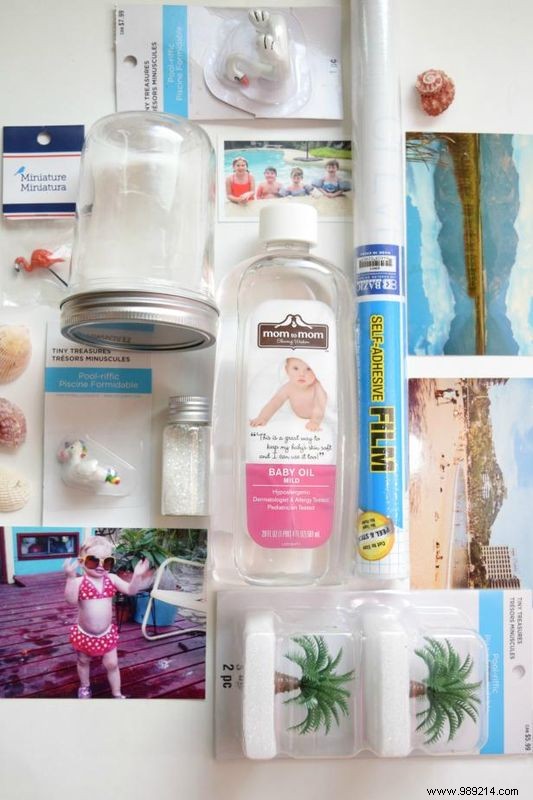
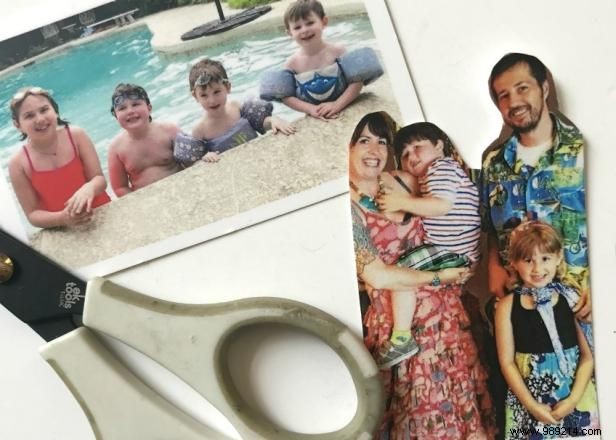
Choose a photograph for the project. You may need to resize the photo to fit inside the jar you plan to use. Crop along the edges of the people in the photo to make them more of a silhouette.
You will need to laminate your image if you want to use water in the snow globe. You can use a rolling machine; if you don't have one, most print shops can laminate it for you.
Make sure the edges of the photo are well laminated. This is important so you don't break the seal around the edge of the photo.
If you want your snow globe to have a background, laminate a postcard so it stays inside as a background.
Jennifer perkins
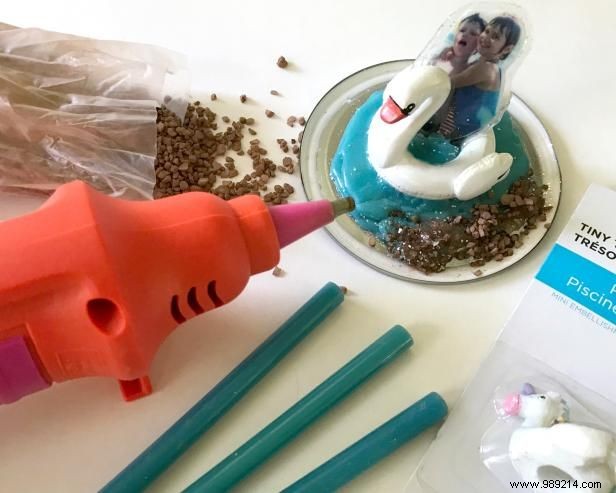
Use the jar lid to create a scene with laminated photography, gravel, miniature pool floats, and maybe a blue hot glue backdrop. Attach everything using clear hot glue.
Jennifer perkins
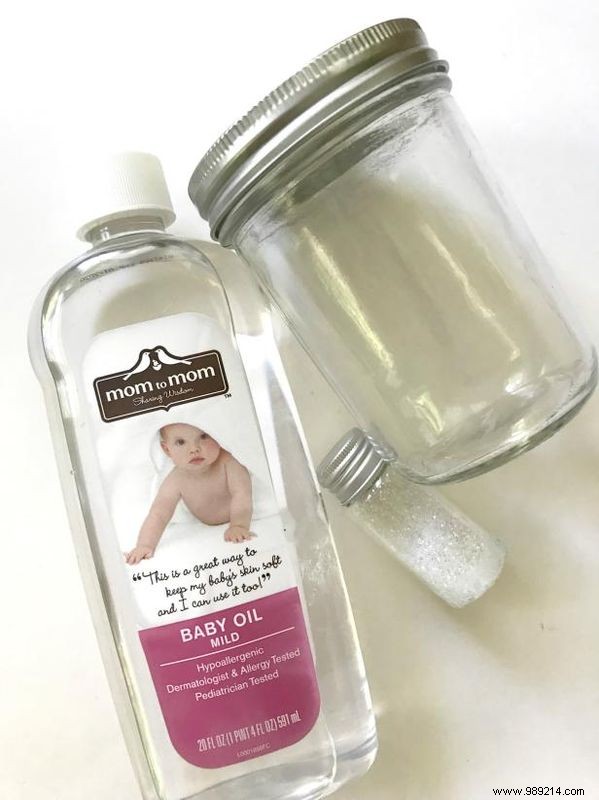
Fill your pitcher almost to the top with distilled water. Add a pinch of glitter for the fake snow. A few drops of baby oil or glycerin will help keep your shine buoyant for longer.
Jennifer perkins
Screw the cap on tightly. Shake up your new DIY snow globe photo frame and enjoy.
Skip the water and try to make a Holiday Theme Holiday Snow Globe Photo Frame.
Continue reading