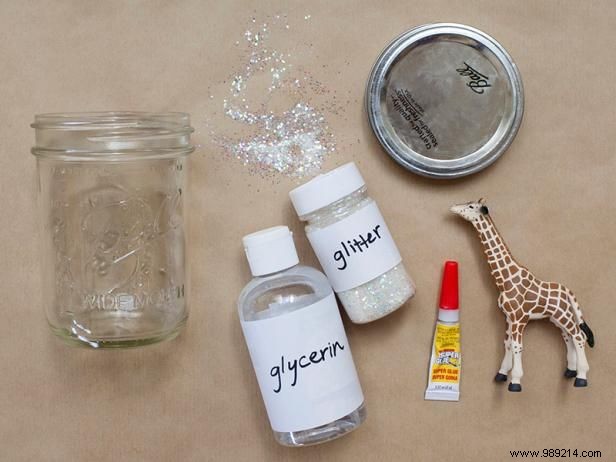
Select an animal figurine or plastic toy to feature prominently in your glitter snow globe.
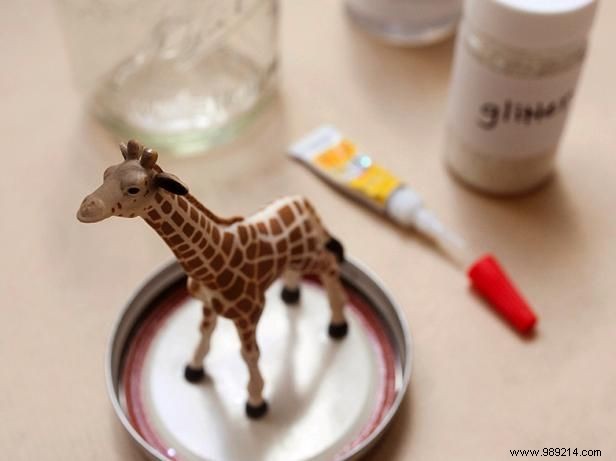
Apply super glue, epoxy, or another waterproof adhesive to secure the figurine to the inside of the mason jar lid. Position it centrally for a balanced fit inside the jar. Allow it to dry fully, following the adhesive's instructions.
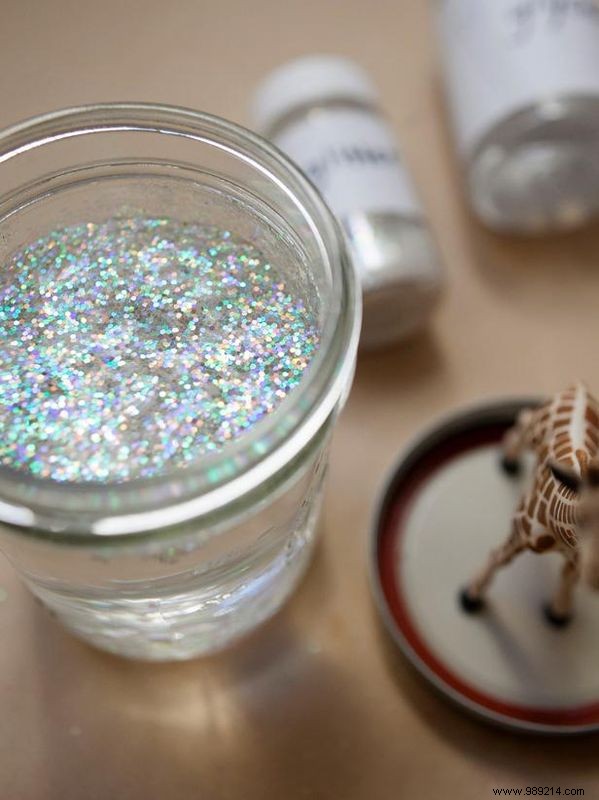
Fill the jar almost to the brim with water, ensuring the figurine's head will be submerged once sealed. Add a few drops of glycerin and stir in your preferred amount of glitter for that magical slow-fall effect.

Buff Strickland Photography
Apply waterproof glue to the inner edge of the lid's metal ring and attach the jar lid; let it dry. Then, run a thin line of waterproof glue along the inside rim of the lid and screw it tightly onto the jar. Allow complete drying before flipping and shaking to reveal the sparkle.