Illuminate your walls with the magic of glowing zodiac constellations using this straightforward, rewarding DIY project. As experienced crafters, we've perfected these steps for professional results.
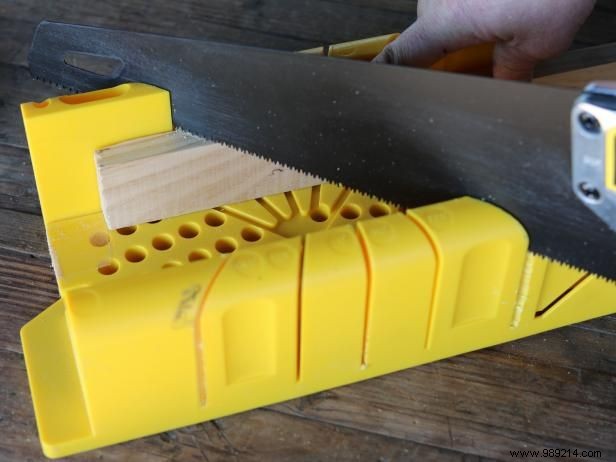
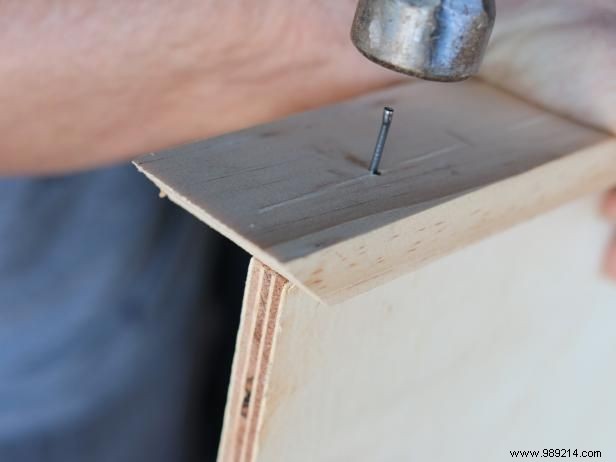
Cut 1x2 pine or birch boards to size, angling the ends at 45 degrees with a miter saw. Secure the mitered trim pieces around the plywood perimeter using nails. Align so the plywood back is flush with the trim back, creating a front lip.
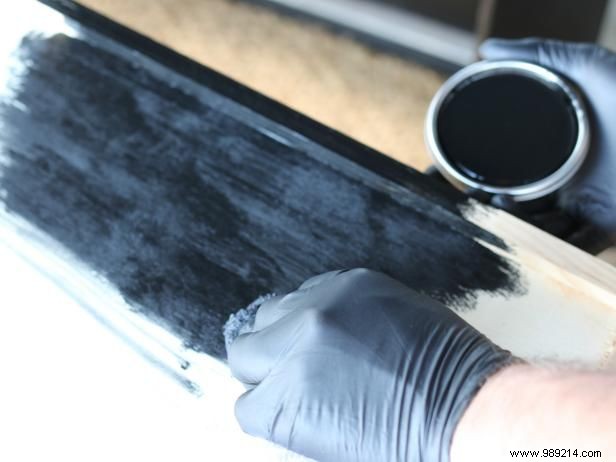
Wipe on an even coat of stain to the plywood and trim using a rag. Allow it to dry fully for a rich finish.
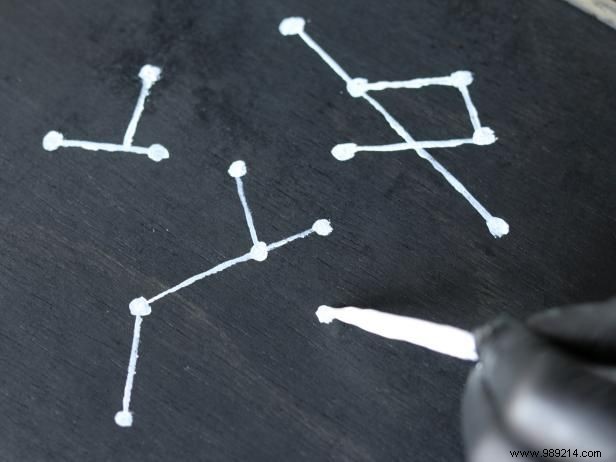
Use a small detail brush and semi-gloss white paint to depict constellations—freehand for creativity or reference a real star chart for precision.
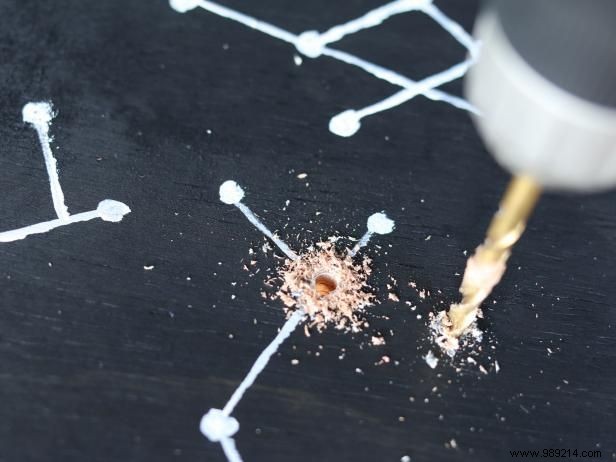
Drill 1/4-inch holes straight through the painted star dots.
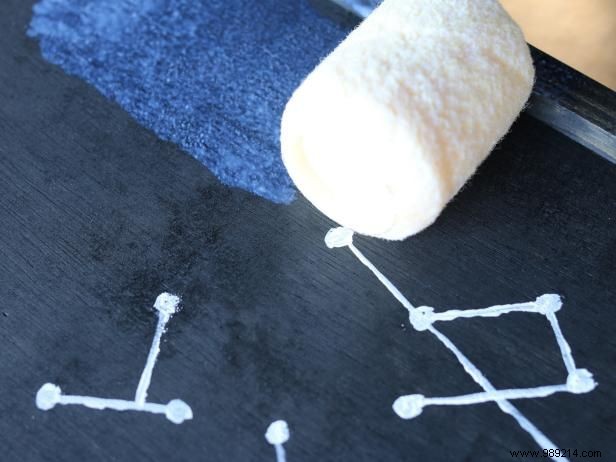
Clear away wood chips, then roll on an even coat of polyurethane sealer for lasting protection.
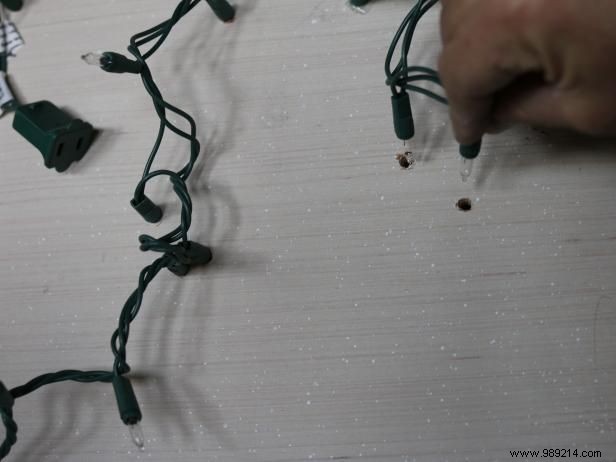
With plywood face down, thread twinkling lights through each hole. Secure wire ends to the back with electrical tape. Hang on the wall, plug in, and watch the stars sparkle.