Discover how we transformed a tired thrift store dresser into a vibrant style statement bursting with retro flair.
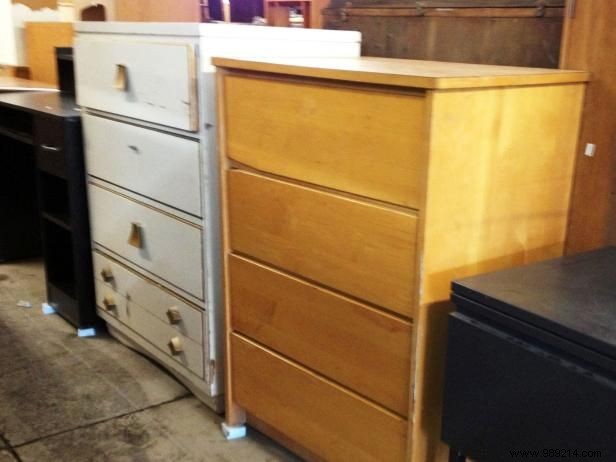
This solid wood dresser was dull and uninspiring, making it the ideal candidate for a professional makeover.
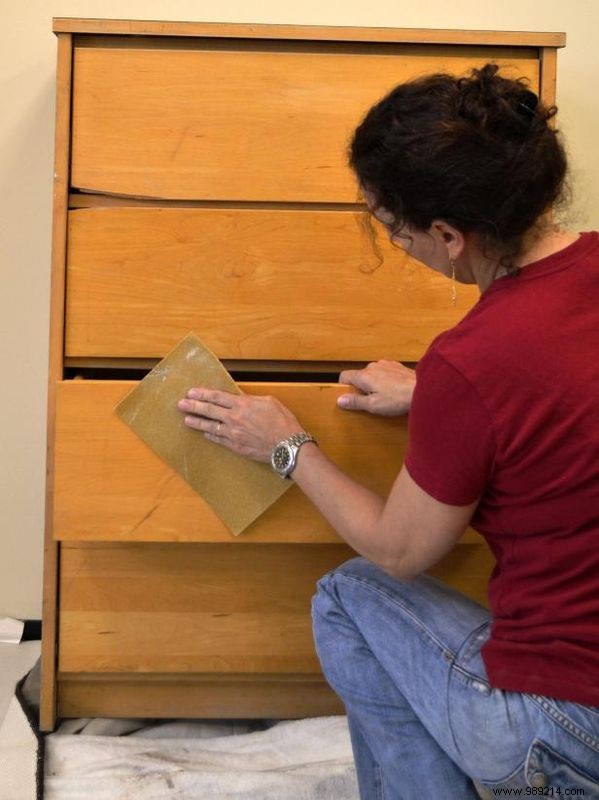
Sand the dresser to remove the old finish. Wipe it down with a damp cloth for a clean, smooth surface ready for paint.
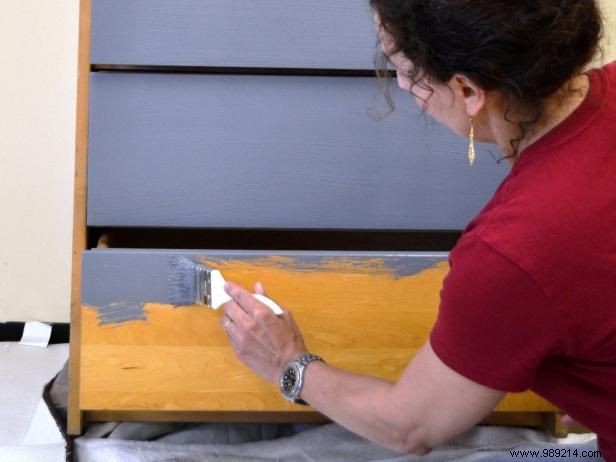
Place the dresser on a tarp, propping it up on wooden blocks if needed for easy access to the underside. Apply an even coat of paint, let it dry, then add a second coat.
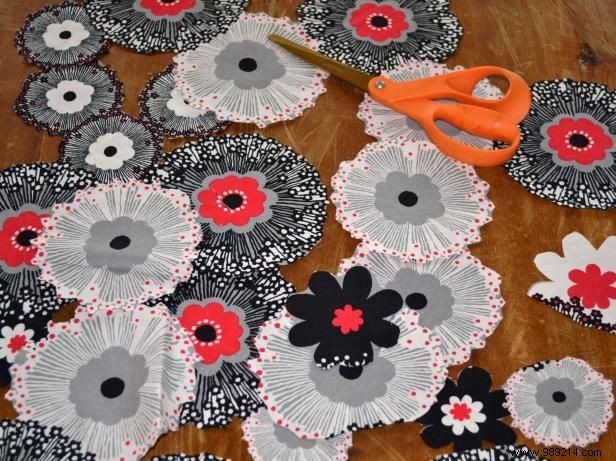
Cut flowers or patterns from your chosen fabric, capturing all the intricate details for maximum impact.
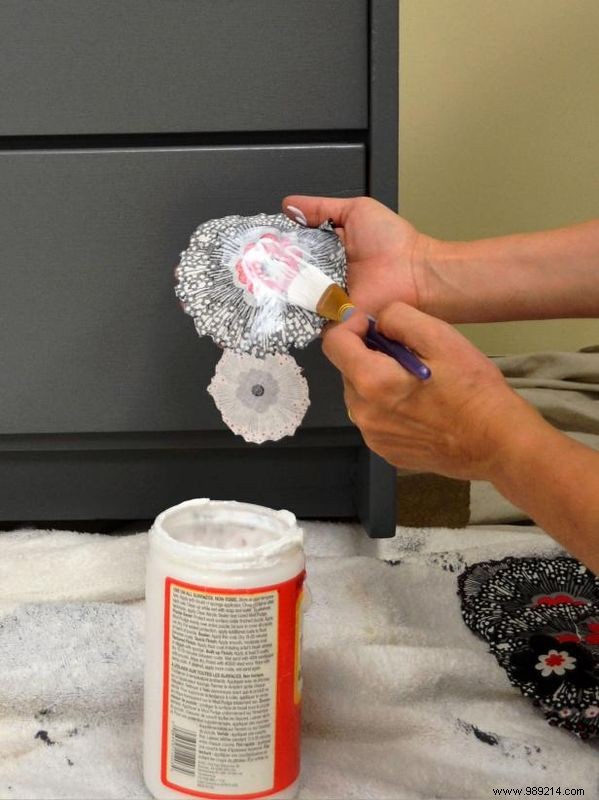
Brush decoupage glue on the back of the fabric pieces and position them on the dresser. Coat the front with another layer of glue, ensuring edges are fully covered. Allow to dry completely.
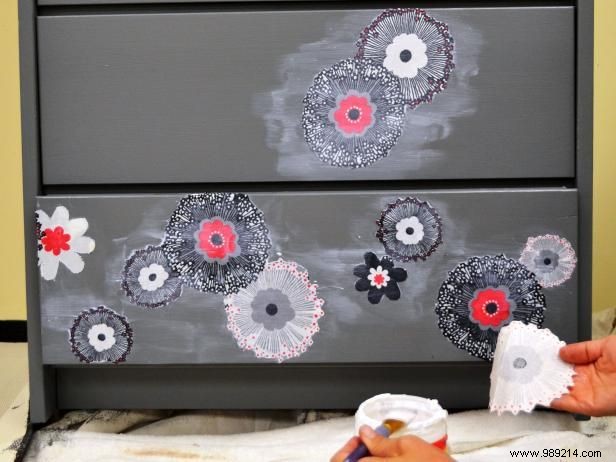
Continue applying pieces down the dresser, building a playful, multicolored design that showcases variety and creativity.

Once the fabric is dry and glue is invisible, apply two coats of lacquer or polyurethane spray for a durable, professional seal.