Tin roof tiles were a staple in American homes for generations. Today, they're prized finds in architectural salvage yards—we sourced ours there for this project. If you can't find vintage ones, new reproduction tiles are readily available.
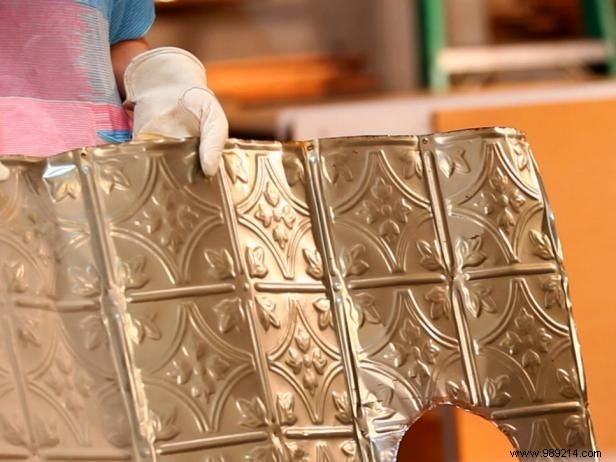
Vintage tiles often have rust or old paint. Sand them thoroughly for a clean surface that accepts paint better. Always wear a dust mask when sanding to protect against lead paint hazards. Gently tap any warped tiles with a hammer to flatten them—they need to lie flat on the headboard base.
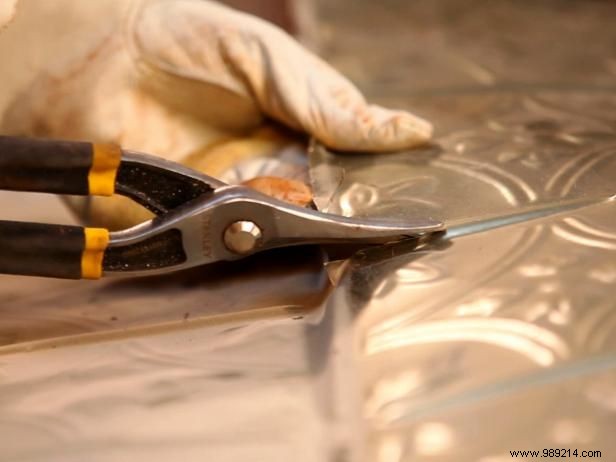
Use heavy-duty scissors or tin snips to trim tiles. Safety first: Jagged edges are sharp and dangerous. Wear thick work gloves, long sleeves, and pants to prevent cuts.
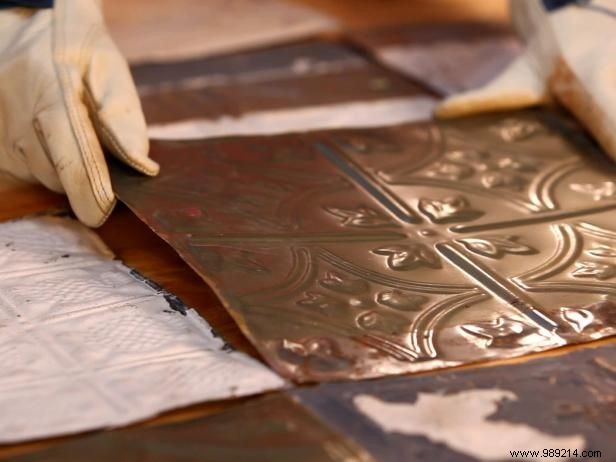
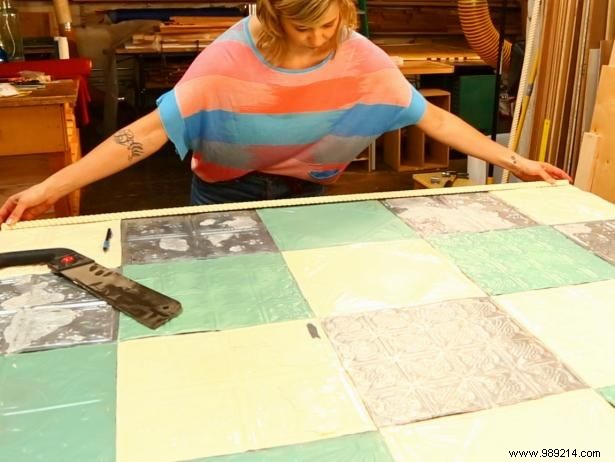
Arrange the tiles on plywood to form a quilt-like pattern. Draw inspiration from classic Americana quilt designs, as we did. Number the back of each tile to track their positions for easy reassembly.

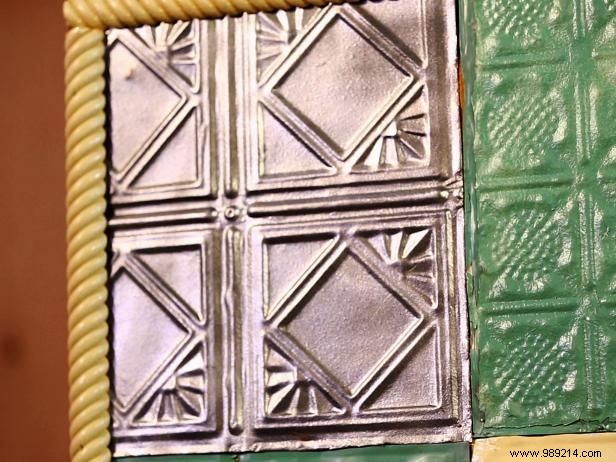
Prepare three trim pieces for framing: one for the top and two for the sides. Cut to size and sand edges smooth for a professional finish.
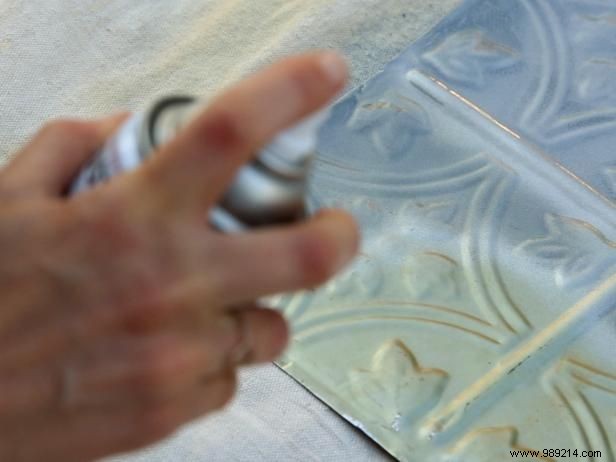
With your pattern finalized, spray-paint the tiles. Group same-color tiles for efficiency. Protect surfaces with drop cloths, wear gloves and a respirator, and paint in a well-ventilated outdoor area. Allow several hours to dry fully.
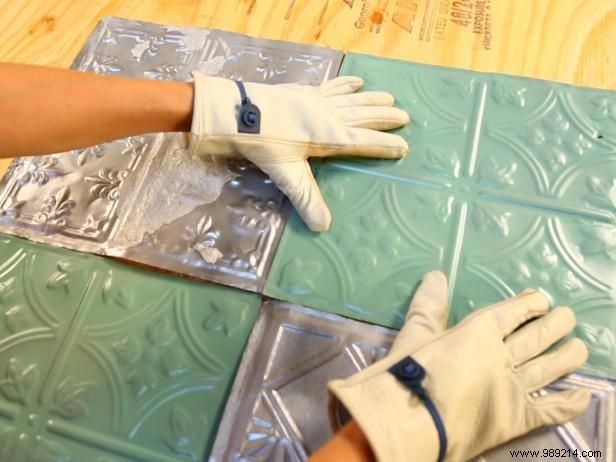
Apply Liquid Nails construction adhesive to the back of each tile and press firmly onto the plywood. Use weights to hold them flat while the adhesive cures.
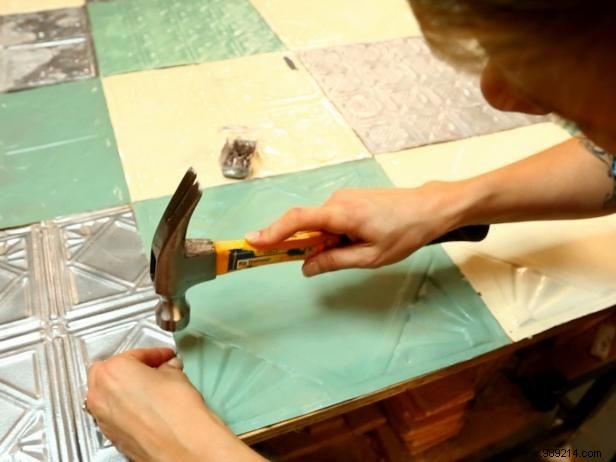
Hammer small finishing nails into any lifting edges to ensure a secure, flat bond.
Run a bead of adhesive along the trim's flat side and position it along the headboard edges. Secure corners with long nails for stability.
Mount directly to the wall or attach legs to the back and secure to your bed frame for a custom fit.