Silver-painted PVC pipes create a convincing metal-look bed frame. Thread twine between the pipes and secure old postcards with clothespins—perfect for a child's room to display their artwork, photos, or favorite paperback books.
We've also built a variation by hanging a candle between the pipes instead of twine. Sturdy fabric or canvas works beautifully too, like for a nautical-inspired headboard featuring a sail.
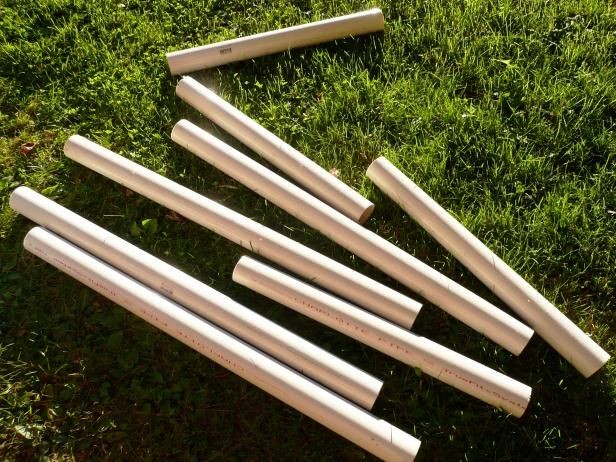
Measure for your headboard (ours fits a queen bed), then use a miter saw or PVC cutter to cut the pipes. For a queen-size headboard, use these dimensions:
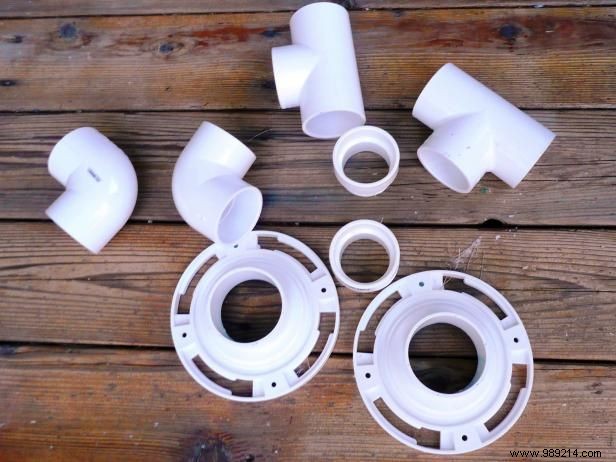
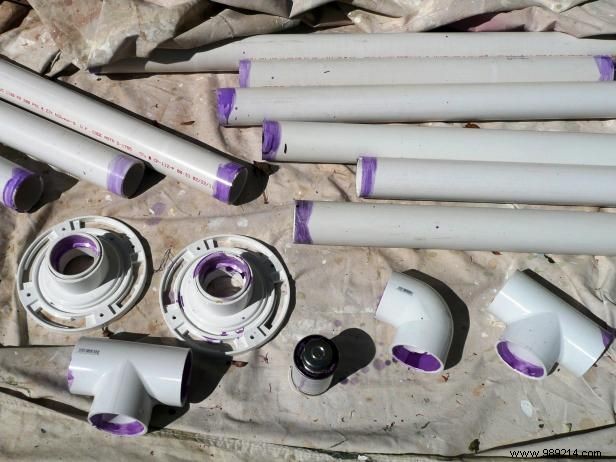
Lay out the pieces (Image 1) and dry-fit with connectors to check alignment. Once satisfied, apply PVC primer (purple, Image 2), followed by PVC cement, and press firmly. Use a level for straightness before drying.
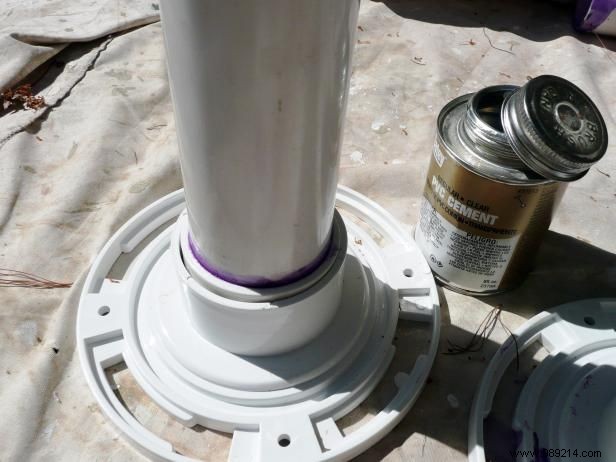
We used an adapter inside the plumbing floor flange since it was larger than the pipe (Image 3).
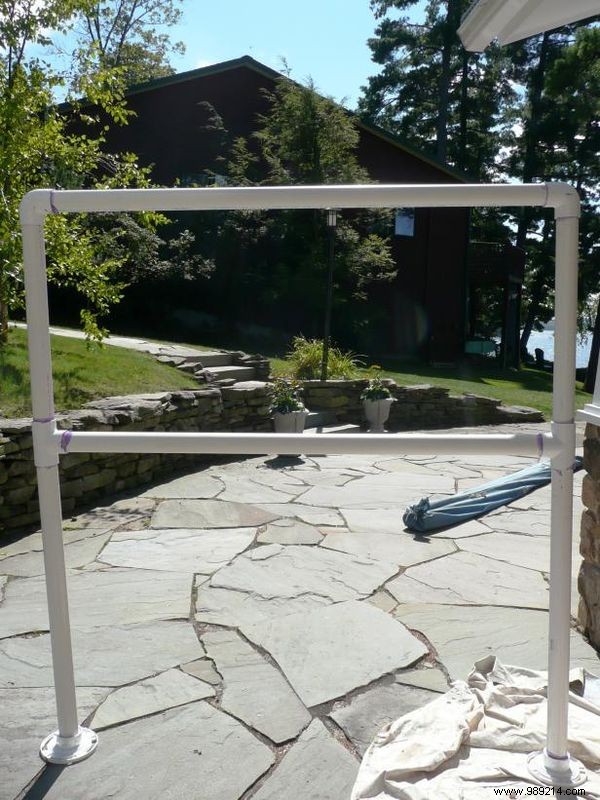
Team up with a helper for this step. Ensure everything is level, apply PVC primer (purple) everywhere to prep for painting, then let it dry fully. This primer ensures superior paint adhesion based on my years of DIY projects.
Spray the headboard with silver hammered paint for an authentic industrial metal effect—black works great too. Let one side dry fully, flip, and paint the other. As a DIY expert, I recommend hammer finish for its durable, textured realism.
Wrap twine or yarn around the frame in creative patterns, securing it tautly. Clip on postcards, photos, or mementos with clothespins for a personalized touch.