Bring a magical, warm glow to your child's bedroom with this enchanting starry night headboard. Involve the kids in the creative process—they can design shapes, wrap the lights, and apply glow-in-the-dark stars for a personalized touch.
Materials you'll need:
Drill with large bit
Brush or roller
Level
Jigsaw or circular saw
Scissors
Glue gun
Laminated plywood sheet for furniture
Semi-gloss paint
12 to 14 screws
String of clear Christmas lights (rice lights, often available at thrift stores off-season)
Glow-in-the-dark star pack
Large paper bag or paper for templates
Have the plywood cut to your bed's dimensions at the lumberyard or store for a perfect fit.
Paint the plywood in your chosen color—deep blue evokes a nighttime sky. Apply one coat, let it dry fully, and add a second if needed for even coverage.
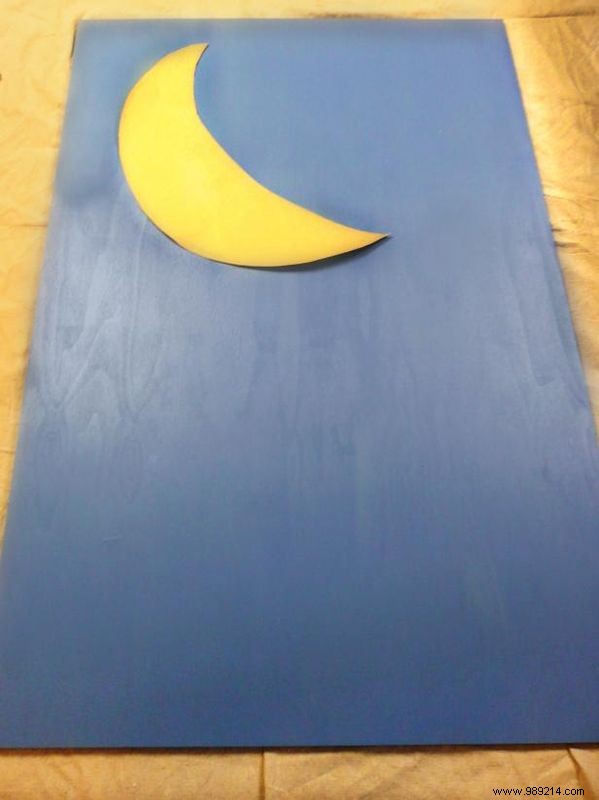
Craft a moon template from sturdy paper, like a large paper bag.
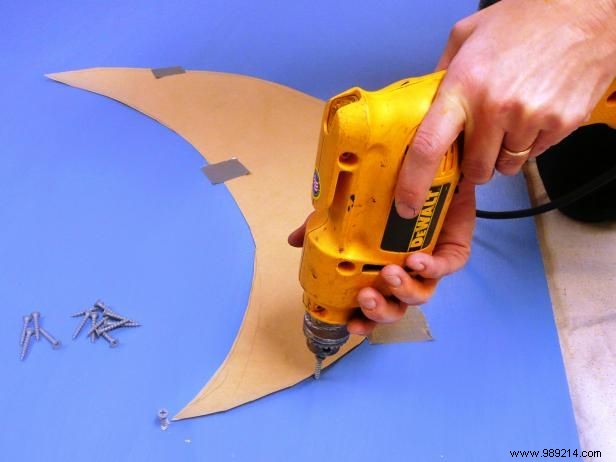
Position the template on the upper half of the board (leaving space below for pillows). Insert screws around the outline, halfway through the plywood—avoid penetrating the back. Tip: Wrap masking tape on each screw to mark the depth and prevent over-drilling.
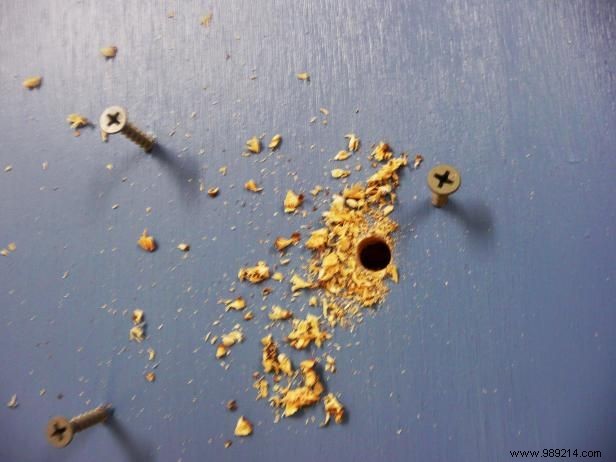
Drill a large hole near the moon's base to thread the lights, keeping it concealed.
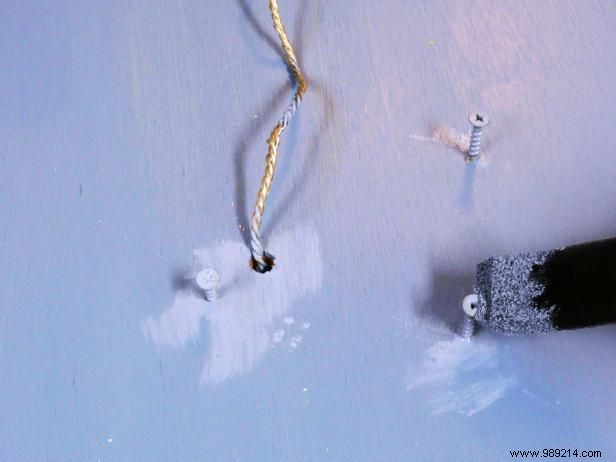
Touch up the holes and screw heads with paint for a seamless finish.
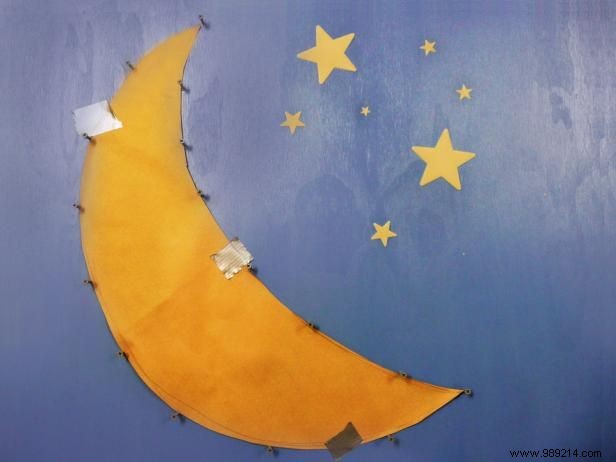
Thread the light string through the hole, with the plug at the back.
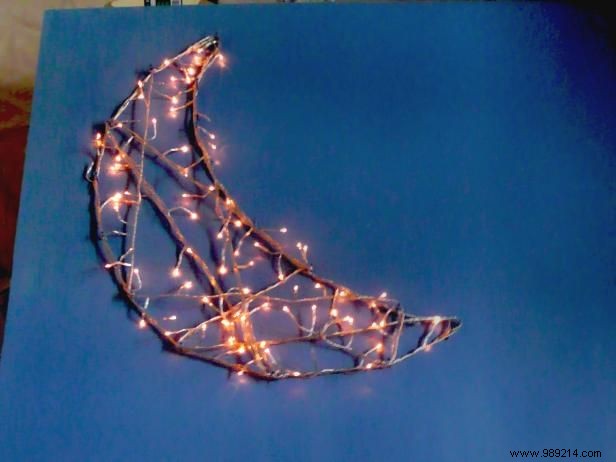
Wrap the lights around the screws in varied directions to form the moon shape, tucking in any excess wire.
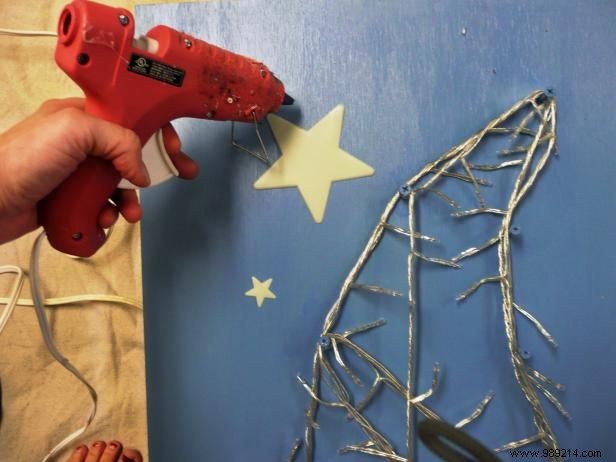
Secure glow-in-the-dark stars around the moon with hot glue. Reserve at least four large stars to cover the mounting screws later.
Affix protective foam floor pads (like those for chair legs) to the back for slight wall clearance, allowing the plug to access the outlet.
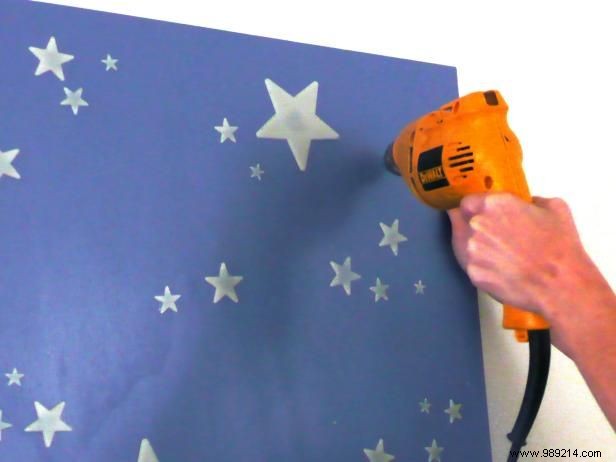
Position the headboard behind the bed on the wall. Ensure it's level, then secure into wall studs with four screws in the top third. Cover these with the reserved stars.
Expert tip from Joanne Palmisano, author of Salvage Secrets (W.W. Norton, September 2011). Discover more upcycled ideas on her blog, Salvage Secrets.
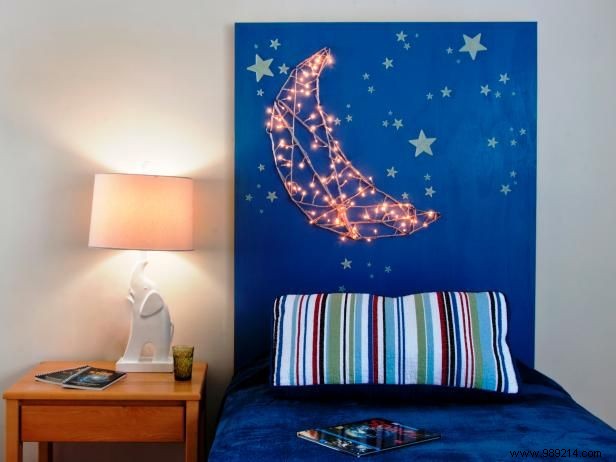
Photo: Susan Teare