As a salvage design expert, I transformed an old wooden headboard with a custom slipcover crafted from affordable canvas drop cloth. Ribbons secure it neatly on each side, while a vintage needlepoint centerpiece elevates the look for timeless elegance.

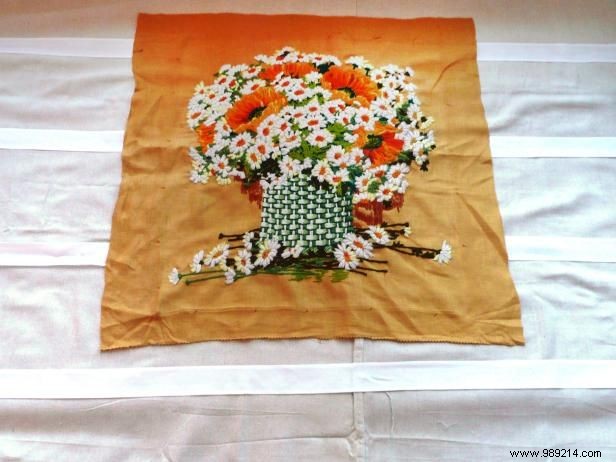
Remove the needlepoint or crewel work from its frame—or the stuffing from a pillow if repurposing one. Iron as needed, then trim or sew the edges to ensure even, square sides.
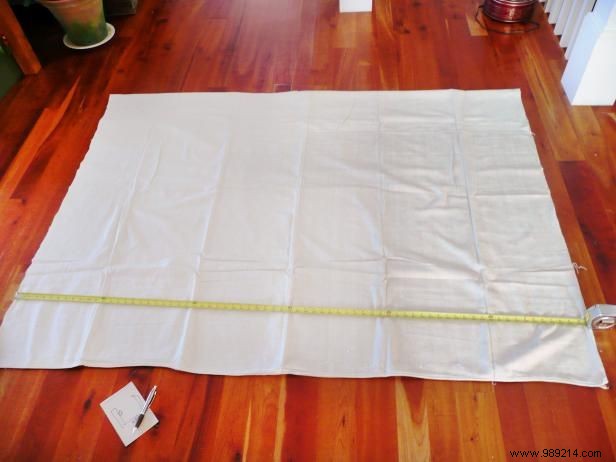
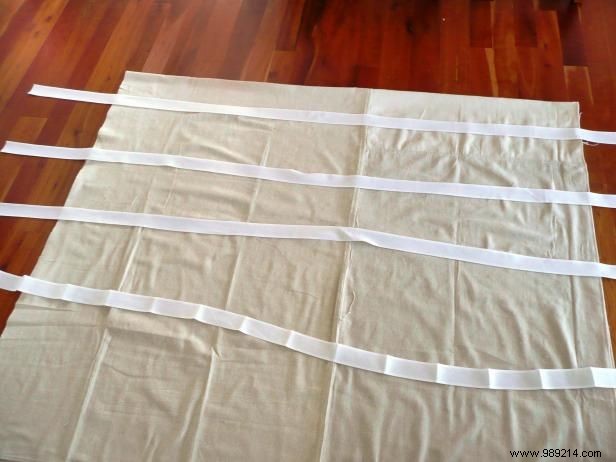
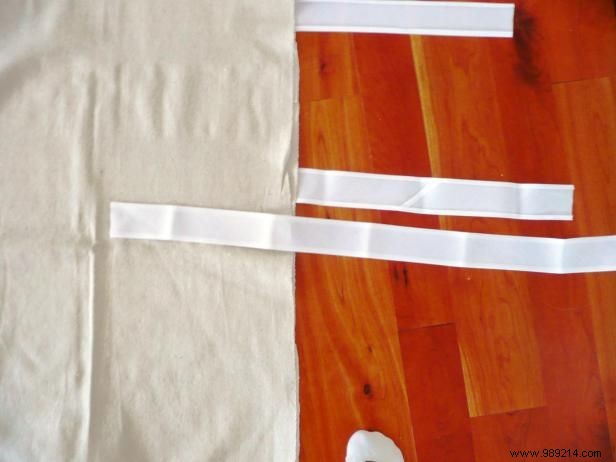
Select fabric sized to fit your headboard; I chose painter's canvas drop cloth. Lay it face up on a flat work surface. Position ribbons horizontally across the back for ties—you only need them at the ends, not a full row. Sew securely or use iron-on hem tape for wide ribbons.
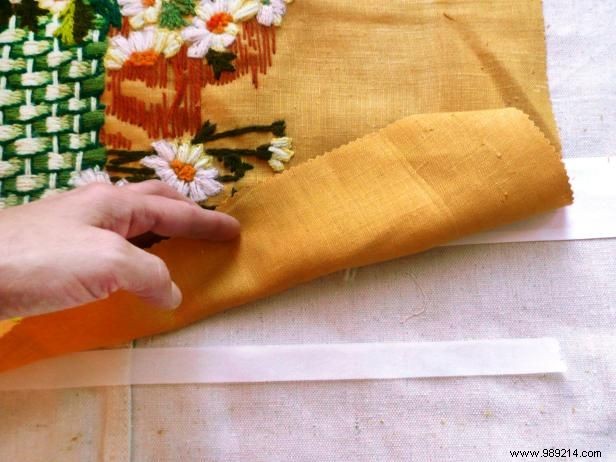
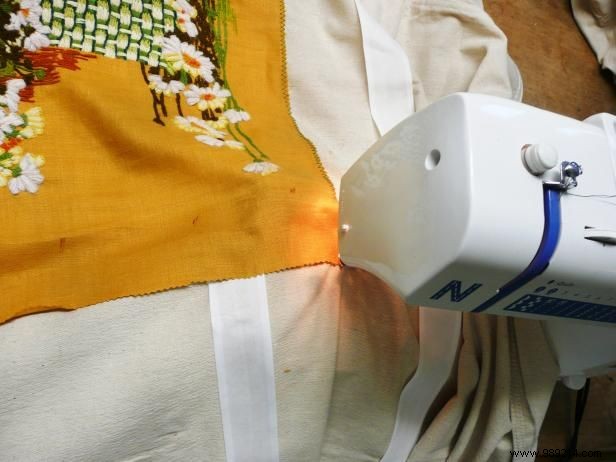
Lay the embroidered piece face down on the fabric. Secure the edges with hem tape, then hand-sew or machine-stitch with a decorative finish for a polished result.
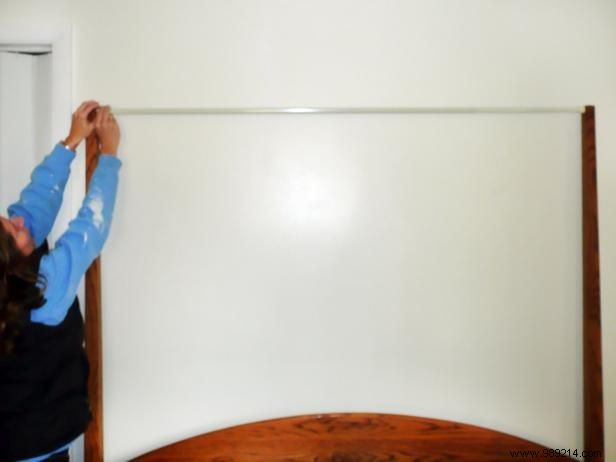
For a four-poster headboard like mine, slide a spring-loaded curtain rod between the posts. Drape the slipcover over the rod and tie the ribbons securely at the sides.
Joanne Palmisano is the author of Salvage Secrets (W.W. Norton, September 2011). Visit her blog, also called Salvage Secrets.