Materials and Tools
- Three coordinating fabric prints (one each for center panel, base, and handles), plus lining fabric
- Fusible interfacing (adhesive-backed)
- Matching thread
- Magnetic clasp
- Grosgrain ribbon
- Scissors
- Rotary cutter
- Sewing machine
- Iron and ironing board
- Ruler
- Parchment paper for patterns
- Straight pins
- Fray Check or lighter to seal ribbon ends
Step-by-Step Instructions
- Create the patterns on parchment paper using a ruler: a 7-1/2" x 13" rectangle for the center panel; a 6" x 13" rectangle with 2" x 2" squares cut from each bottom corner for the base; a 3" x 25" rectangle for handles; and a 13" x 13" square for lining with 2" x 2" squares cut from bottom corners.
- Pin patterns to fabrics and cut: two each of center, base, and handles from main fabrics. Cut two lining pieces and one pocket. Expert tip: Opt for decorative or upholstery-weight fabrics for exceptional durability.
- Iron fabrics to remove wrinkles. Cut fusible interfacing to match center and base pieces. Following manufacturer instructions, fuse interfacing to wrong side of each piece using a dry iron set to cotton.
- For handles: Fold long edges under 1/2" and press. Align edges, fold in half lengthwise, and press. Set aside.
- Sew center to base on each side with 1/2" seam allowance. Press seams open.
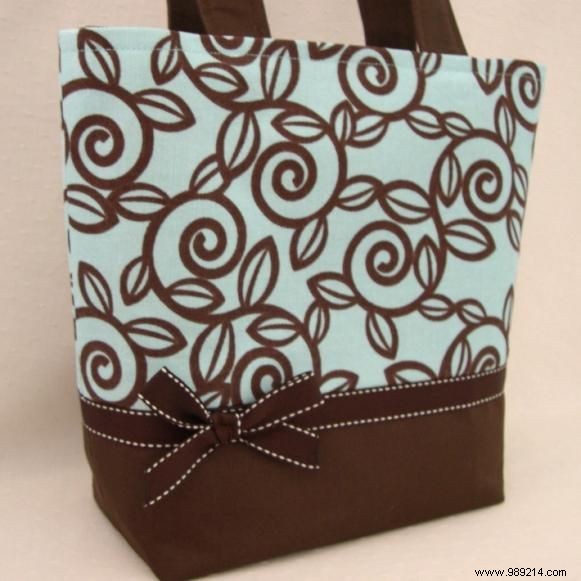
- Add ribbon trim: Cut two grosgrain strips longer than bag width. Sew one strip along each center-base seam, close to edge. Attach a hand-tied bow over the seam on front.
- Assemble exterior: Place panels right sides together. Sew sides and base with 1/2" seams. Box corners by matching side and base seams; sew 1/2" seams across.
- Turn right side out. Fold top edge under 1/2" and press entire bag, focusing on seams.
- Sew handles with 1/4" seam along edges.
- Prepare lining: Hem pocket edges, pin to one lining piece, stitch divisions and bottom. Sew lining sides and base (1/2" seams), box corners as above. Fold top edge under 1/2" and press.
- Install magnetic clasp: Cut interfacing discs; fuse to lining fronts. Snip slits for prongs at marked spots. Insert male/female halves with washers, folding fabric over prongs; repeat on opposite side.
- Attach handles and lining: Align liner side seams to bag, pin handles in place. Topstitch all together 1/4" from top edge.
- Seal ribbon ends with Fray Check or flame to prevent fraying.
Instructions by Caroline Ritzer of Pink Lemonade Bags