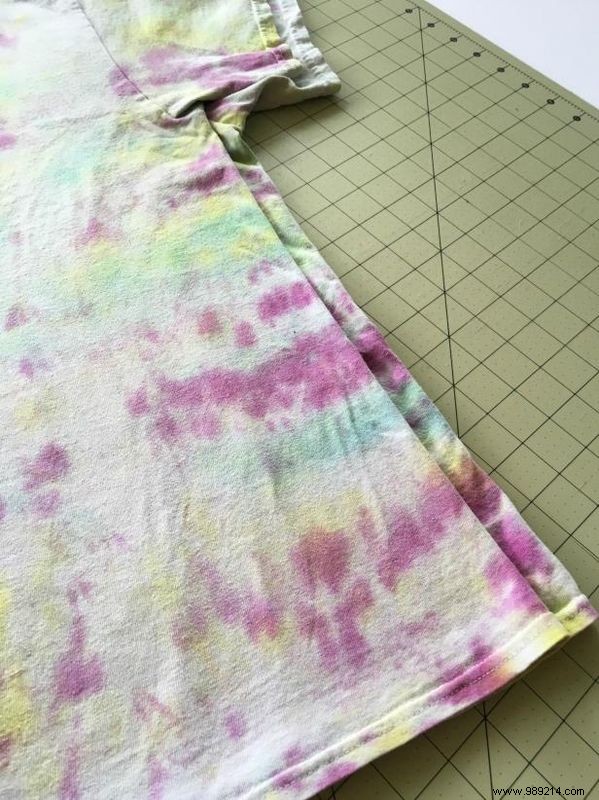
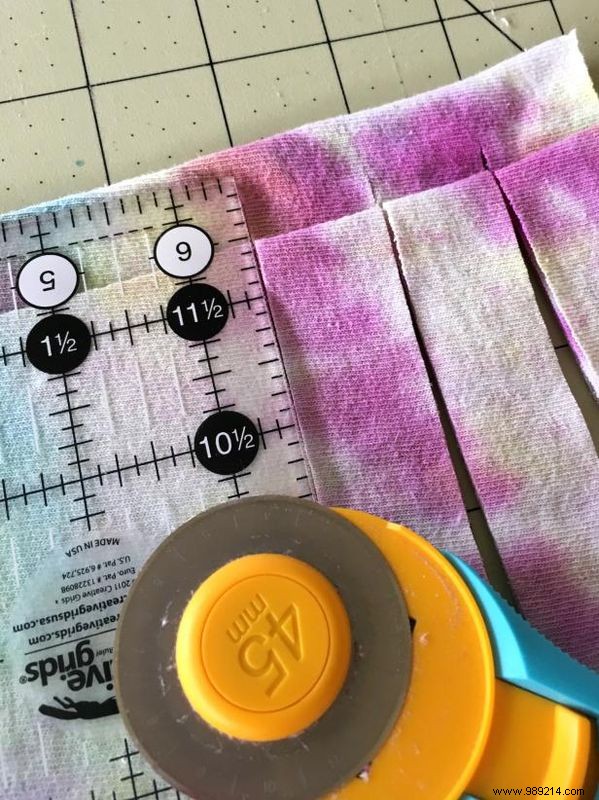
Fold your old t-shirt almost in half, leaving a 1-inch gap at the fold, and cut off the bottom hem. Use a quilting ruler as a guide with a rotary cutter to slice into strips—typically 1-inch wide—without cutting through the folded edge. Continue all the way up to the sleeves, which won't be part of your fabric yarn.
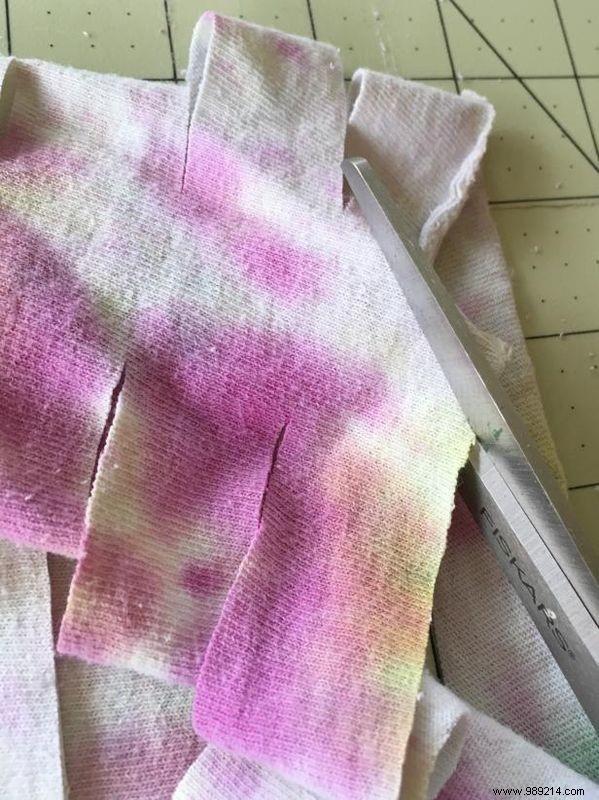
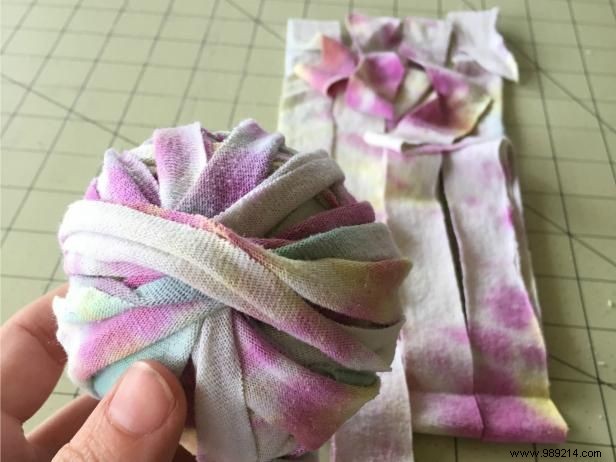
Starting from the center of one short end, cut diagonally toward the far corner of the first adjacent strip. Continue this zigzag pattern across all strips to form one long, continuous piece of t-shirt yarn. Wind it into a neat ball for storage and easy crocheting.
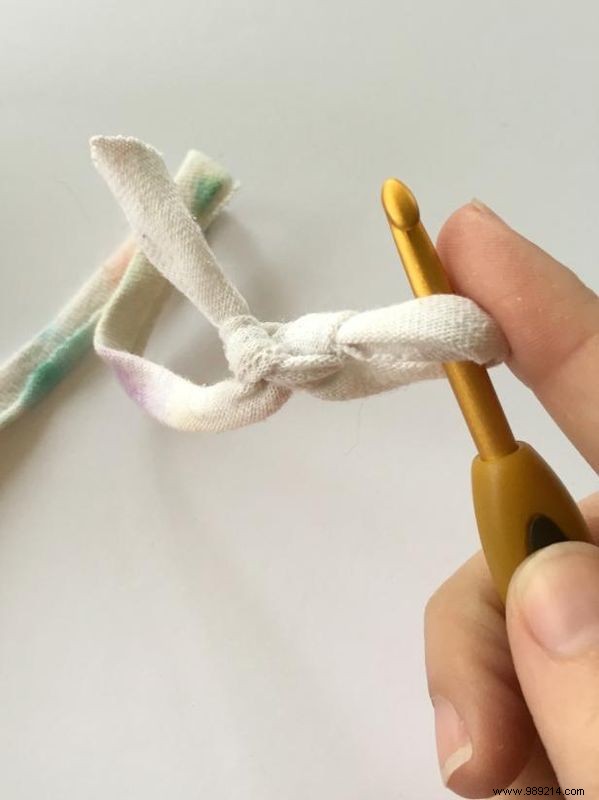
For added texture and durability in your planter, use a large crochet hook to work the fabric strip into a chain stitch, creating a sturdy rope-like material perfect for wrapping.
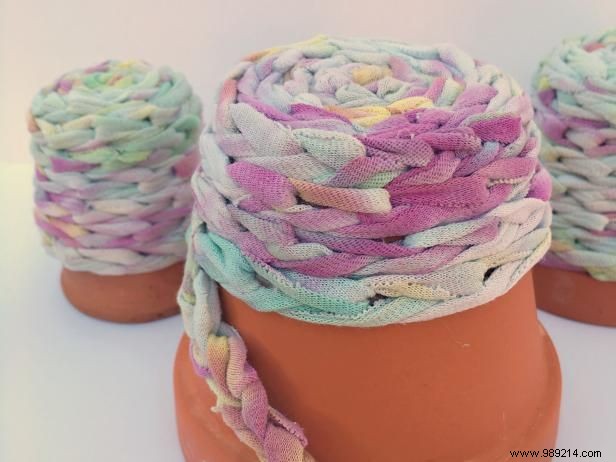
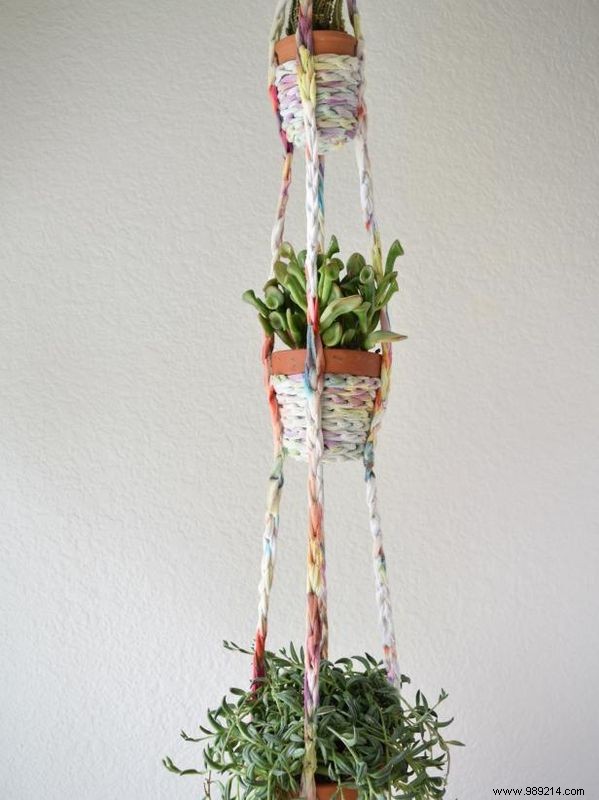
Wrap the crocheted fabric around small pots, securing with glue every 3 inches. Attach long fabric strips to the sides as hangers using glue. Ideal for indoor or outdoor display—this eco-friendly project adds charm to any space.