Neckties burst with vibrant patterns and colors, and you can source them affordably from thrift stores. This patchwork tote bag is perfect for beginner to intermediate sewers, blending creativity with sustainability. As an experienced crafter, I recommend it for its straightforward results.

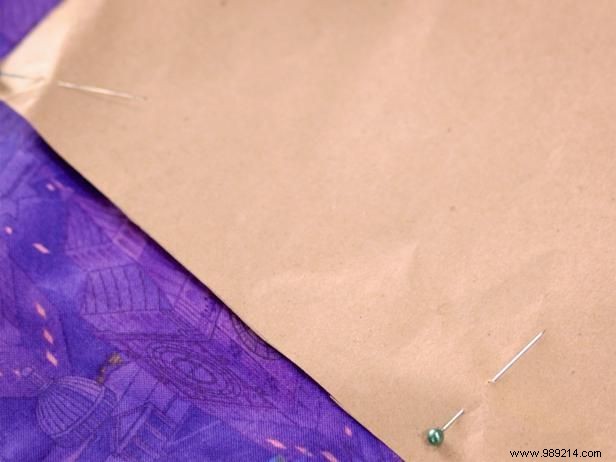
Use brown kraft paper to craft a 12" x 15" pattern. On one 15-inch side (the bottom), trace a coffee cup to form rounded corners, then cut them out. This gives your bag's base a smooth, professional curve.

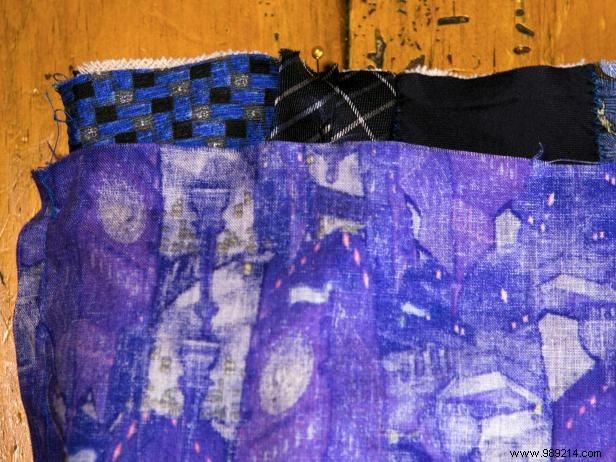
Lay out neckties to fully cover the paper pattern. Once satisfied, trim the top and bottom edges, keeping pieces slightly larger than the pattern. Use about seven ties for the front and seven for the back; the assembly should be wider than the pattern. Save two trimmed ends for handles.
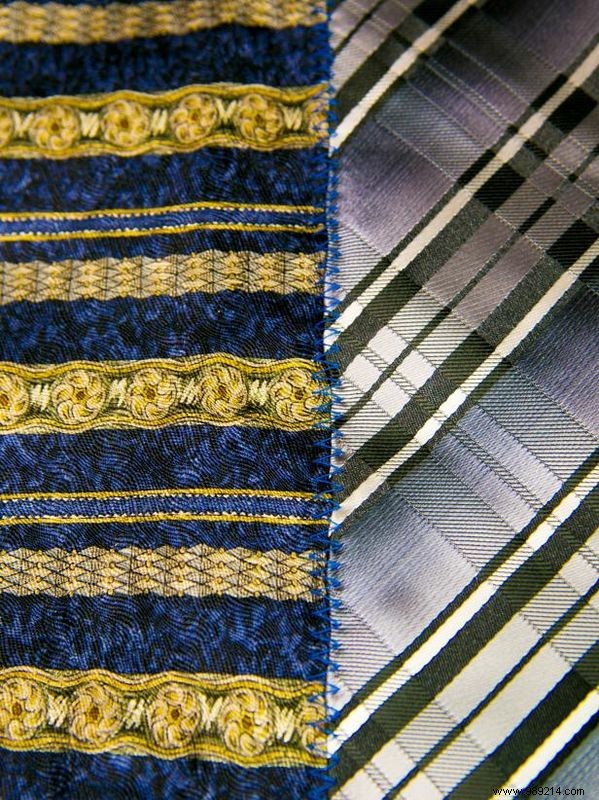
Join the ties side-by-side with a zigzag stitch, maintaining the exact layout order to preserve your design.
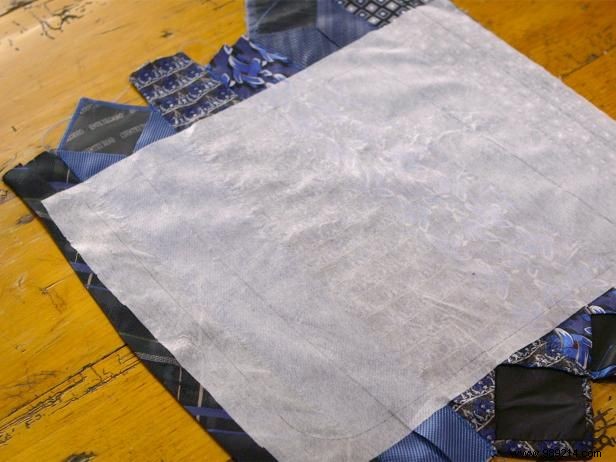
Interfacing features fabric on one side and adhesive on the other. Trace the pattern on the fabric side, cutting 1/2" inside the lines. Prepare one for each panel. Position adhesive-side down on the wrong side of the tie fabric, then iron from center outward to fuse evenly without bubbles. Place panels right sides together; sew the two sides and bottom. Turn right side out.
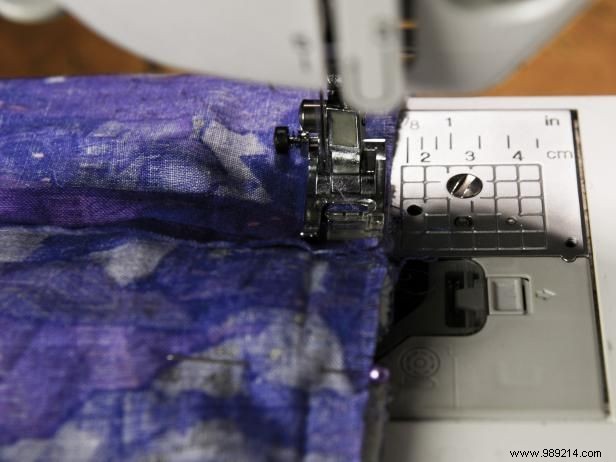
Cut two lining pieces using your pattern. Sew together along the bottom and sides, leaving the top open.
Sew the saved tie ends right sides together to form handles, then attach to the sides of the outer bag shell. Slide the outer shell inside the lining, right sides facing, with handles tucked flat inside.
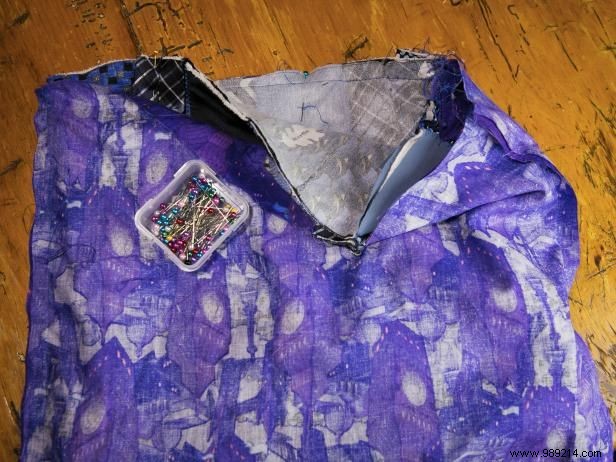
Align top edges; sew around the perimeter, leaving a 4-inch gap in the lining. This allows turning without sewing over handles.

Pull the bag through the 3-4" lining opening to expose the right side. Tuck the lining inside the bag and close the gap by hand or machine.

Sew the lining closed if desired, or topstitch 1" from the top edge for a refined finish, as shown. For more of Ariel's expert projects, visit Custom Catastrophes.