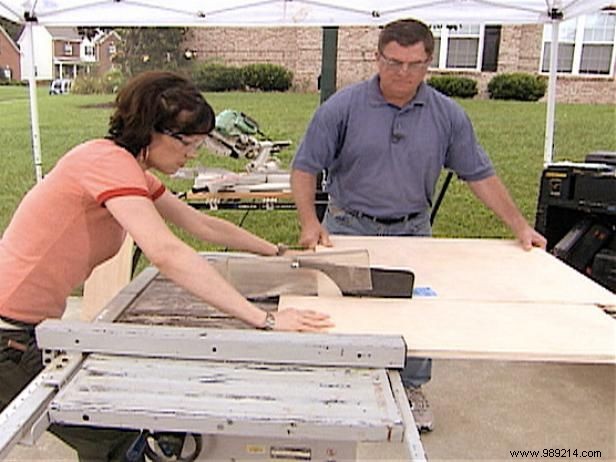

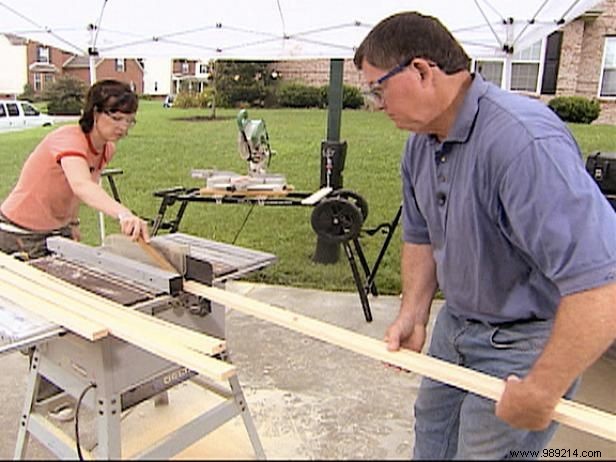
As a professional woodworker with over 15 years building custom storage solutions, I recommend cutting the top and side frame pieces first (Images 1 and 2). This prep work streamlines assembly and ensures precise fits.
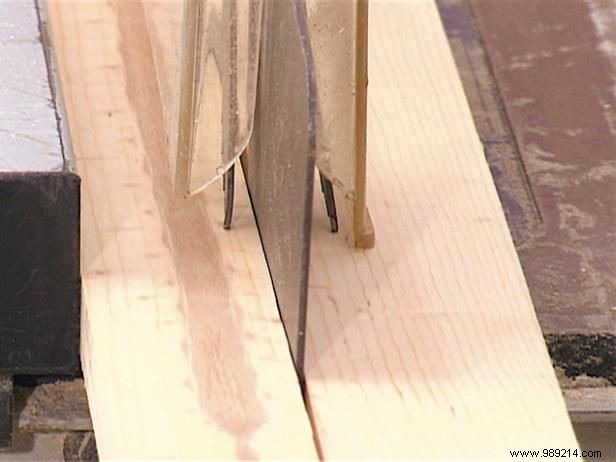
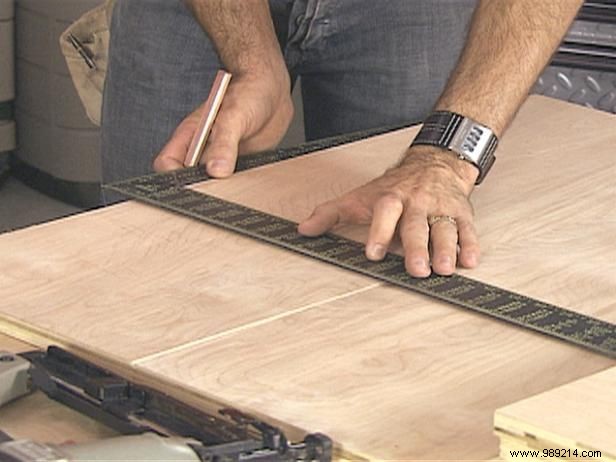
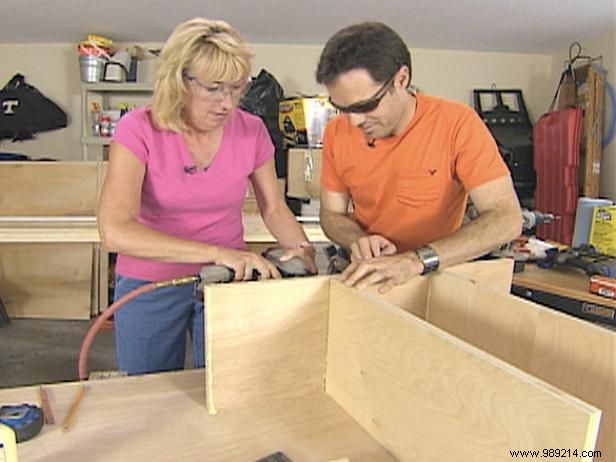
Rip 1-inch birch plywood into 1x6 strips, then use a table saw to narrow them to 1x2s for sturdy shelf supports (Images 3 and 4).

These units are designed for cathedral ceilings, with shelves progressively taller for optimal use of vertical space.
Begin with the 30-inch tall, 2-foot wide base unit. Lay out the side pieces and use a framing square to mark even shelf positions (Images 1 and 2).
For balanced spacing in this 30-inch unit, mark every 10 inches to accommodate three shelves.
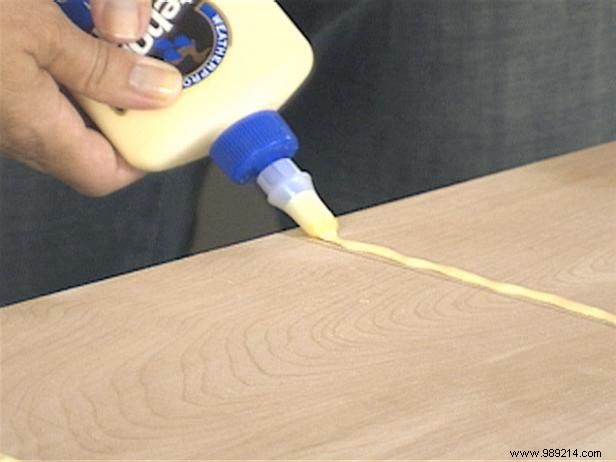

Apply a thin bead of wood glue along each marked line (Image 1).
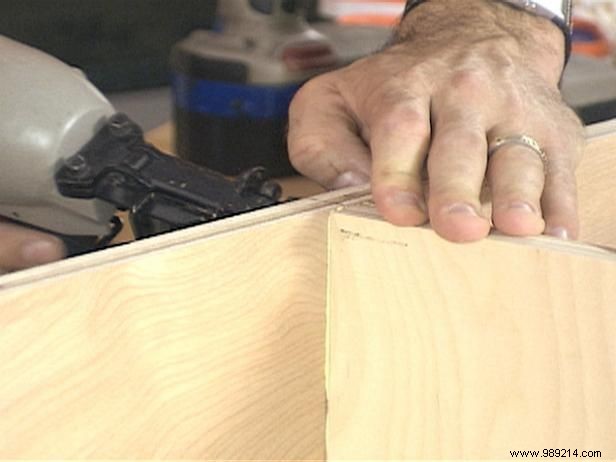
Quickly position the shelf perpendicular to the glued side panel (Image 2).
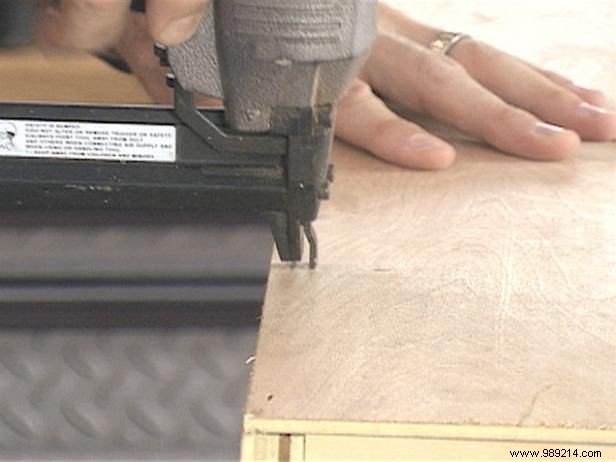
Reinforce from the outside with a nail gun where shelf meets side (Images 3 and 4). Repeat for all three shelves. For extra durability, add 2-inch drywall screws—pre-drill to avoid splitting.
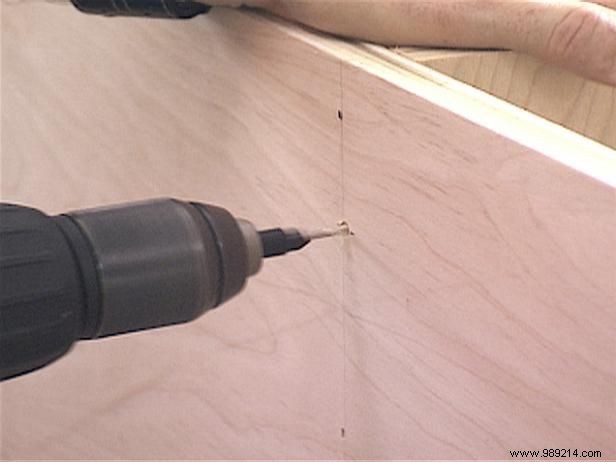
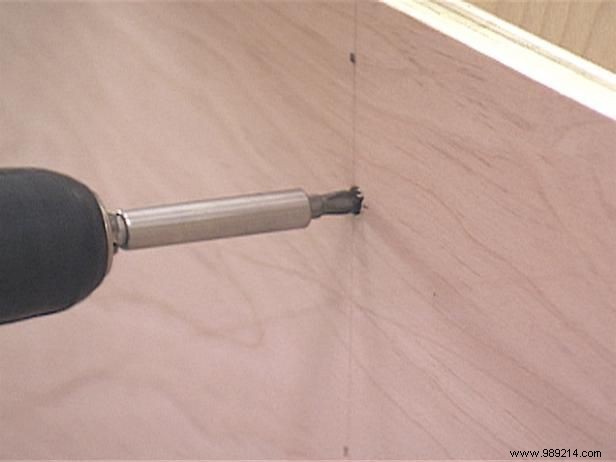

Pre-drill and countersink screws for a flush finish (Images 1 and 2).
Cut 1/4-inch birch plywood to size and staple edges every 6 inches to the shelves for a clean, rigid backing (Images 3 and 4). This prevents racking and ensures long-lasting performance.