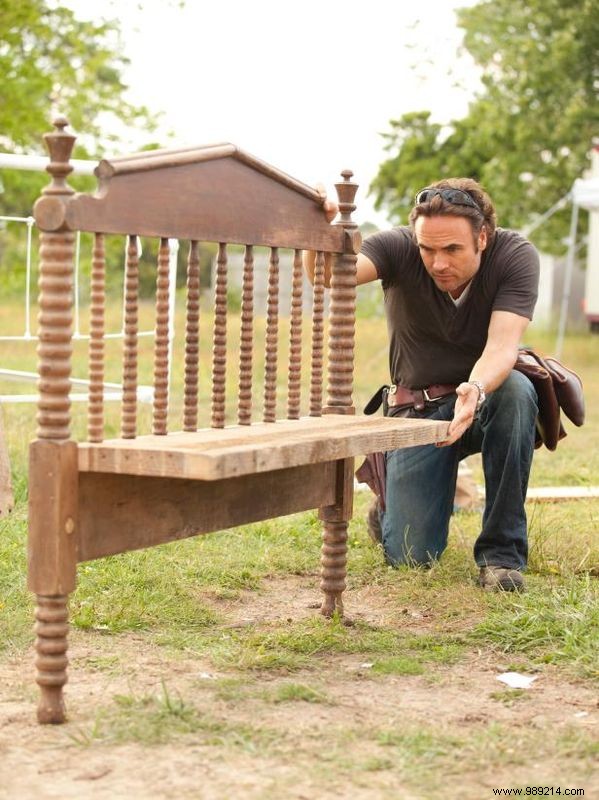
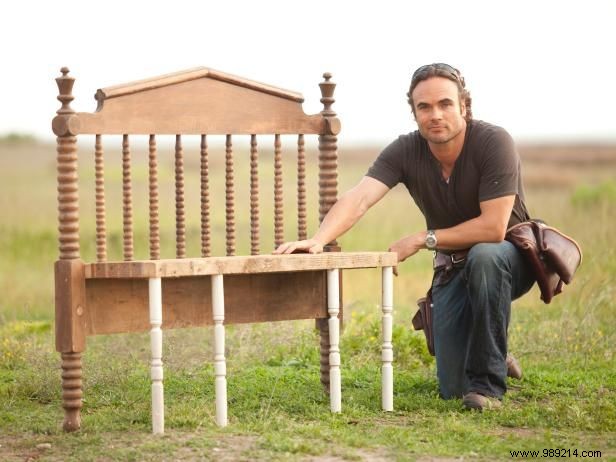
To recreate the iconic 2011 Blog Cabin reclaimed entry bench, source true 2x4 wall studs from older homes, an antique headboard, and vintage farmhouse handrail balusters.
For authentic shear wall studs from homes built in or before the 1950s, consult local contractors, building supply vendors, or county officials. They can point you to renovation sites where you can salvage wood from burn piles before it's discarded. Placing a classified ad in your local newspaper is another effective strategy.
Hunt for vintage headboards and balusters at architectural salvage yards, antique shops, or online marketplaces like Craigslist. Expect to pay $75–$250 for headboards and $2–$10 per baluster, often sold in sets. Refer to the shopping list for any additional supplies.
Jackson Riley Parker, Jack Parker
Jackson Riley Parker, Jack Parker
Jackson Riley Parker, Jack Parker
Jackson Riley Parker, Jack Parker
Jackson Riley Parker, Jack Parker
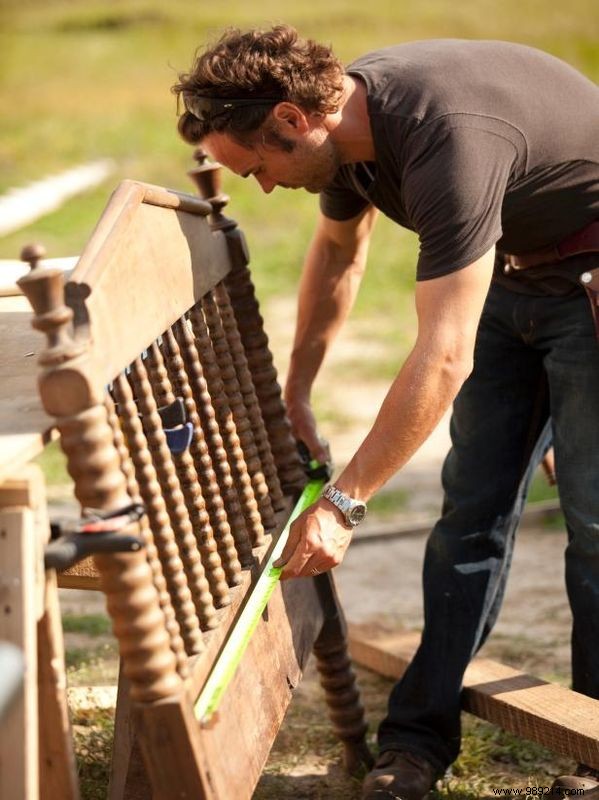
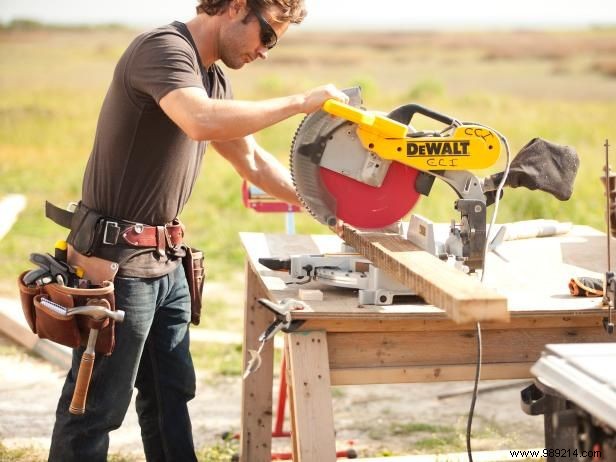
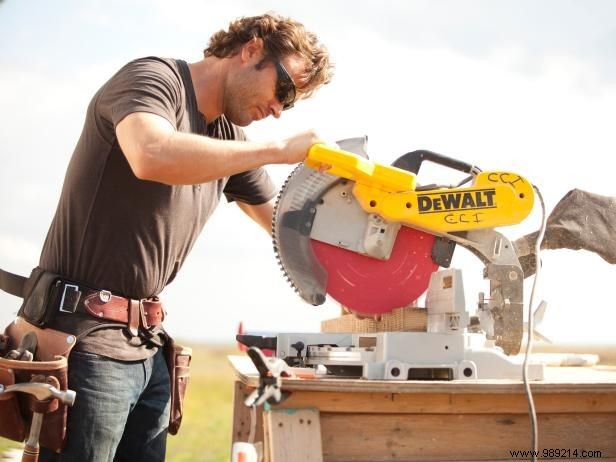
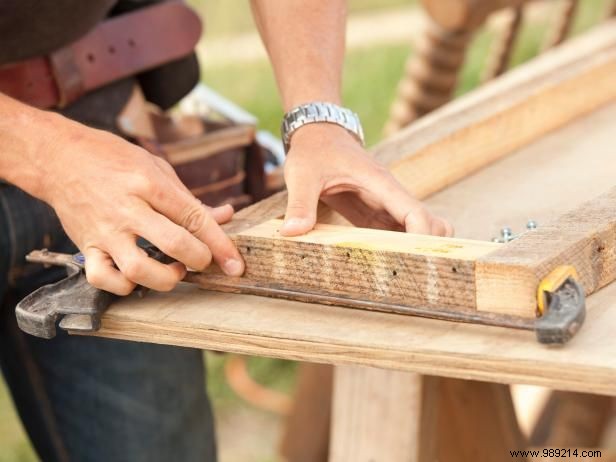
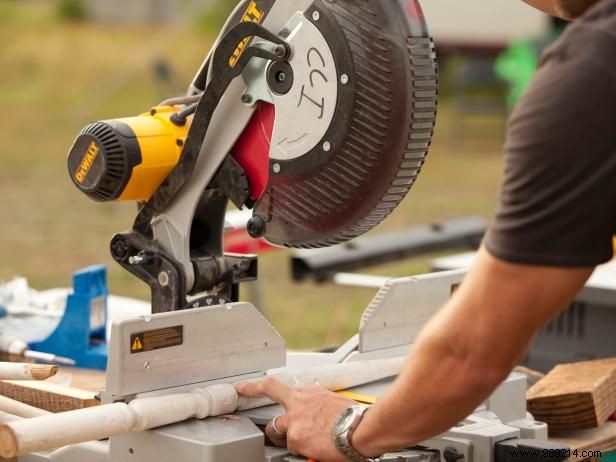
Measure the distance between the inside faces of the headboard posts to determine bench width. Transfer this measurement to your true 2x4s and cut two pieces to length using a miter saw.
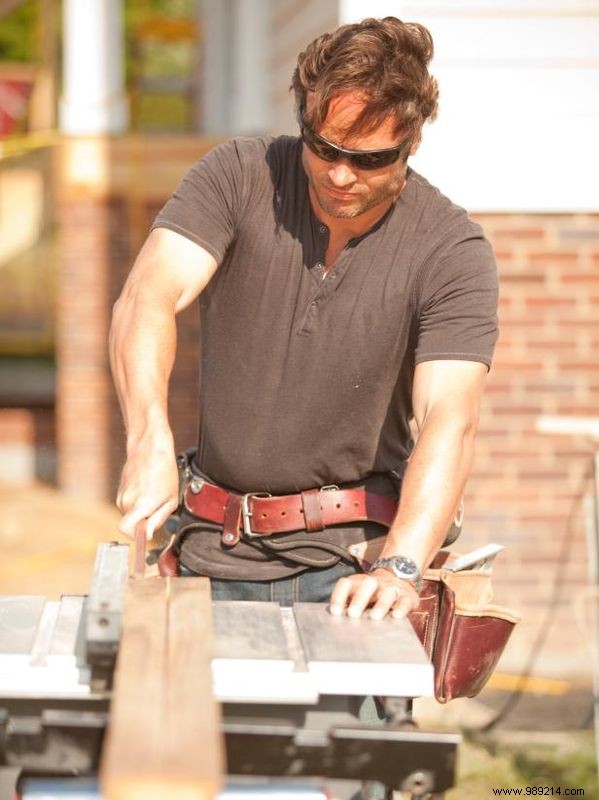
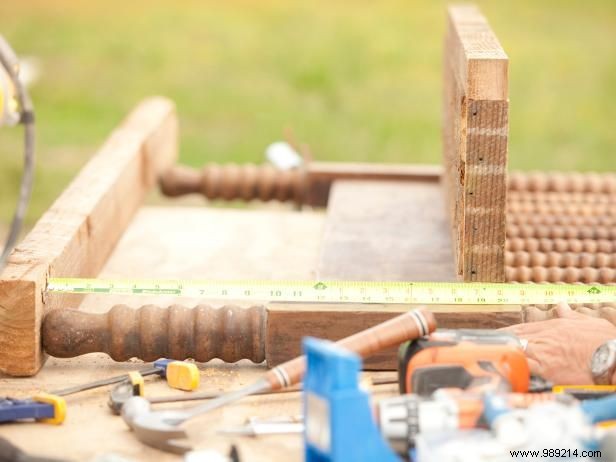
On a table saw, set the rip fence to split 2x4s exactly in half, creating 2x2s for the front and back of the seat frame. Rip another short 2x4 (12–14 inches) in half for the side frame pieces.
Measure the exact width of a remaining true 2x4 (about 4 inches), double it (roughly 8 inches), and cut the side 2x2s to this length. Assemble these four pieces into a rectangular perimeter frame on a level workbench.
Using a pocket-hole jig, drill holes in the bottom edges of the frame pieces (hidden from view). Clamp and screw them together to form the frame.
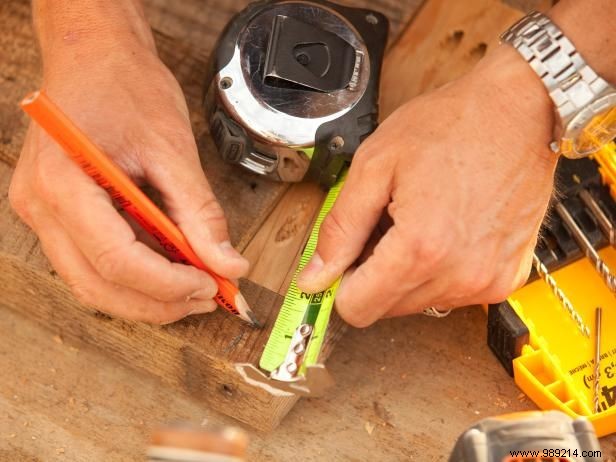
Measure the frame's inside width and cut two true 2x4s to fit as seat slats. Test-fit for snug joints; trim small gaps if needed.
Remove slats, drill 6–8 pocket holes per slat on the bottom face using the jig. Reassemble, clamp, and secure the slats to the frame with screws. Your bench seat is now ready to attach to the headboard.
Safety Tip: Always wear safety glasses with cutting or drilling tools. Use a push stick on the table saw to keep hands clear of the blade.
Builder Tip: Check inside corners with a speed square for perfect 90-degree angles on the seat frame.
Jackson Riley Parker, Jack Parker
Jackson Riley Parker, Jack Parker
Jackson Riley Parker, Jack Parker
Jackson Riley Parker, Jack Parker
Perform a dry fit: the seat should nest snugly between the headboard posts. Position so pocket holes face downward.
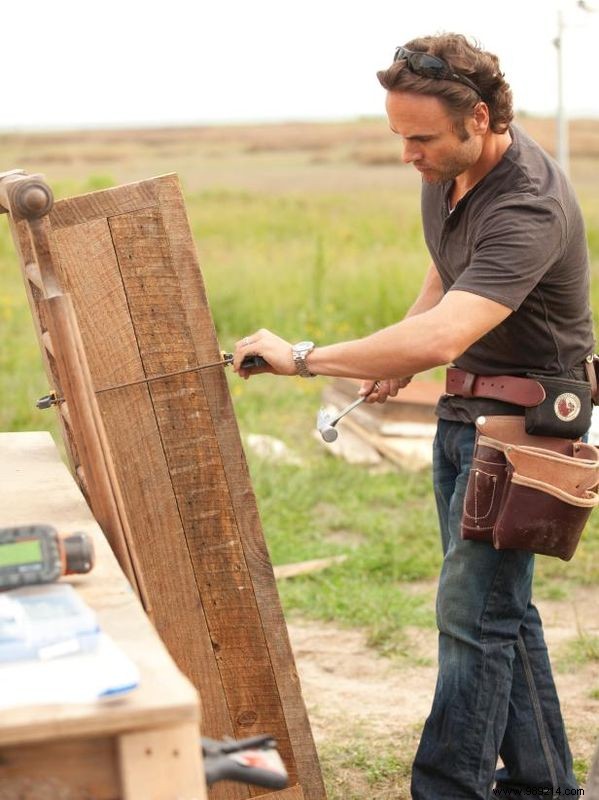
From the back of the headboard, drill 6–8 pilot holes sized for 3-inch wood screws. Secure the seat firmly to the headboard. Now add the front legs.
Builder Tip: Headboard posts serve as rear legs; adjust seat height based on them. Test sitting height with a chair for optimal comfort.
Jackson Riley Parker, Jack Parker
Jackson Riley Parker, Jack Parker
Jackson Riley Parker, Jack Parker
Jackson Riley Parker, Jack Parker
Jackson Riley Parker, Jack Parker
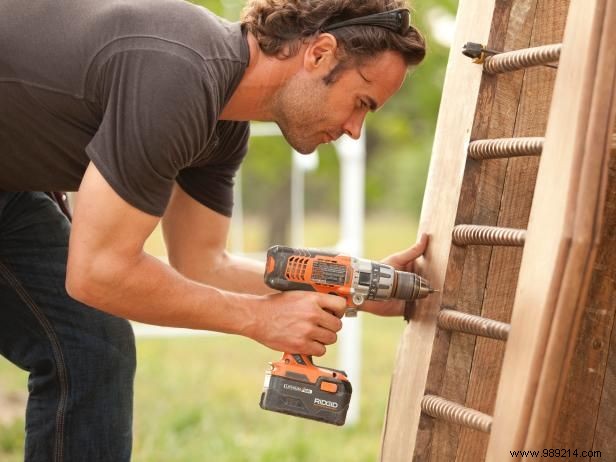
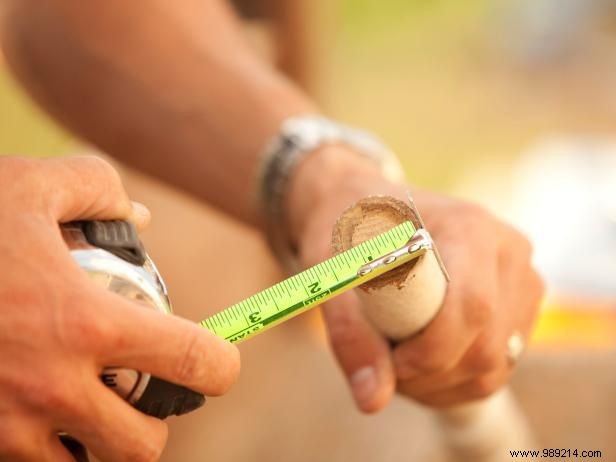
Cut 4–6 stair balusters to length for front legs. With the bench upside down on the workbench, lay a straight 2x4 across the headboard posts (rear legs) and measure leg length, adding 1 inch for countersinking.
Position legs for stability—spread evenly, cluster at sides and center, or as desired aesthetically.
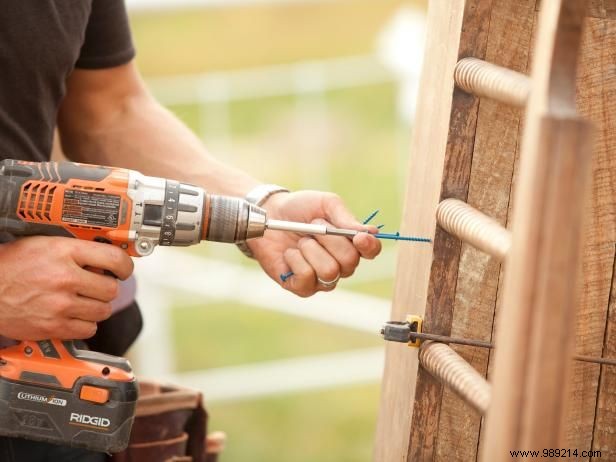
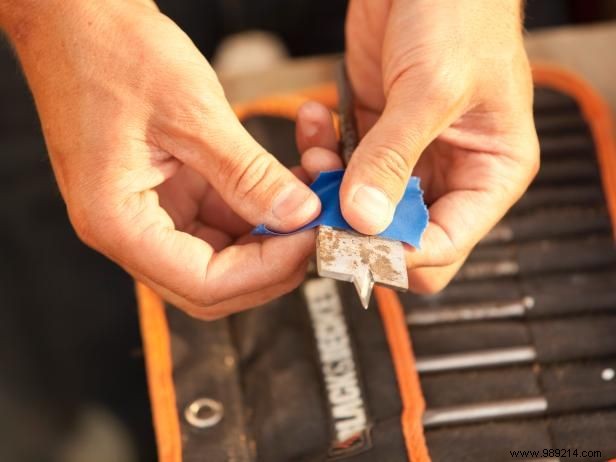
Use a countersink bit matching the baluster base diameter. Mark 1-inch depth on the bit with painter's tape for uniformity. Drill precise holes (ideally with a drill press; use steady hands with a hand drill).
Apply generous wood glue to holes, insert balusters, and tap flush with a hammer and wood block. Check level with a 2x4 across feet; re-drill if needed. Secure with a nail gun.
Jackson Riley Parker, Jack Parker
Finishing options include painting to match your entryway, sanding and staining to your preferred color, or embracing the raw reclaimed look. If placing on hardwood floors, add felt pads to the feet to prevent scratches.