Family Encyclopedia >> Home & Garden

Elevate a Classic Kids' Halloween Ghost Costume: Simple DIY Steps from a Seasoned Crafter

Step 1: Measure for the Hood

Elevate a Classic Kids  Halloween Ghost Costume: Simple DIY Steps from a Seasoned Crafter

Measure Hood Size

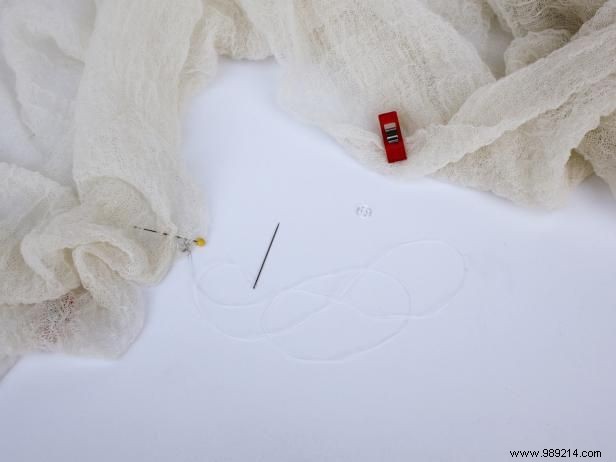
Fold the fabric in half and drape it over your child's head to form a hood. Mark where the layers meet under the chin. Extend the fabric down until it overlaps near the armpits on both sides, then mark those points.

Step 2: Add Fasteners

Elevate a Classic Kids  Halloween Ghost Costume: Simple DIY Steps from a Seasoned Crafter

Sew on Snaps

Sew snaps at the three marked points on both sides for a secure fit.

Step 3: Create Arm Holes

Elevate a Classic Kids  Halloween Ghost Costume: Simple DIY Steps from a Seasoned Crafter

Make Elbow Slits

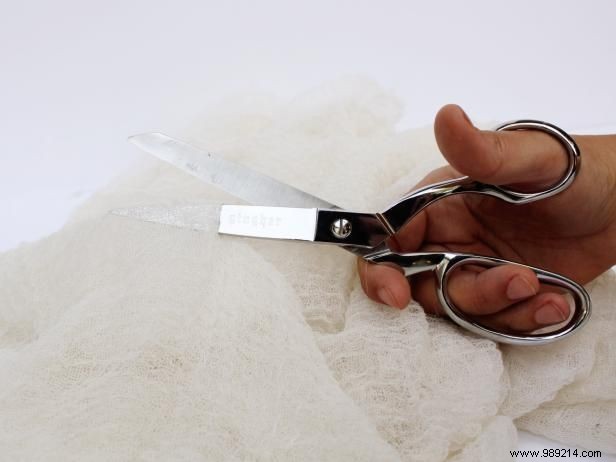
Have your child try on the cape and mark where the elbows align. Carefully cut slits at each elbow for arm access.

Step 4: Distress the Edges

Elevate a Classic Kids  Halloween Ghost Costume: Simple DIY Steps from a Seasoned Crafter

Rough It Up

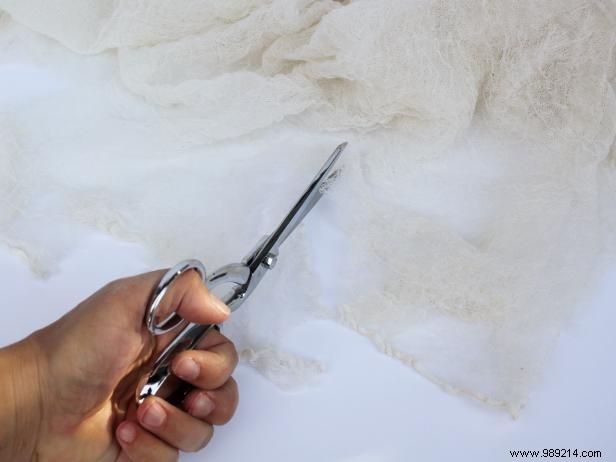
Cut irregular slits along the bottom hem for a jagged, ghostly edge. Shorten the hemline if desired for the perfect length.

Step 5: Apply Base Face Paint

Elevate a Classic Kids  Halloween Ghost Costume: Simple DIY Steps from a Seasoned Crafter

White Ghost Face

Apply white face paint to cover the face, leaving exaggerated hollows around the eyes for a haunting effect.

Step 6: Darken the Eyes

Elevate a Classic Kids  Halloween Ghost Costume: Simple DIY Steps from a Seasoned Crafter

Blacken the Eye Sockets

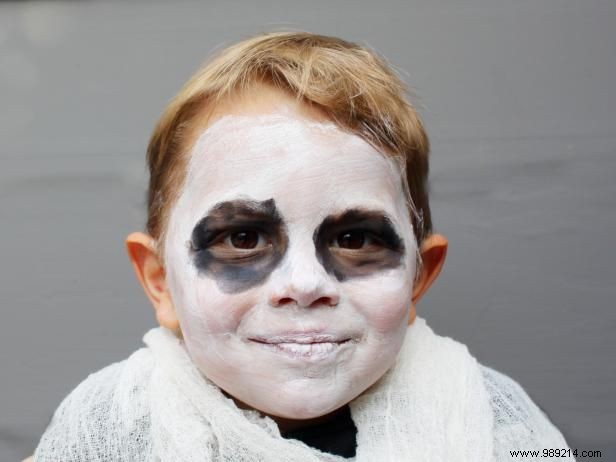
Fill in around the eyes with black eyeshadow to deepen the shadows and enhance the eerie look.

Step 7: Assemble and Haunt

Elevate a Classic Kids  Halloween Ghost Costume: Simple DIY Steps from a Seasoned Crafter

Put It All Together

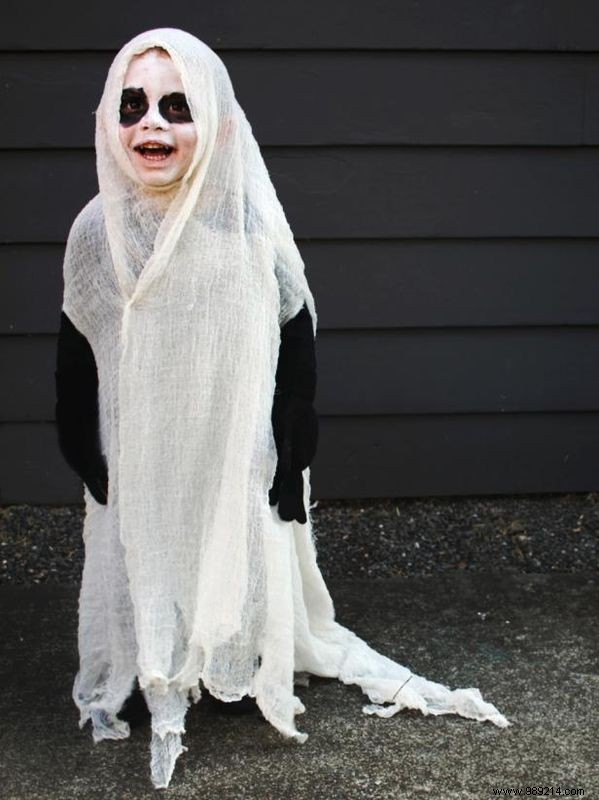
Dress in all black, don the ghostly cloak, and let the Halloween haunting begin!