As a DIY expert with years of experience crafting kid-friendly backyard projects, I'll walk you through building a robust frame to support a large plastic tub, creating an engaging sensory play station your toddlers will love.
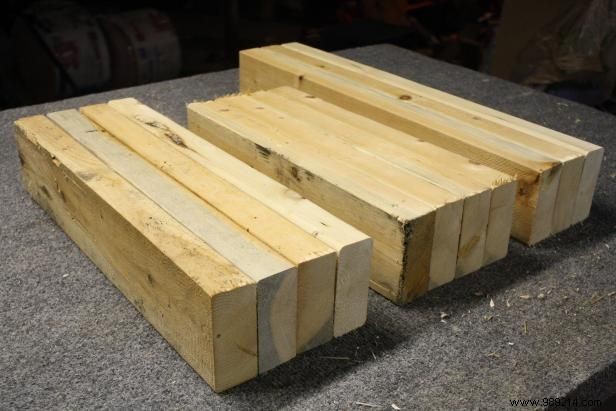
Start by measuring your plastic tub's base dimensions for a secure fit on the frame rim. Our 32-quart tub measures 23-5/8" x 16-3/8" overall, with a base of 22-1/2" x 15".
The entire frame uses just two 2x4 boards. Here's our precise cut list:
From one 10' board: (3) 22-1/2", (2) 15", (1) 18". From one 8' board: (2) 15", (3) 18".
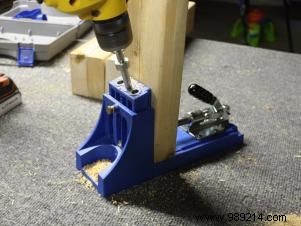
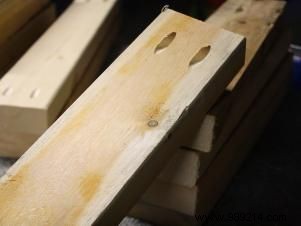
A pocket hole jig ensures precise, professional joints. Drill one pocket hole at each end of the 15" boards and two at each end of the 22-1/2" boards.
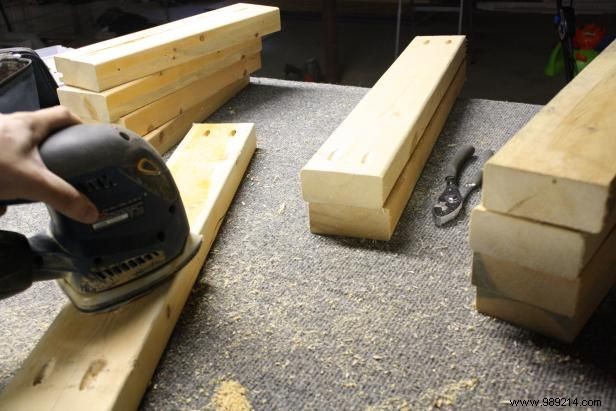
Sand surfaces and cut ends to eliminate splinters and ensure safety. A palm sander speeds up the process for a pro finish.
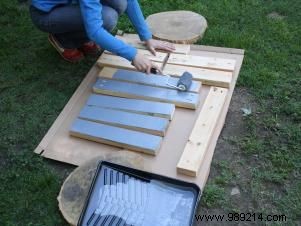
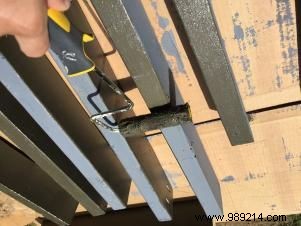
Prime and paint all boards before assembly for efficiency and even coverage. A roller provides quick, durable results that withstand outdoor use.
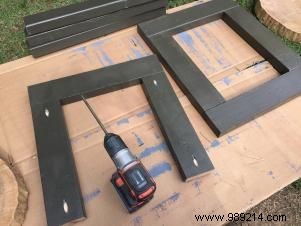
Build the two frame ends by securing the 15" vertical boards to the 18" horizontal boards using pocket screws.
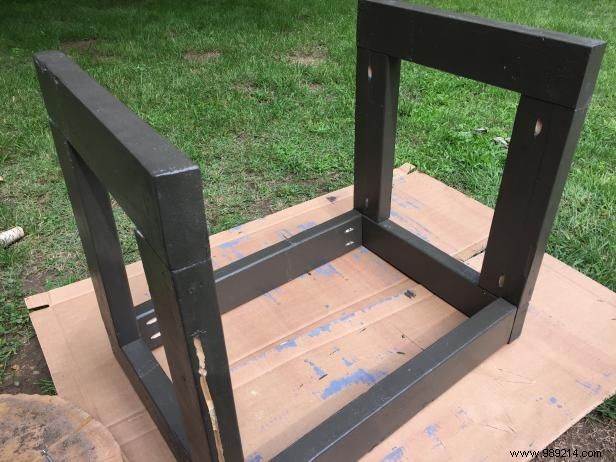
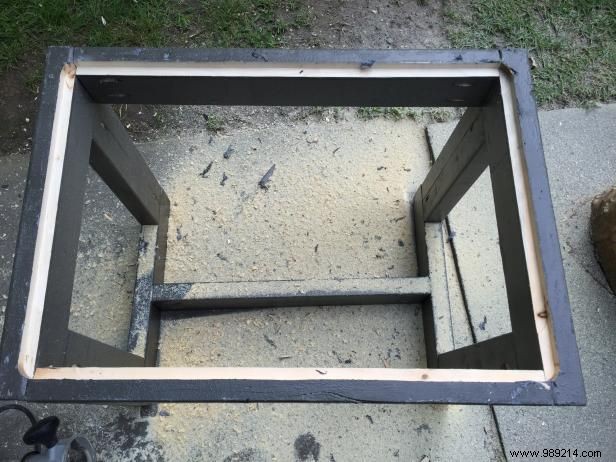
Connect the ends with two 22-1/2” boards along the top to form the rim that cradles your tub securely.
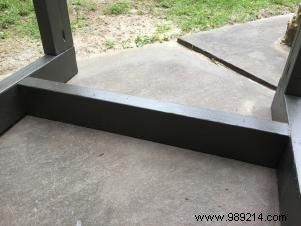
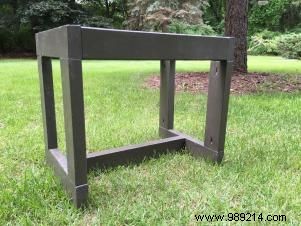
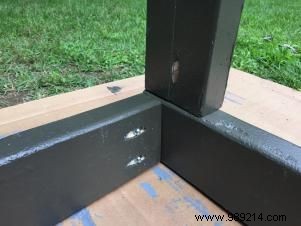
Add the third 22-1/2” board along the bottom for stability, keeping legs square and preventing wobble. Final dimensions: 25-1/2"L x 18"W x 22"H.

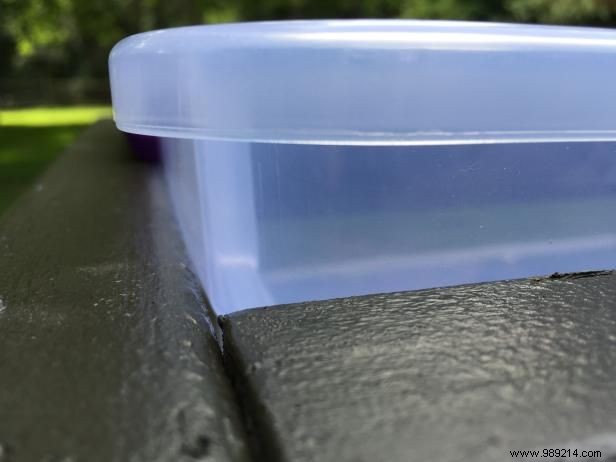
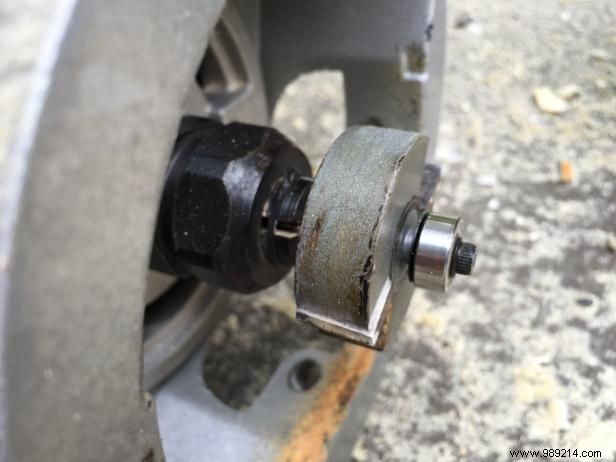
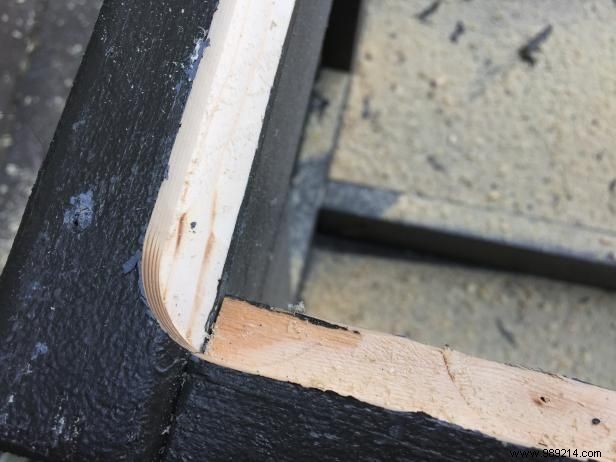
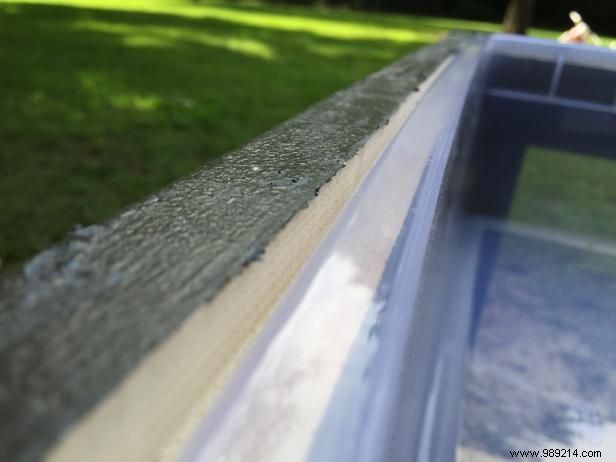
Test-fit your tub in the frame opening. For a flush insert, route a 1/2" x 1/2" lip on the top inner edge using a router.
Sand any routed edges smooth, then brush on paint for a flawless, child-safe finish.
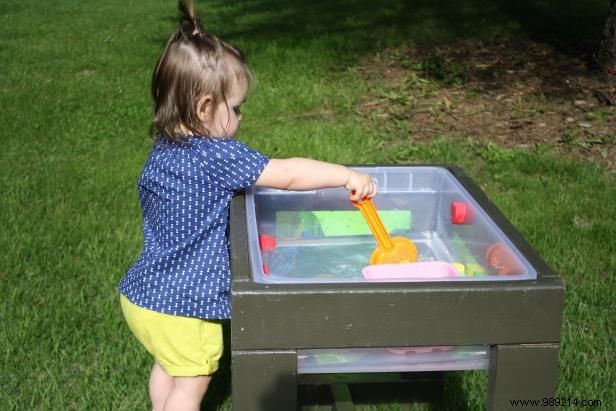
Fill with water, sand, or toys for endless fun. Use the tub's lid to cover and keep clean. Drain between uses; store toys inside when empty.