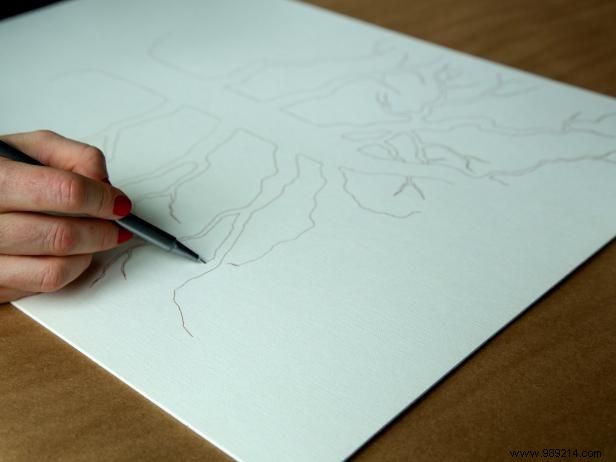
On a flat, level surface, use colored markers to sketch a landscape freehand on a large art canvas. As an experienced event crafter, I recommend starting simple to let guests shine.
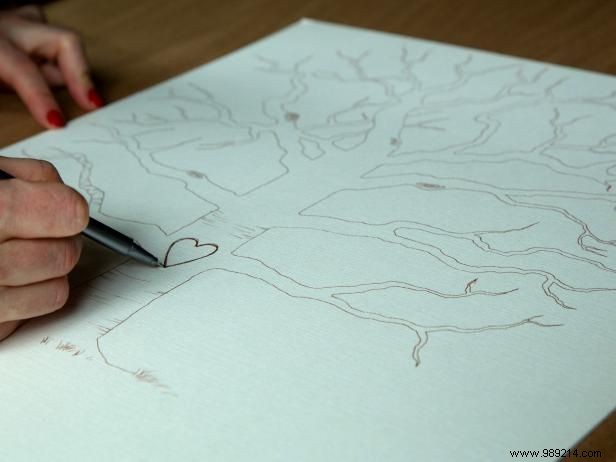
Trees are a favorite for their simplicity—guests can use fingerprints as leaves and birds for a whimsical touch. Other landscapes like cityscapes or yards work too. Tip: Stick to neutral markers (black, dark brown, gray, or navy) for the trunk to avoid a cluttered look.
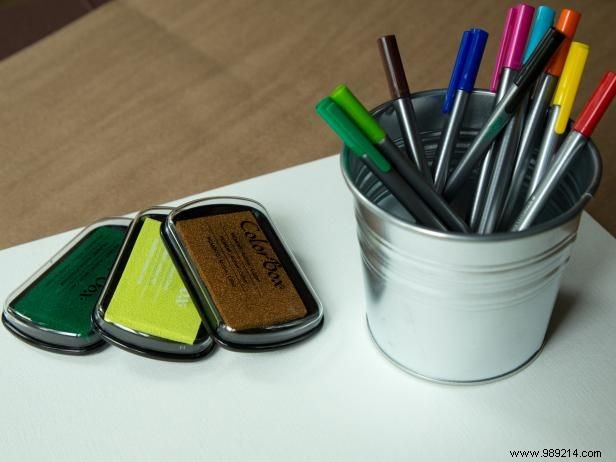
Limit ink pads to three colors: one dark, one bright, and a medium neutral. This keeps the artwork balanced. Provide colored pens in containers for signatures. Note: Fingerprints add vibrant pops, so pens can vary more since names are smaller.
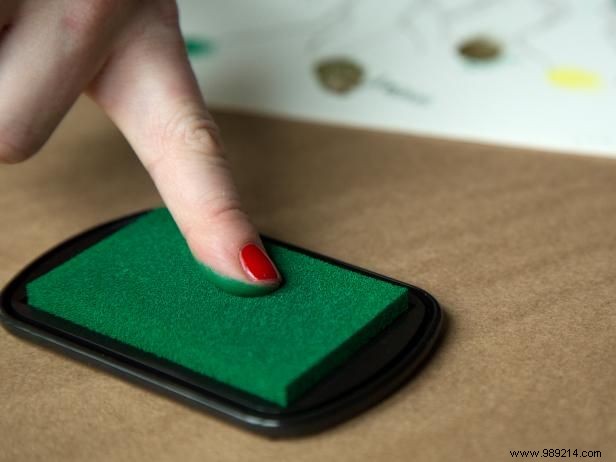
Place the canvas on a flat surface beside open ink pads. Add baby wipes for easy cleanup, inviting guests to contribute right away.
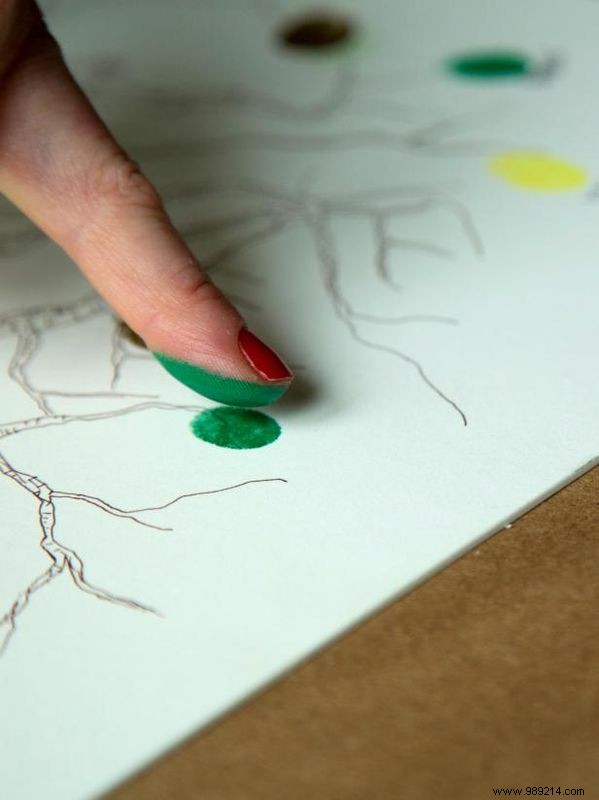
Encourage guests to stamp fingerprints randomly across the canvas. Distributing them evenly prevents patchy areas and creates a polished, collaborative piece.
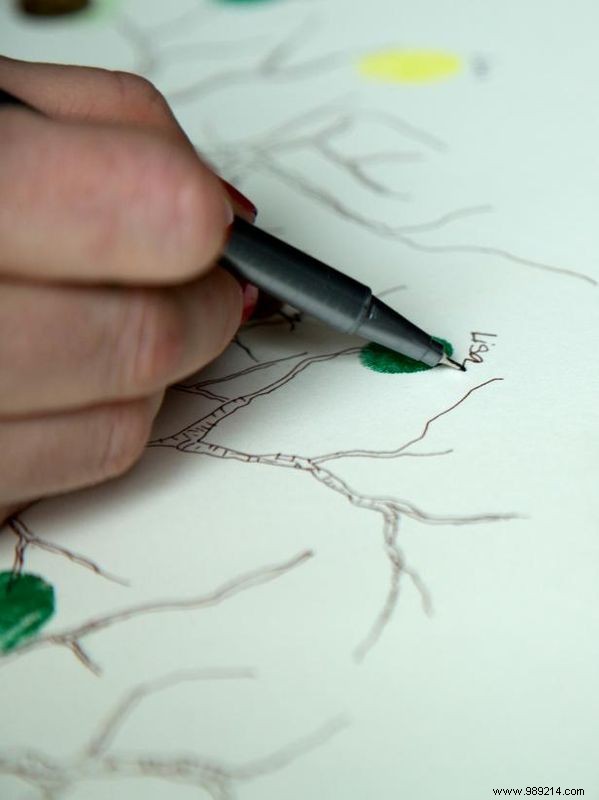
After stamping, have each guest sign their name next to their fingerprint with a colored pen. Frame the finished artwork at event's end for a cherished keepsake.