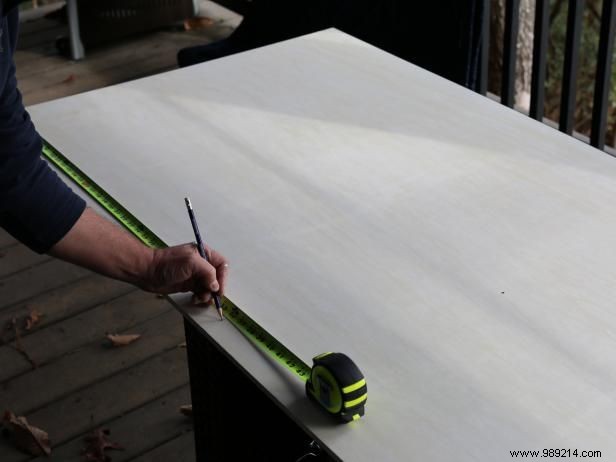

Measure the wall space where your string art will hang, then use a tape measure and pencil to mark the plywood to size.
Secure a straight edge along the marked line and guide a circular saw or table saw to cut. Enlist a helper to steady the wood for safe, precise cuts.
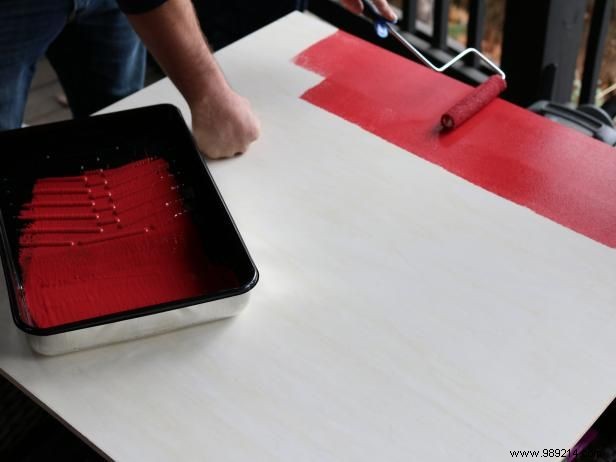
Wipe the plywood surface with a damp cloth for even paint adhesion. Apply two coats using a mini roller, allowing about two hours of drying time between each.
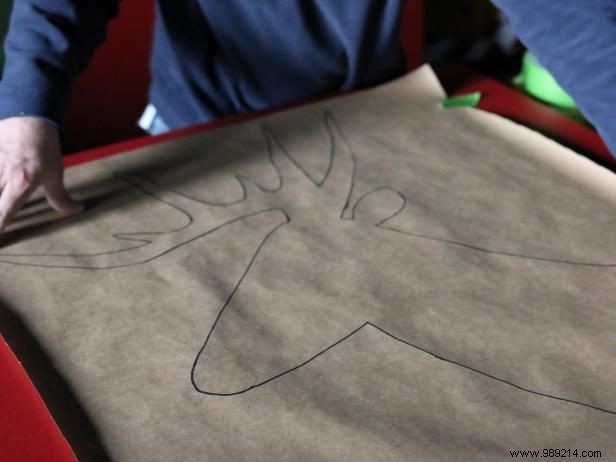
To scale your silhouette perfectly, craft a template from kraft paper on a flat surface—freehand or trace your design. Secure it to the plywood with painter's tape at all four corners.
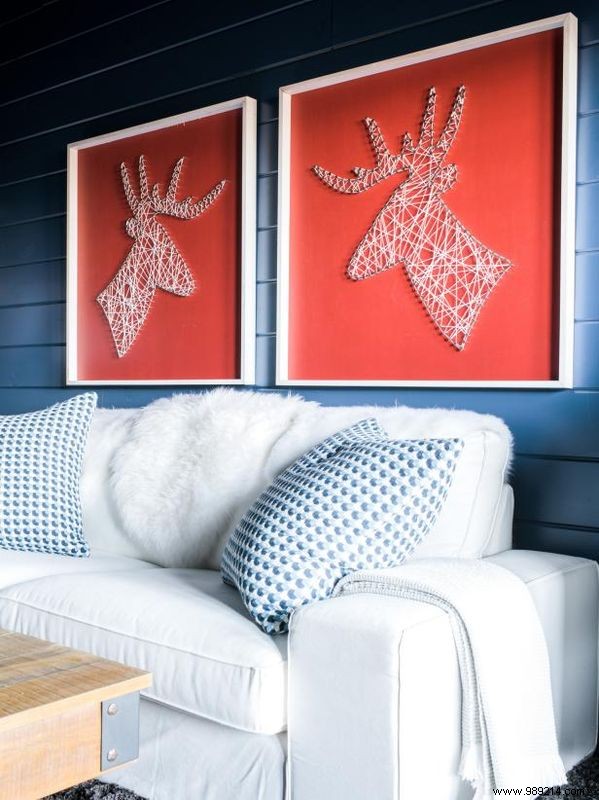
For maximum visual impact, size the silhouette to cover about 75% of the plywood surface.
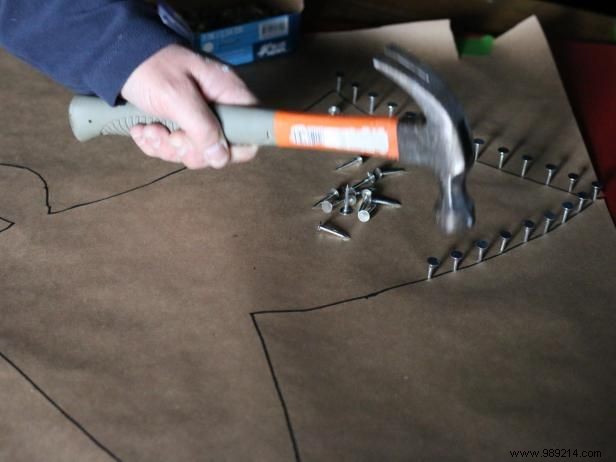
Hammer roofing nails along the template's traced outline, spacing them about 1/2 inch apart.
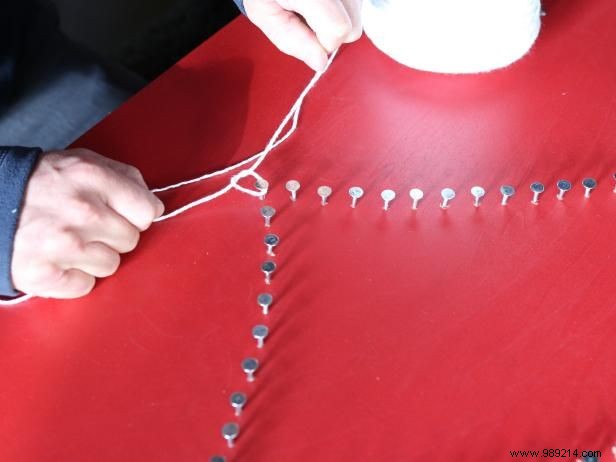
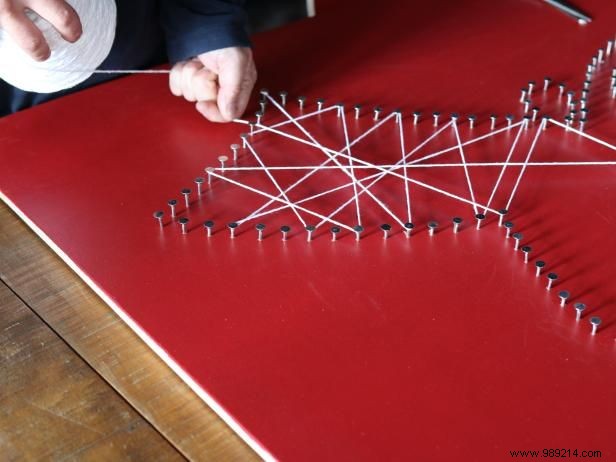
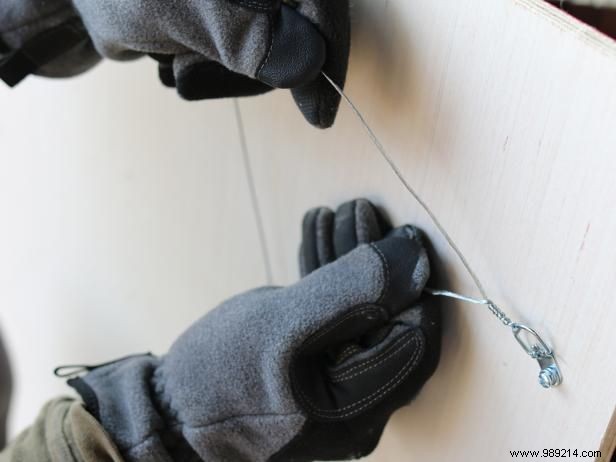
Tie the string to a starting nail. Weave it back and forth around the nails, varying slightly up and down for even, full coverage and depth.
Once the silhouette forms, wrap the string around the perimeter nails sequentially for a clean outline border.
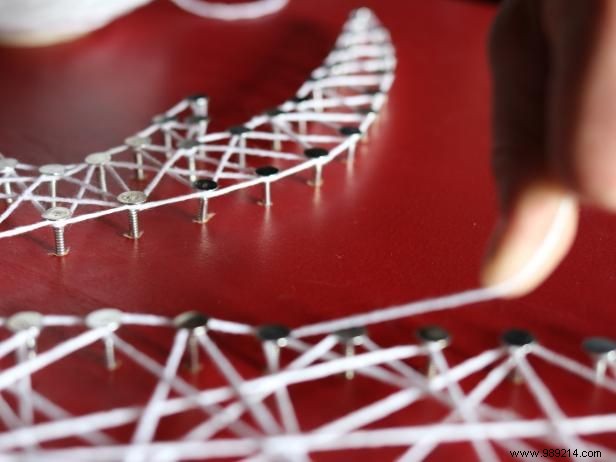
Ensure a polished finish by wrapping string around each perimeter nail in sequence, creating a continuous, defined edge.
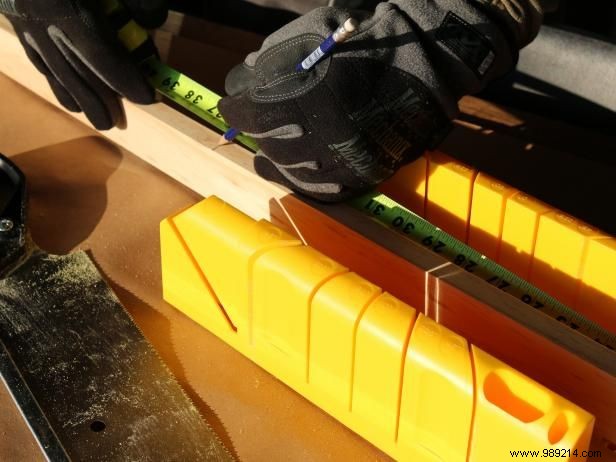
For a pro finish, frame with 1x2 pine trim. Measure and mark each side with a tape measure and pencil.
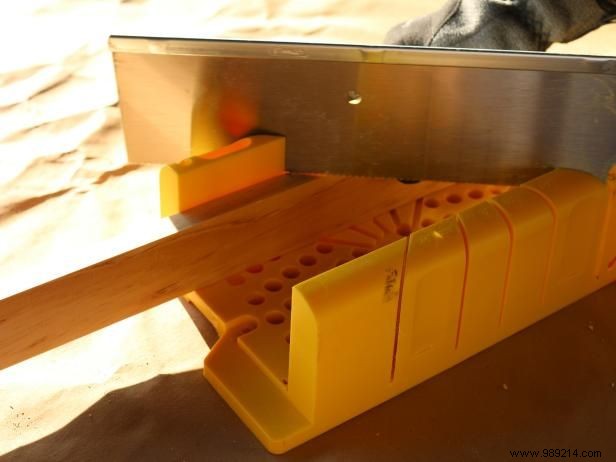
Cut ends at 45-degree angles using a miter box and saw.
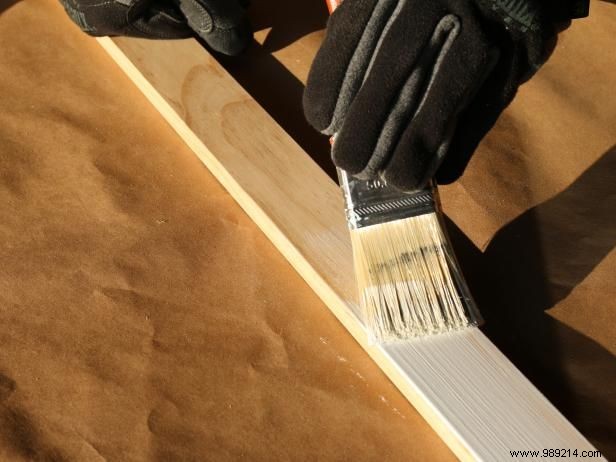
Paint the trim in an accent color (black or white works best) using a 2-inch brush.
Hammer finishing nails to secure mitered pieces along the edges. Fill nail holes with wood filler and touch up with matching paint.
Rustic Blank Photography, LLC