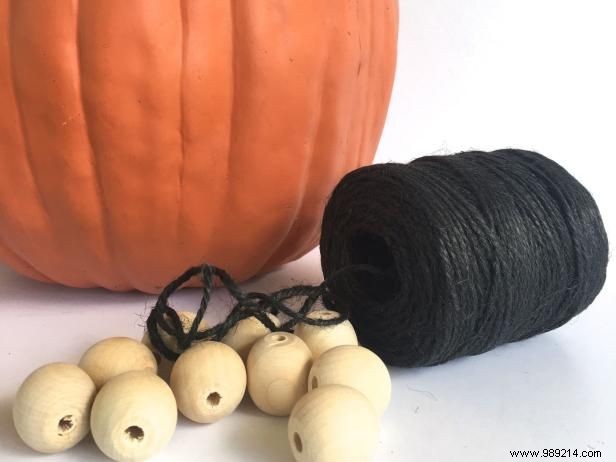
Cut 16 strands of twine, each 80 inches long.
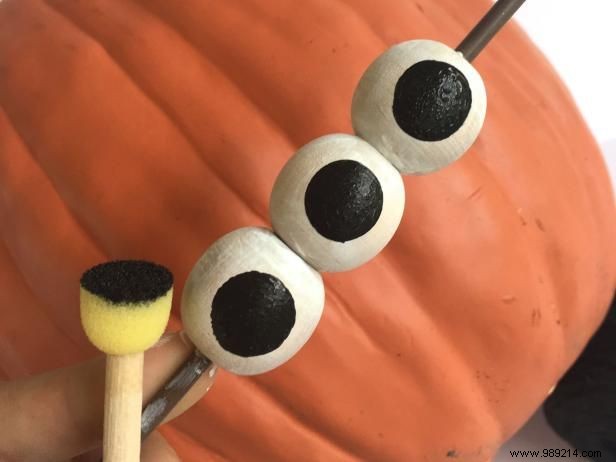
Paint or decorate your wooden beads to resemble eyeballs. While they dry, use a knife to cut a hole in the top of your fake pumpkin, just large enough to insert a plant.
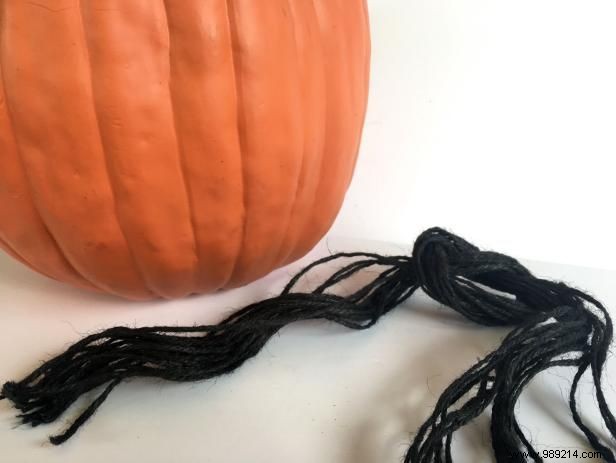
Tie a knot to form a dangling tail, 6 to 8 inches long. Secure the knot to the bottom of the pumpkin with hot glue.
For easier knotting, hang the planter upside down as you work.
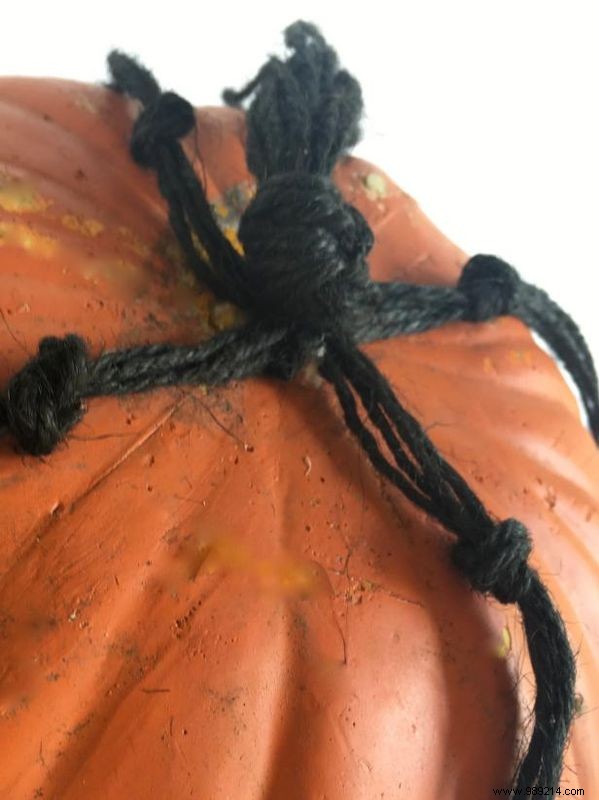
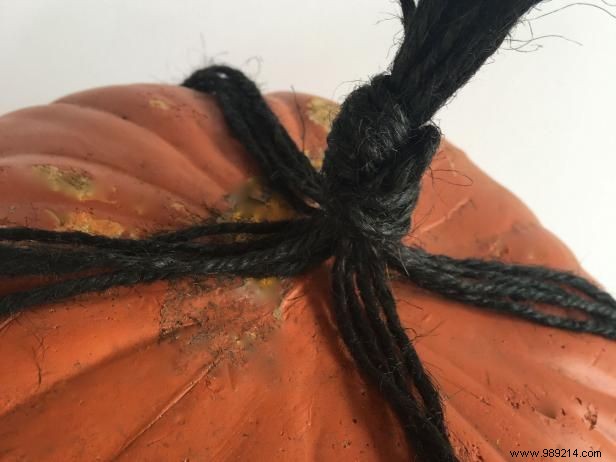
Divide the remaining twine into four groups of four strands each. Measure evenly and tie a knot in each group.
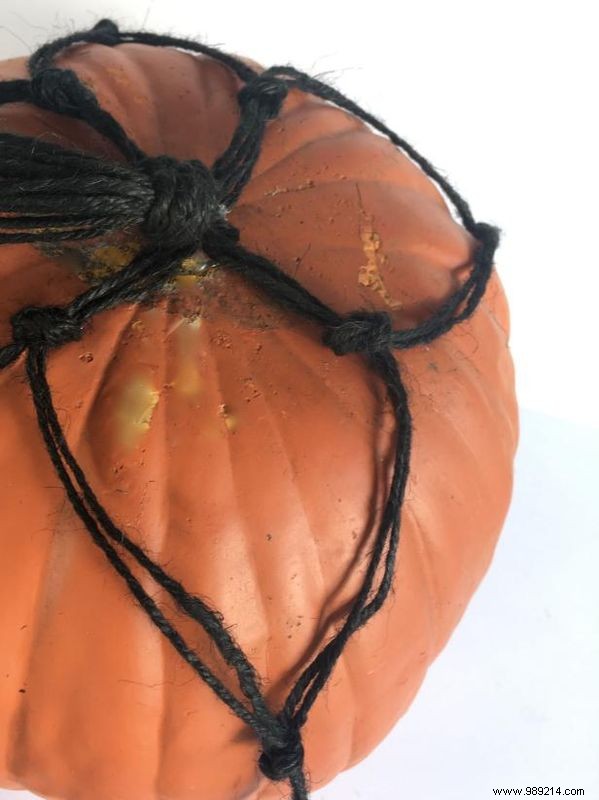
Combine two strands from adjacent sections to form new groups of four. Tie knots around the pumpkin, keeping them uniform in length.
At the top of the pumpkin, regroup into four bundles. Tie small knots where you want to add the eyeballs, then secure with another knot after each bead.
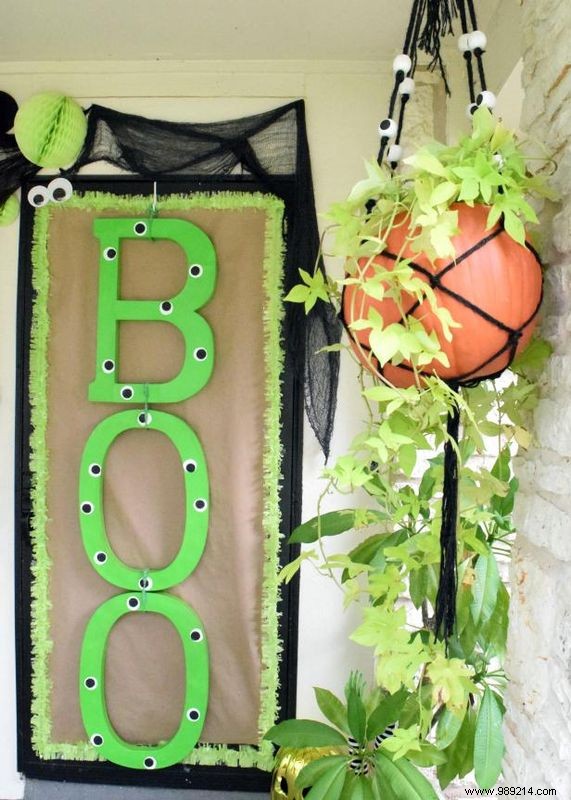
Insert a trailing plant like sweet potato vine to cascade over the pumpkin sides. Gather all twine at the top, tie a strong knot, and hang by your door or window. Get more outdoor decorating ideas for fall>>