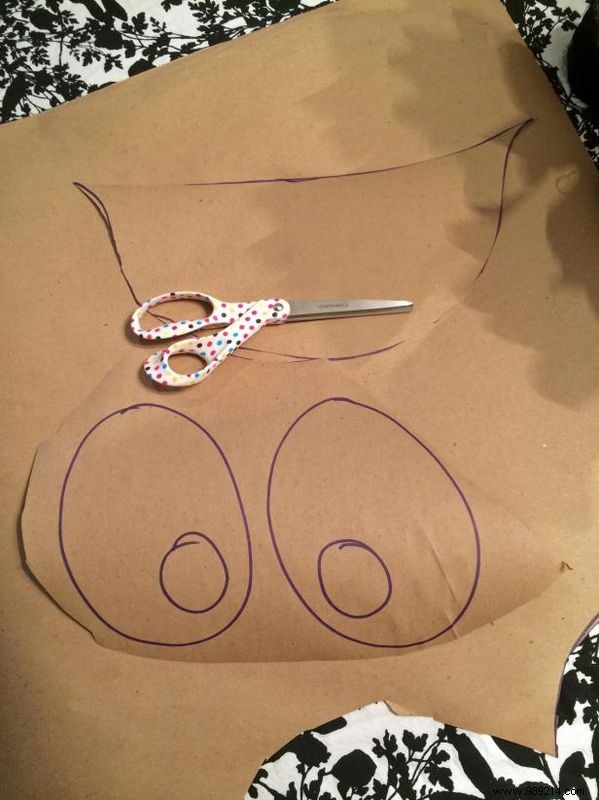
Start by cutting out patterns for the eyes and mouth. Craft the eyes from fabric and glue them directly to the tube, while cutting out the mouth opening and covering it with breathable mesh for visibility.
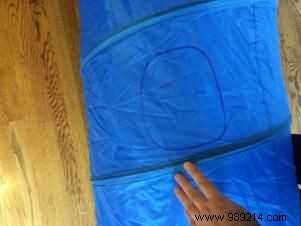
With help from an assistant, stand the tube upright and mark the spot aligned with your face. Trace the mouth pattern there—this is your viewing window.
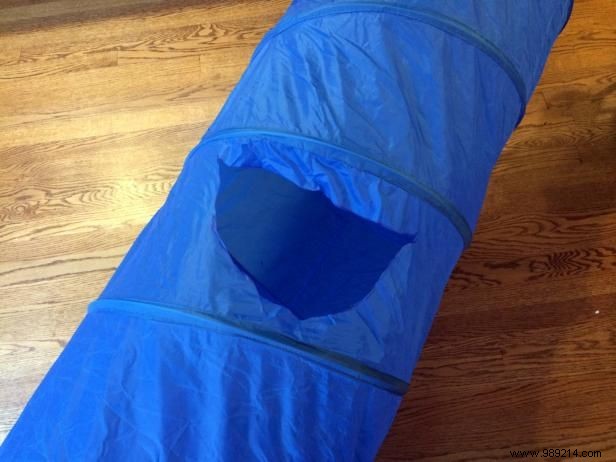
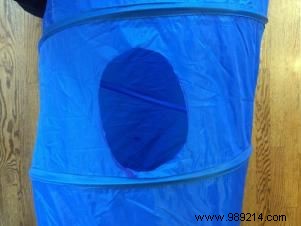
Take care when cutting the mouth from the nylon tube, as it can snag and tear if you apply too much pressure. Proceed slowly for clean edges.
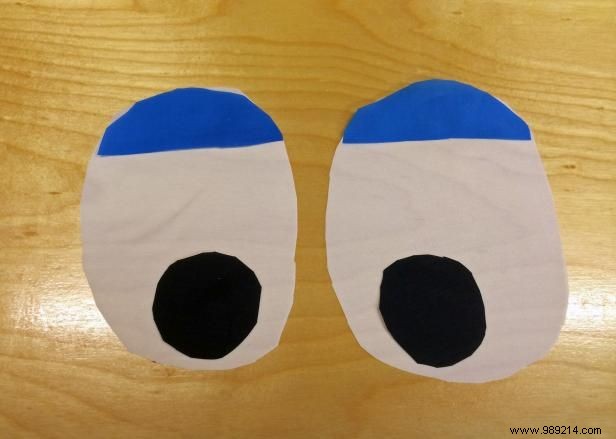
Cut two white ovals (about 6" x 4") and two black circles (1-1/2" x 1-1/2"), then hot-glue the circles onto the ovals. Use scrap fabric or matching nylon at the top for realistic eyelids.
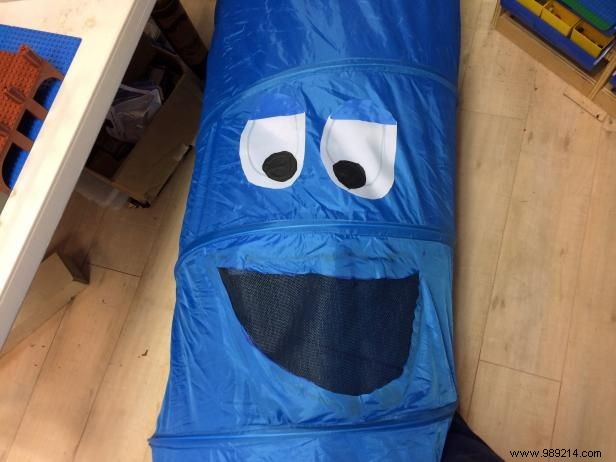
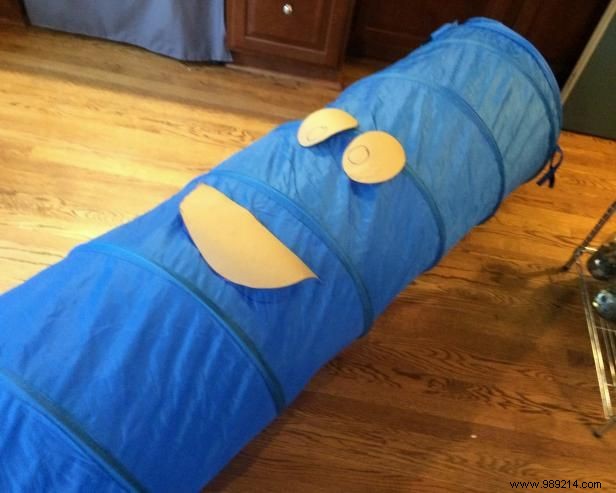
Hot-glue the eyes above the mouth opening. Cut a large piece of black mesh (tulle, screen material, interfacing, or netting) and glue it behind the mouth for clear visibility—crucial for nighttime trick-or-treating. Secure it firmly by sandwiching the mesh between layers of blue nylon and glue.
Mark and cut two armholes below the face, adding a few centimeters to your arm circumference for ease. Position between the tube's metal rings. Use a flexible tape measure to note each hole's circumference once cut.
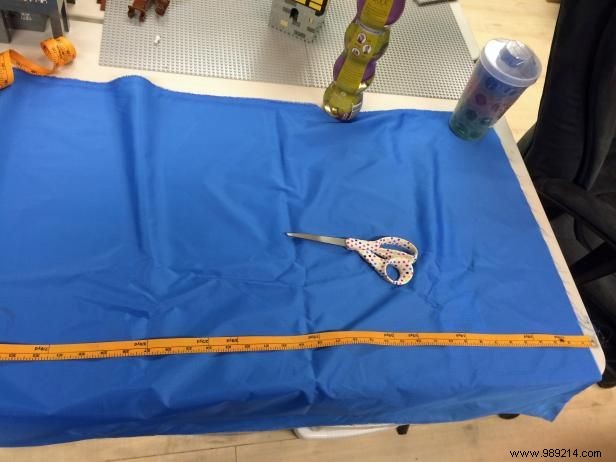
Cut two 48"-long strips of blue ripstop nylon, each X" wide (X matches your armhole circumference, like 26" here). With ripstop, make a small cut and rip the rest, then peel off loose strands to prevent glue issues.
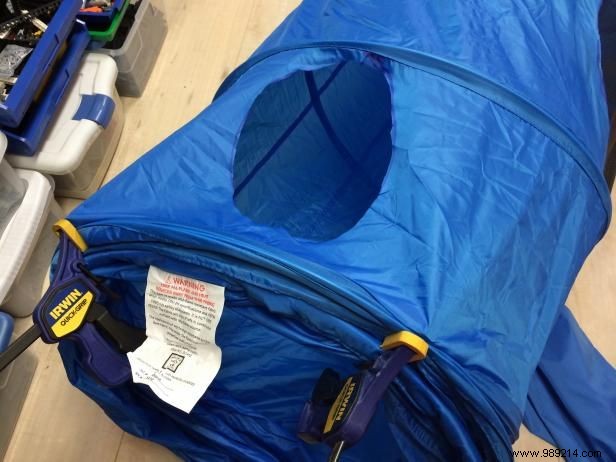
Working inside the tube can be tricky. Use clamps or an assistant to gather excess fabric and hold it in place—this speeds up assembly significantly.
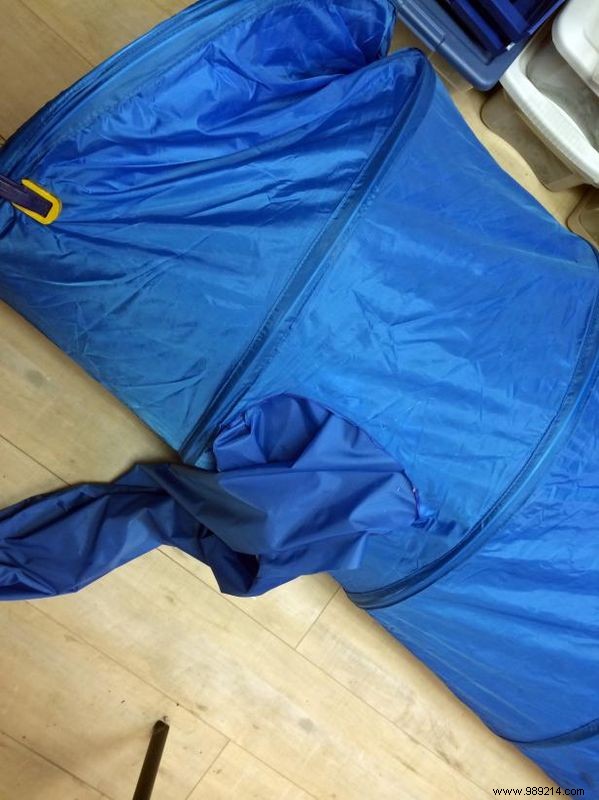
Secure the sleeves by gluing their ends together to form tubes, then attaching them inside the armholes one section at a time to avoid drying glue. Position seams facing downward for a clean look.
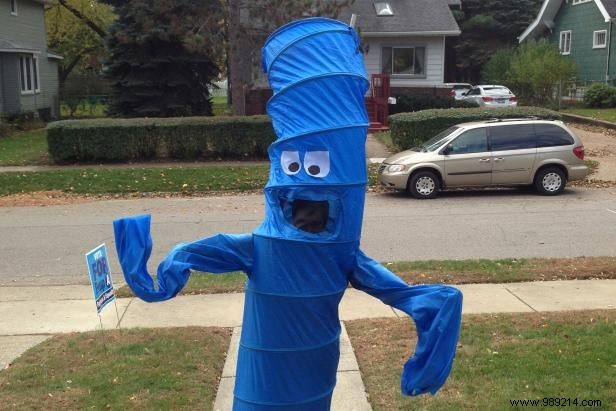
Test the costume and perfect your flailing arm gestures. I used a 9-foot kids' tunnel instead of 6 feet, adding extra height. To stabilize, I inserted a PVC rod into a backpack, keeping the top upright and enhancing the dramatic effect.