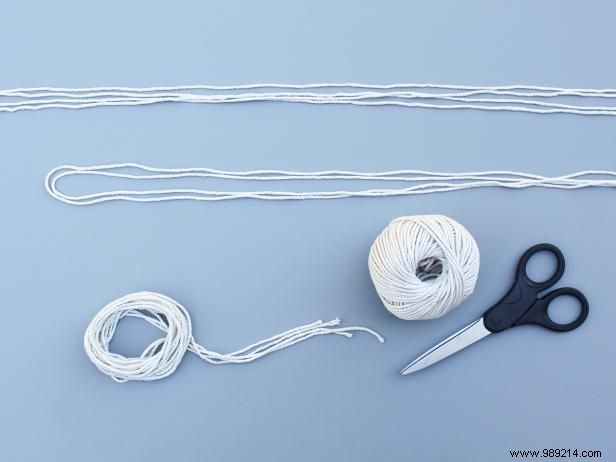
As a seasoned crafter with years of macramé experience, I recommend cutting six 10-foot lengths of sturdy macramé cord or natural twine for durability.
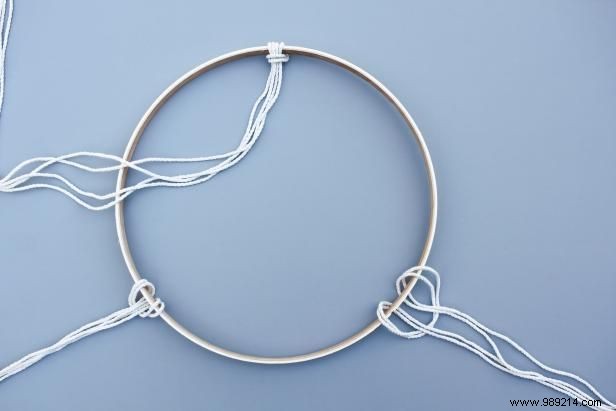
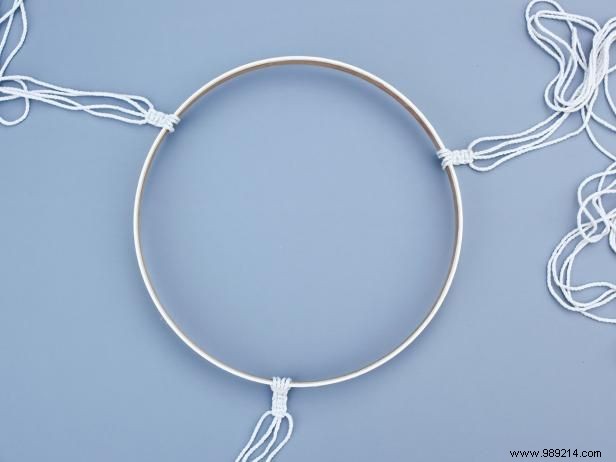
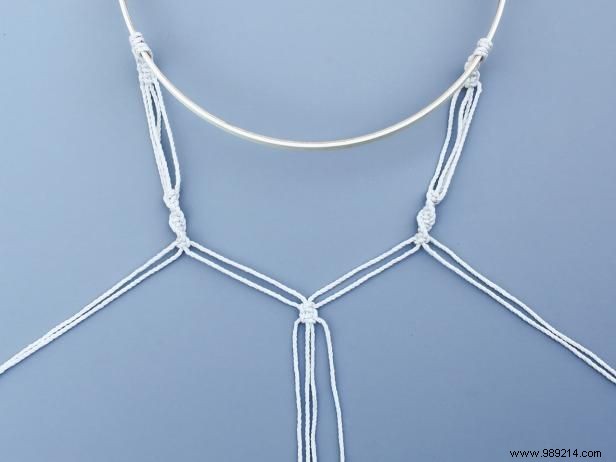
Gather the cords into three groups of two strands each and fold them in half. Loop each folded group around the wooden hoop, tucking the folded end under and pulling the loose ends over the hoop and through the resulting loop. Space the three attachments evenly, about 10-1/2 inches apart, for balanced design.

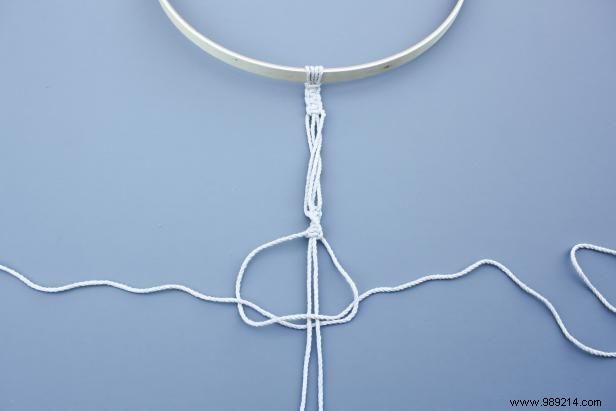
Mastering the square knot is key to professional macramé. Lay the four strands from one bundle flat. Cross the left outer strand over the others, then weave the right outer strand over the left one, under the two middle strands, and up through the left loop. Tighten firmly. Repeat from the opposite side: right outer over, left outer over that, under middles, through right loop. Pull tight for a secure knot.
Build strength by tying three complete square knots down each group of strands, working evenly for a solid foundation.
Three inches below the square knots, start the signature spiral. Repeat only the first half of the square knot: left outer strand over the rest, right outer over that, under middles, through left loop. Tighten and repeat from the left each time—this consistent direction creates the twist. Continue until the spiral reaches 1-1/2 inches. Repeat on the other groups.
For visual interest, rearrange into new groups. Lay the hoop flat and combine the two right strands from one group with the two left from the adjacent group. Three inches below the spirals, tie two square knots to secure. Repeat around the hoop.
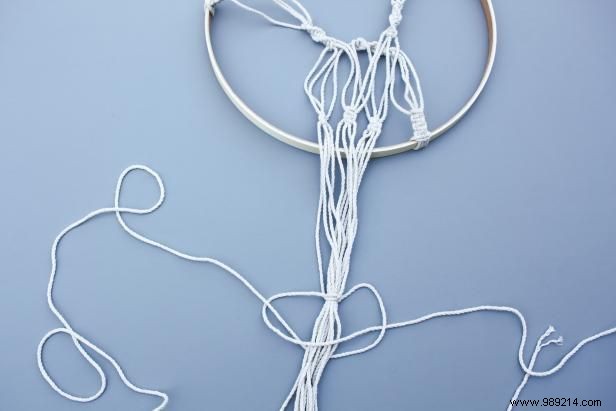
Six inches below the last knots, gather all strands and start a central spiral with half knots. Cross the left outer over all, weave right outer over it, under the rest, through the left loop. Tighten and repeat from the left until the spiral measures 2 inches.
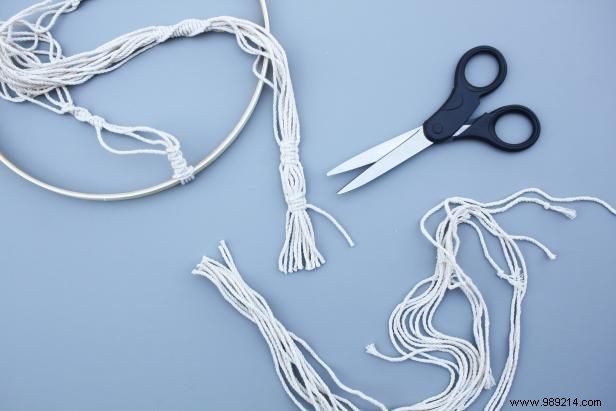
Six inches above the central spiral, tie three square knots using select strands to form the hanger. Move up 1 inch and add two more square knots. Trim excess ends evenly and fray for a natural tassel finish. Use the loop between knot groups to hang your macramé herb drying rack securely.
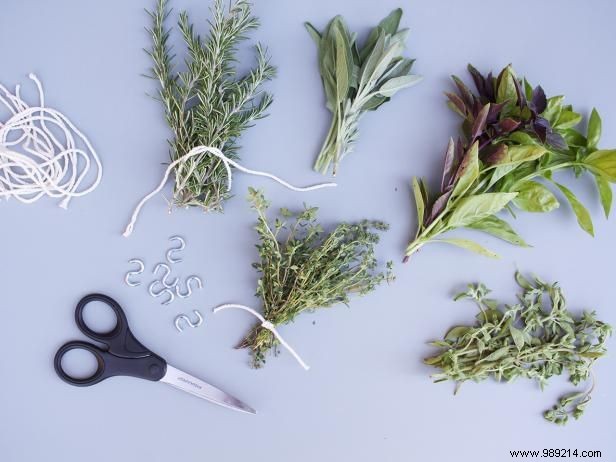
Bundle fresh herbs and secure with twine. Hook one end of an S-hook into the rack's hanging loop for easy suspension.
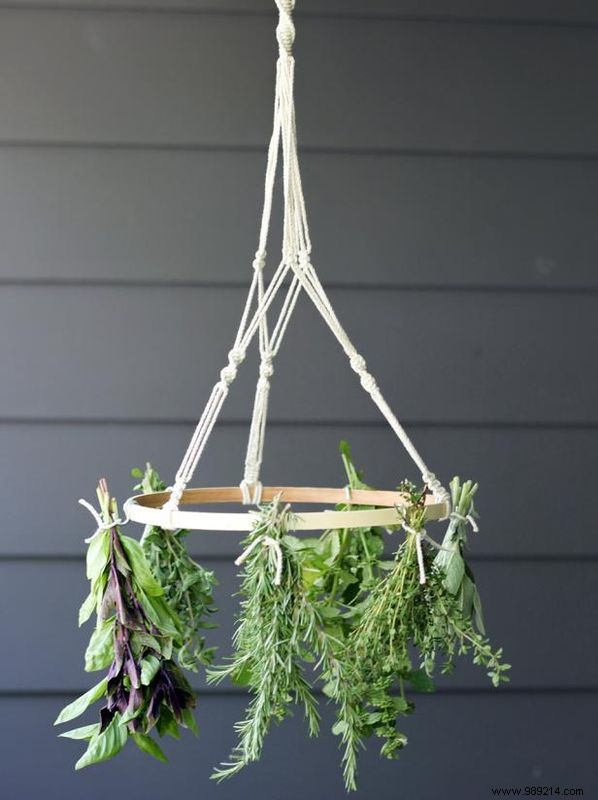
Suspend the rack in a warm, dry spot. Hang herb bundles from the hoop using the S-hooks. Let them air-dry fully, preserving flavors through the season.