
As an experienced crafter who's made dozens of custom tees, I recommend iron-on vinyl in your favorite colors for fabric projects. Cricut vinyl delivers smooth, professional results, but affordable alternatives work just as well—especially without a cutting machine. The material is user-friendly, yielding vibrant, durable graphics. For non-fabric surfaces, explore options like premium vinyl for signs or temporary decals.
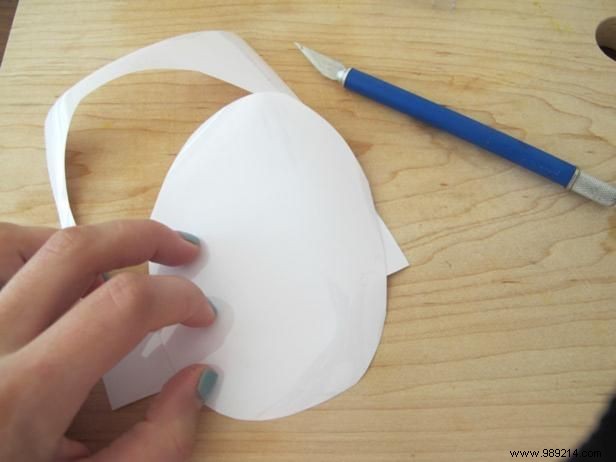
Many crafters overlook this: you don't need a $300 machine. Scissors and an X-Acto knife produce crisp designs effortlessly. Vinyl has a glossy carrier side and matte adhesive side—the matte bonds to fabric, while the glossy peels away post-ironing.
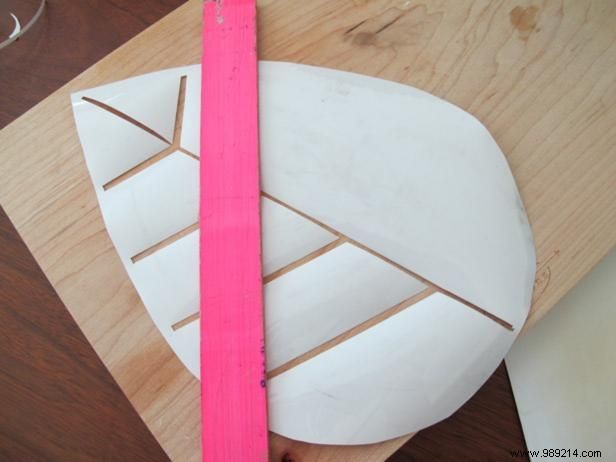
For intricate designs, sketch lightly on the glossy side with a washable marker—never the matte side, as ink could show through. Use a straight edge for clean lines. For letters, print on paper, tape to a window, and trace onto vinyl using the lightbox method.
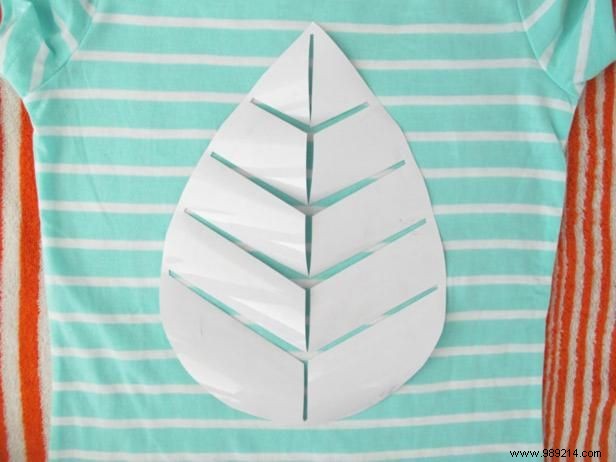
Hand-cutting lets you customize size and style freely. My shirt design draws from Charley Harper's iconic art. Center the vinyl glitter-side up on your pre-washed shirt.
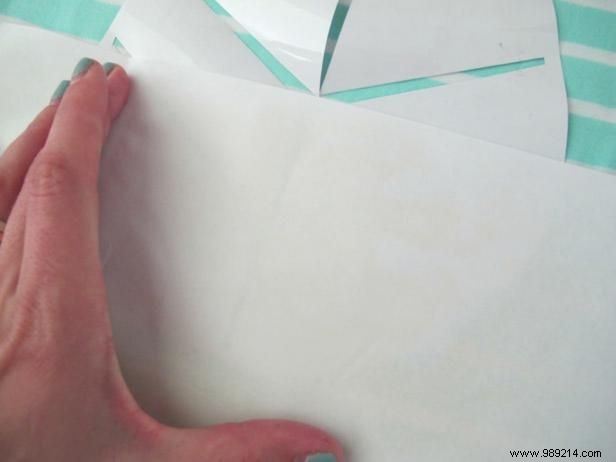
Always shield vinyl from direct iron heat to prevent scorching—I learned this the hard way with a wrinkled test piece. Stack printer paper (one sheet to check alignment, then 4-5 more) over the design. Tap lightly with a dry iron to tack it, then press firmly for 15 seconds in sections for larger graphics.
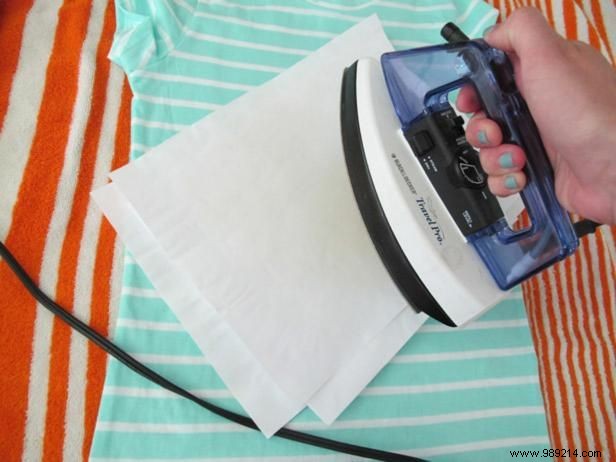
Five paper layers diffuse heat evenly, bonding vinyl securely. Check every 10 seconds—overheating causes wrinkles or edge bleed, ruining sharp lines. Adjust based on your iron's settings.
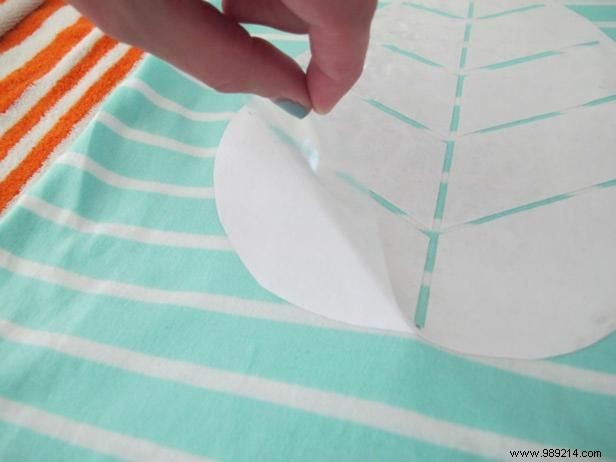
Test a corner: if the shiny plastic lifts cleanly, peel fully. If vinyl sticks, reheat briefly. This confirms a strong bond.
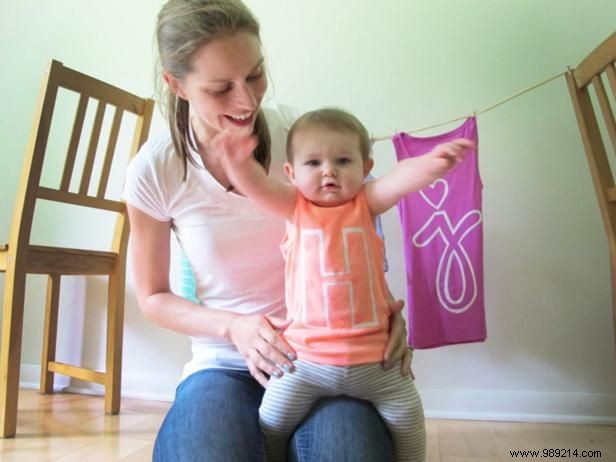
With the carrier removed, your tee is wearable immediately! I've created Charley Harper-inspired birds, ladybugs (robot-like mishap included), and personalized tanks for my daughters. Endless options for kids' clothes, events, or unique gifts.