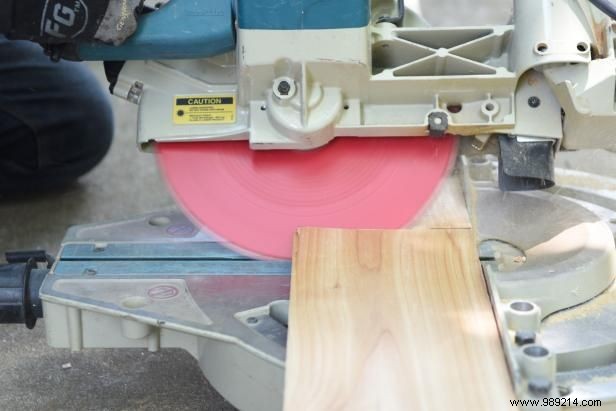
With years of woodworking projects like this under my belt, start by marking your cedar planks—a naturally rot-resistant choice for outdoor use—using a tape measure and pencil at twelve 20-inch increments. Cut a precise 45-degree angle on both ends of each with a miter saw for a seamless fit during assembly. You'll need three planks per side, totaling twelve.
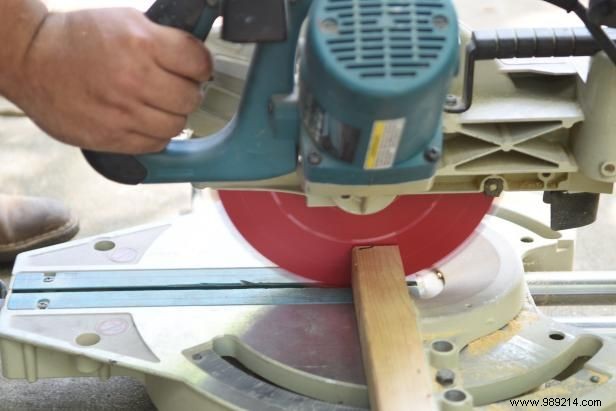
Next, measure and mark a 2x2 board, then use your miter saw to cut it into four 15-inch pieces. These sturdy supports will form the inner vertical corners, providing essential stability to your planter box.
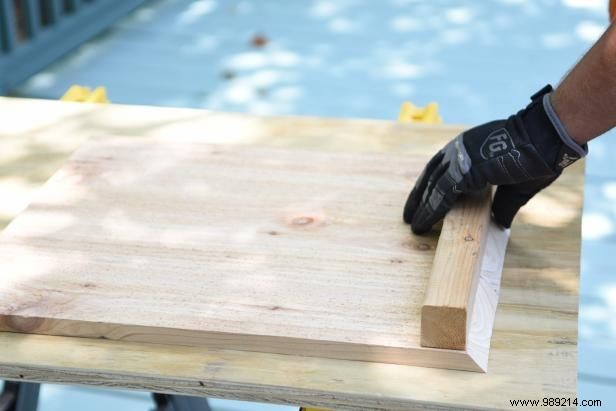
Lay three boards side by side on a flat surface. Position two vertical 2x2 supports centered along the inner mitered edges. For rock-solid joints, apply a thin bead of wood glue along the edges before securing everything with a nail gun—a technique I've relied on for countless builds.
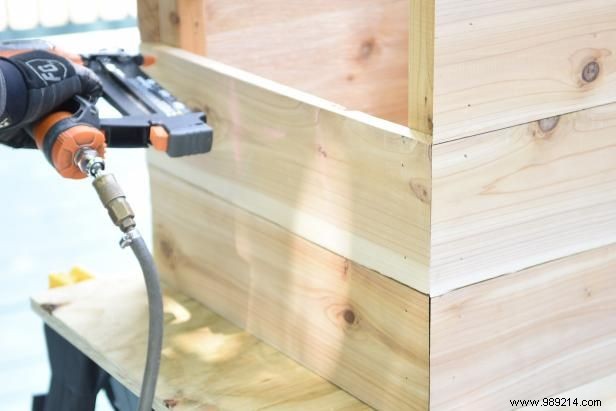
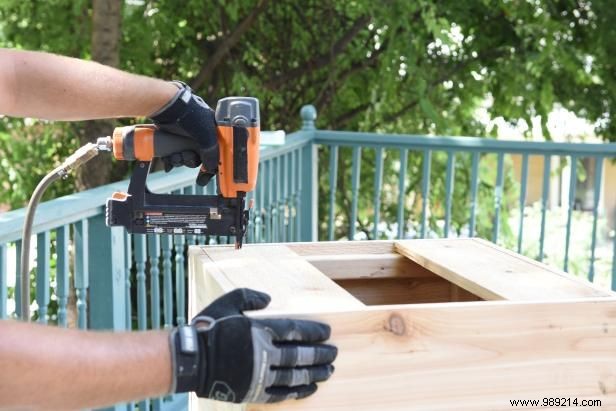
Build the remaining sides from the bottom up, adding boards and 2x2 supports progressively. Use the same glue-and-nail method to fasten securely until the box frame is fully assembled and square.
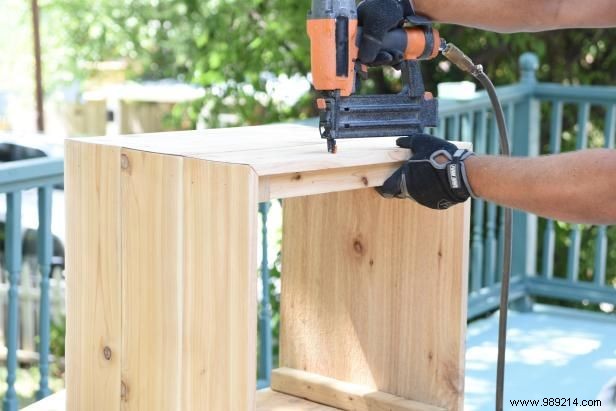
Measure, mark, and cut two 2x2 pieces to fit as bottom support rails. Flip the box on its side and nail these rails securely to the interior walls with your nail gun for reliable load-bearing support.
Turn the box upside down and attach three bottom planks to the rails using the nail gun. Pro tip: Leave small gaps between boards for optimal drainage, preventing water buildup and root rot.
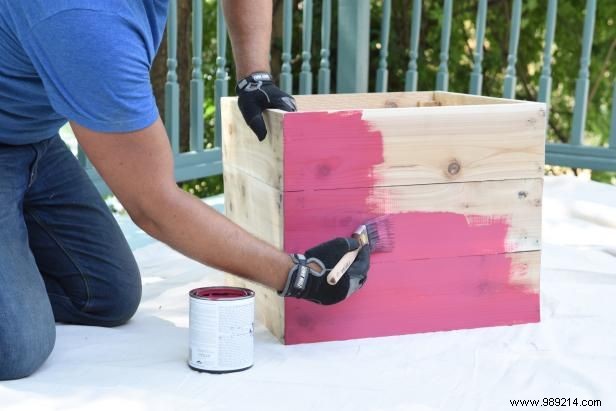
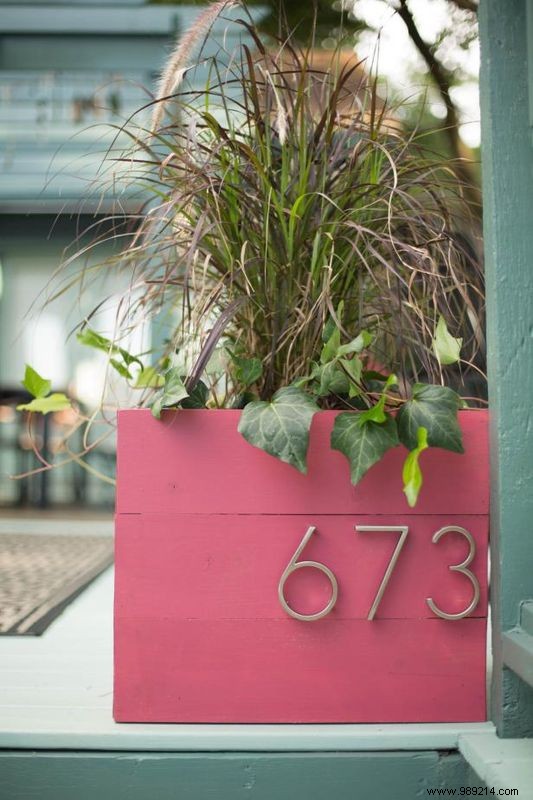
Right the planter box and lightly sand all surfaces with fine-grit sandpaper for a smooth professional finish. Apply paint or stain now—choose an exterior-grade product with primer for superior adhesion, longevity, and protection from weather exposure.
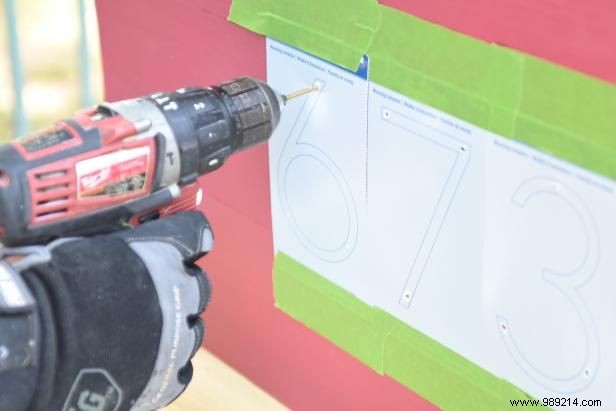
Select your placement using the house number template. Secure it with painter's tape, then pre-drill all holes accurately with a 1/8-inch drill bit to avoid splintering—a step that ensures clean, professional results.

Remove the template, then fasten the numbers using the provided hardware and a cordless drill. This personalized touch elevates curb appeal effortlessly.