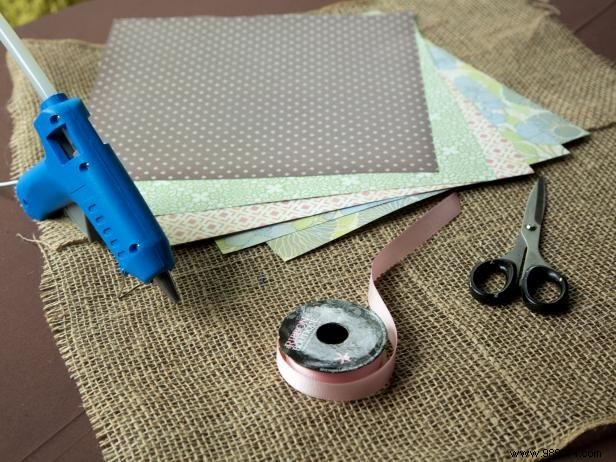
As an experienced crafter, I always start by arranging square papers on a flat surface to create a balanced color scheme. For a monochromatic look, layer shades of one color. For vibrant contrast, mix bold hues. Pro Tip: Use muted pastels with neutrals like taupe, brown, or gray for a feminine touch.
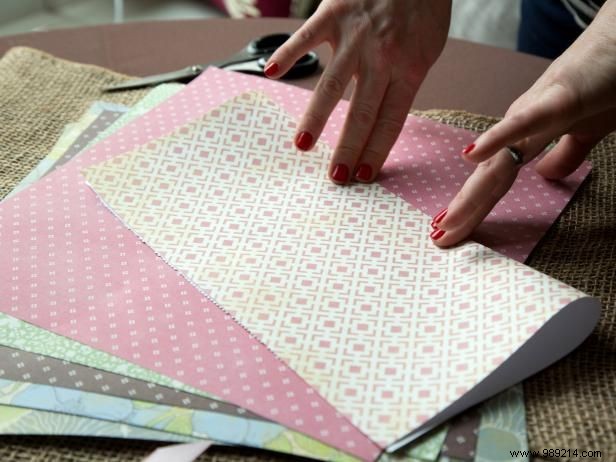
Square paper is essential for perfect round rosebuds—rectangles need trimming. Fold each sheet neatly in half to begin shaping.
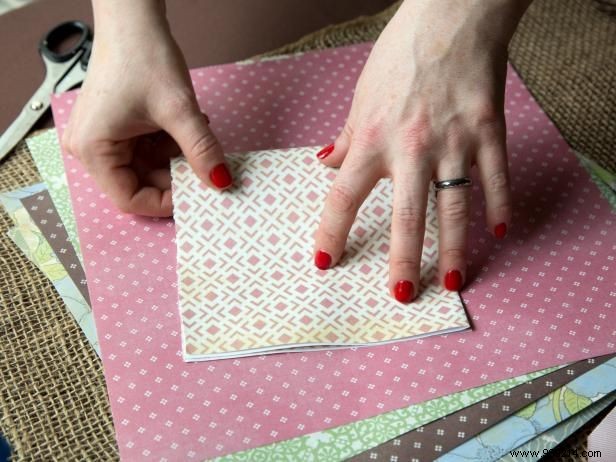
With the paper folded in half, fold it again into quarters for a compact base.
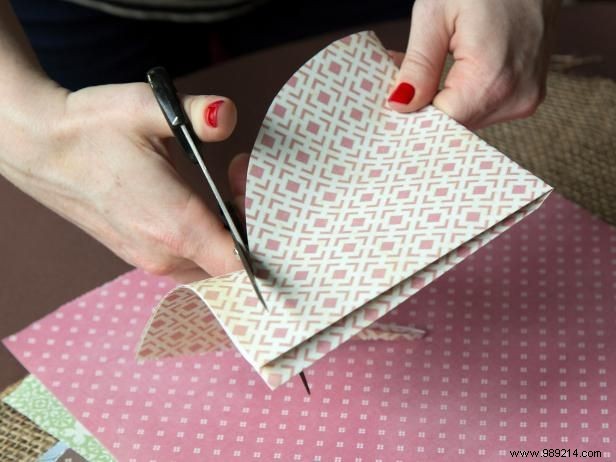
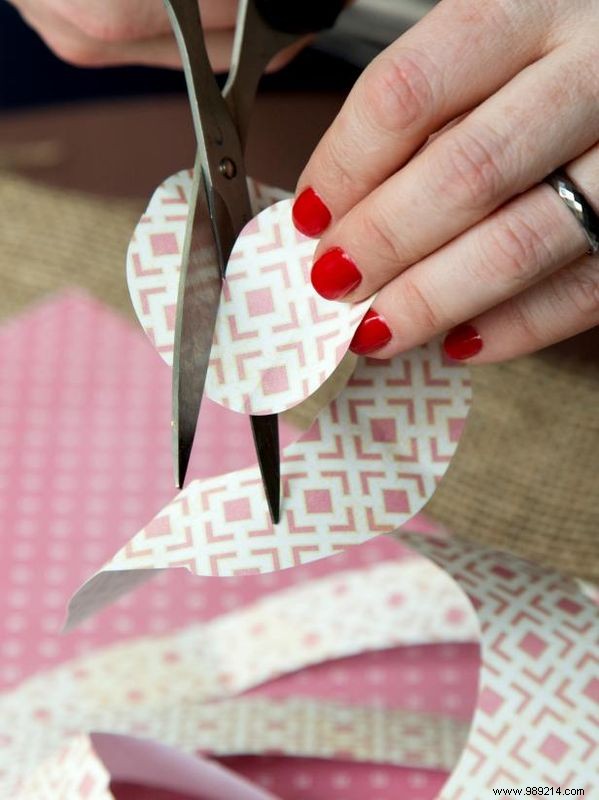
Folded into quarters, use scissors to gently round the edges, transforming the square into a circle.

Unfold to reveal a perfect circle. If it's oval, refold and trim until round—precision ensures beautiful results.
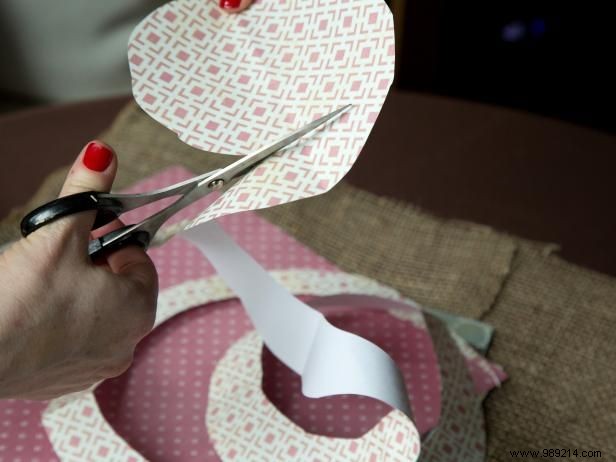
From the outer edge inward, cut the circle into a continuous spiral, leaving space toward the center.
Near the center, leave a 1-inch oval tab uncut—this secures the rosebud with glue.
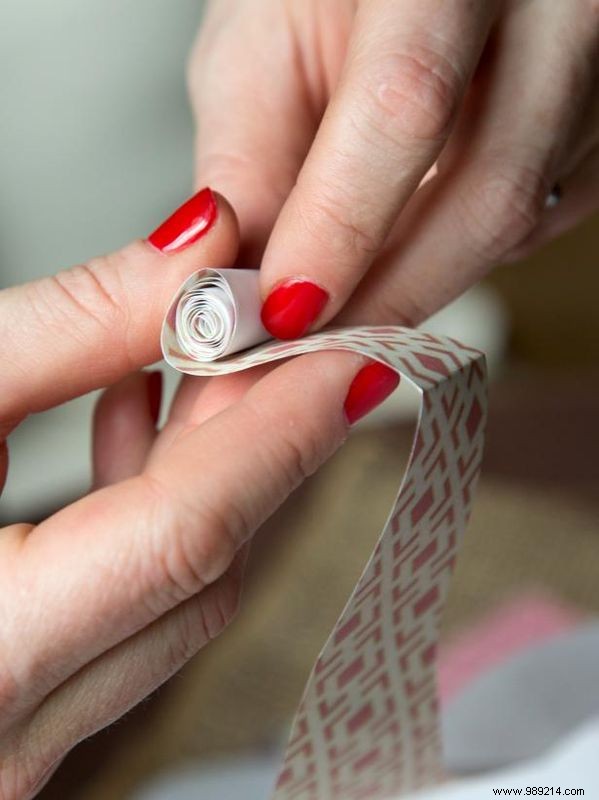
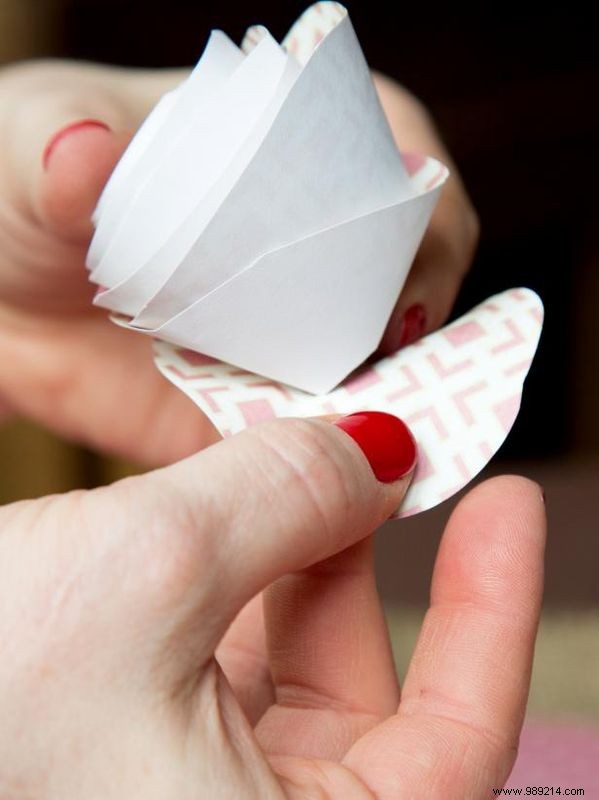
Starting from the outer end (opposite the tab), roll tightly to form the rosebud core.
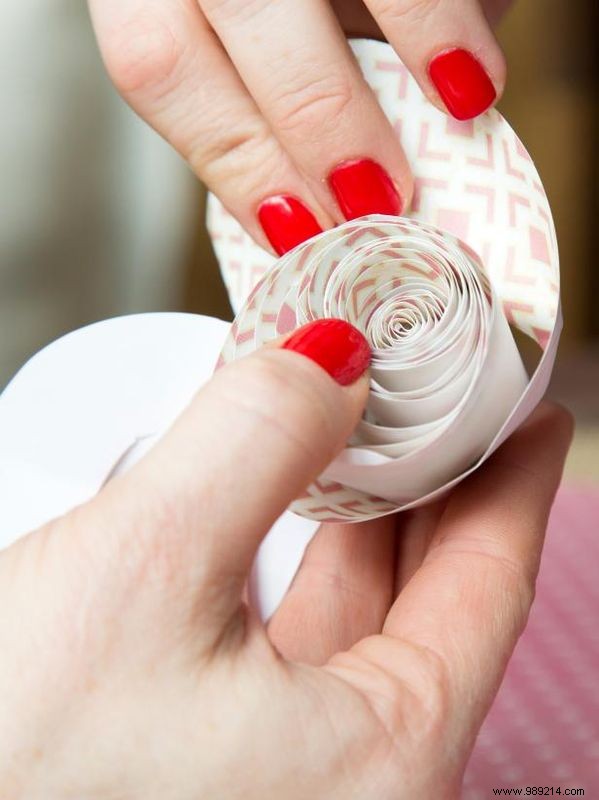
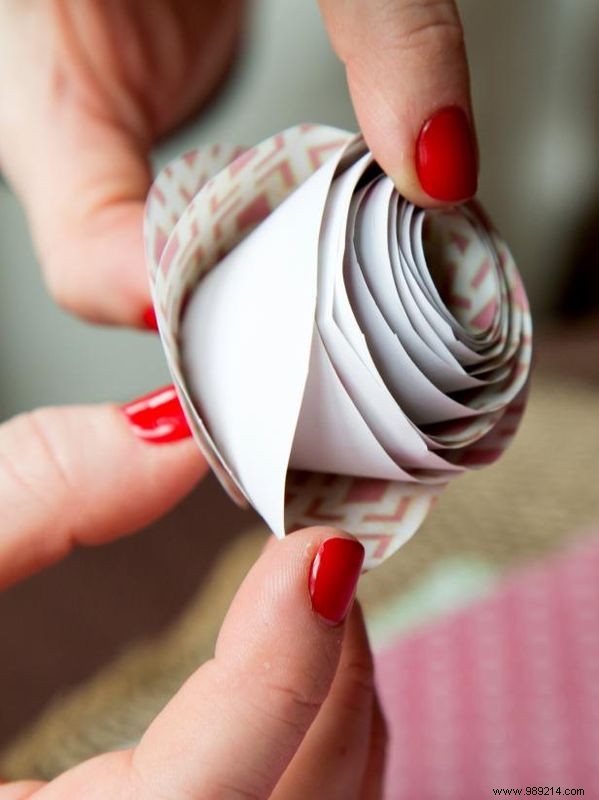
Keep the center tight, but loosen outer layers for natural petal flair.
Fold the spiral so the inner circle lies flat, creating a stable rosebud bottom.
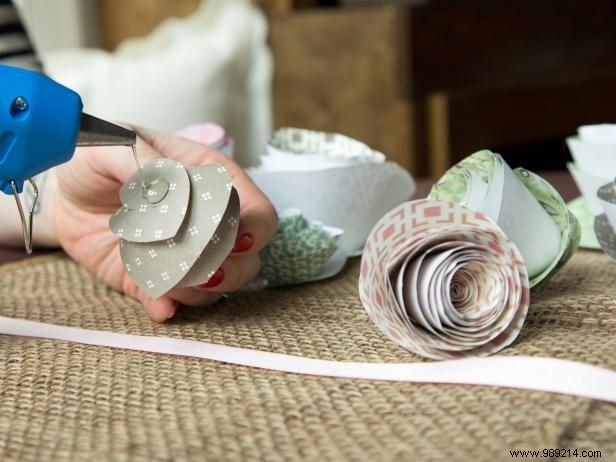
Bend back the oval tab and apply a dab of hot glue.
Press all layers firmly together until the glue sets completely.
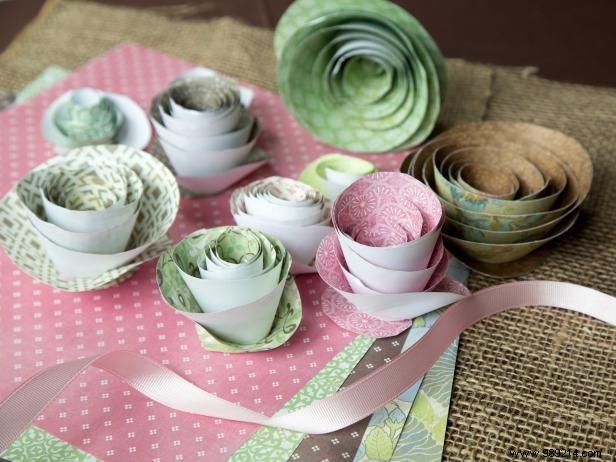
Vary colors and patterns across rosebuds for a dynamic, professional display.
Once all rosebuds are ready, unroll grosgrain ribbon and cut into 7-foot strips.
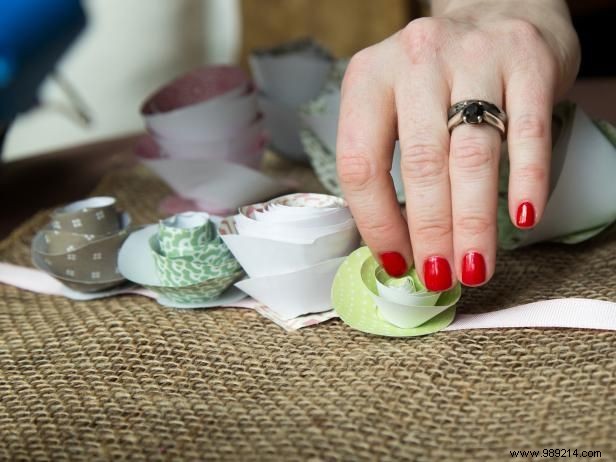
Secure rosebuds directly to the ribbon using a hot glue gun for durable streamers.