Family Encyclopedia >> Home & Garden

DIY Fringed Heart Piñata: Easy Step-by-Step Tutorial from a Seasoned Crafter

Introduction

Creating a personalized piñata is simpler than you think. With heavy paper, tissue paper, glue, and candy, you'll craft one-of-a-kind masterpieces for any occasion—as I've done countless times for parties and holidays.

Step 1

DIY Fringed Heart Piñata: Easy Step-by-Step Tutorial from a Seasoned Crafter

Gather Your Supplies

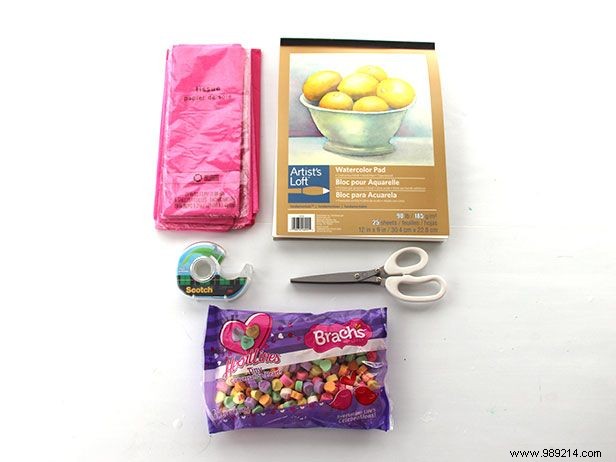
As an experienced crafter, I always start by gathering supplies: heavy watercolor paper (sturdy for candy weight yet easy to break), conversation hearts (store-bought or homemade), tissue paper, tape, scissors, and glue.

Step 2

DIY Fringed Heart Piñata: Easy Step-by-Step Tutorial from a Seasoned Crafter

Cut Out a Heart Template

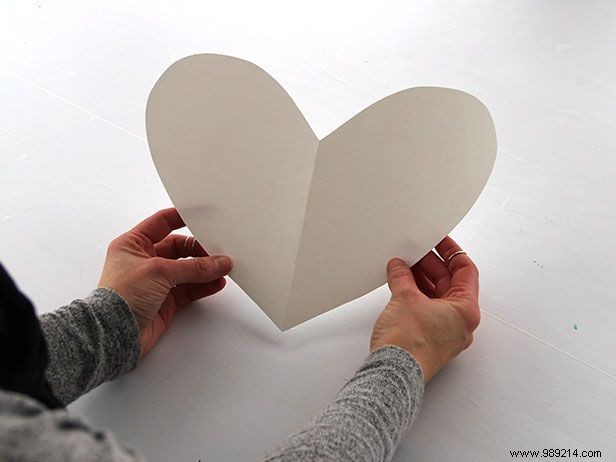
Fold the paper in half and cut half a heart shape—the classic second-grade method. Refine the edges for a perfect outline.

Step 3

DIY Fringed Heart Piñata: Easy Step-by-Step Tutorial from a Seasoned Crafter

Trace and Cut a Second Heart

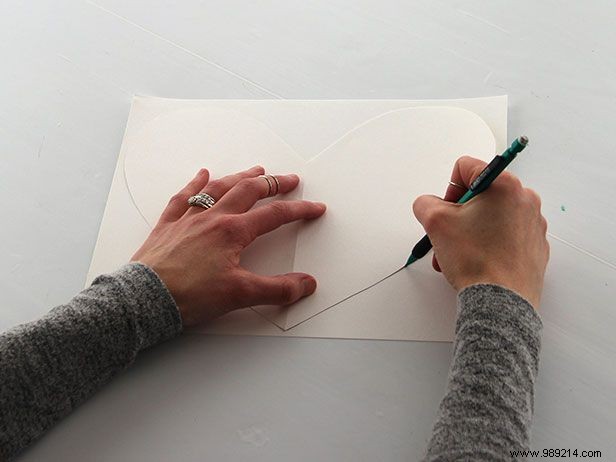
Use your template to trace and cut an identical heart from a second sheet of paper.

Step 4

DIY Fringed Heart Piñata: Easy Step-by-Step Tutorial from a Seasoned Crafter

Cut Strips for the Sides

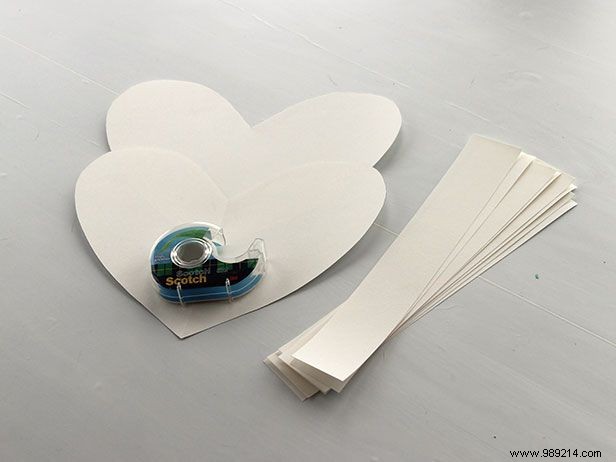
Cut 2-3 inch strips from the thick paper to form the piñata's sides.

Step 5

DIY Fringed Heart Piñata: Easy Step-by-Step Tutorial from a Seasoned Crafter

Tape the Strips

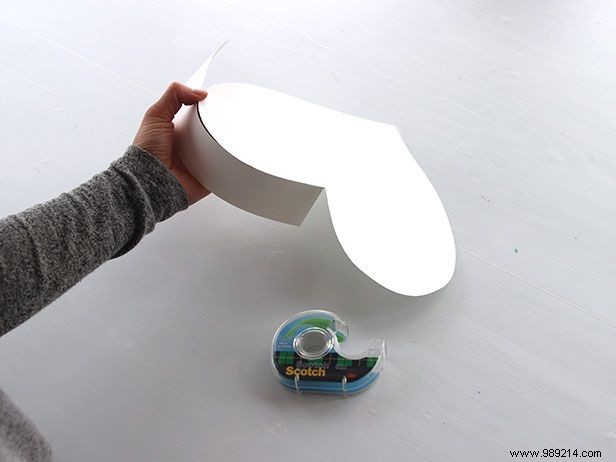
Tape the paper strips along the edges of one heart shape.

Step 6

DIY Fringed Heart Piñata: Easy Step-by-Step Tutorial from a Seasoned Crafter

Attach the Sides

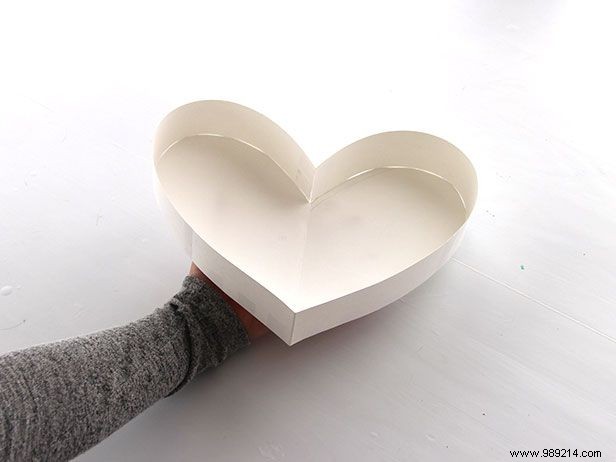
Secure the sides all around the base.

Step 7

DIY Fringed Heart Piñata: Easy Step-by-Step Tutorial from a Seasoned Crafter

Attach the Second Heart

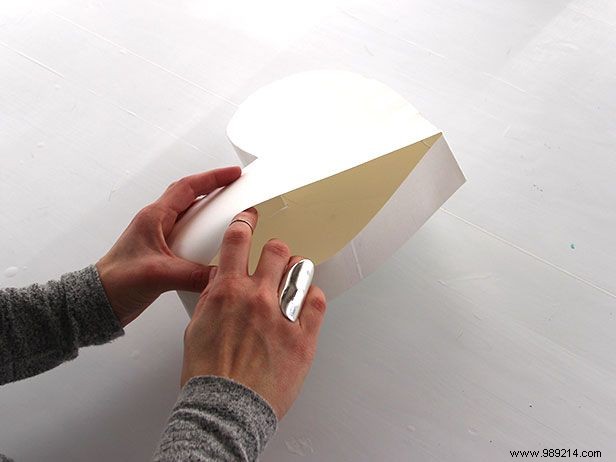
Now affix the second heart, leaving a small opening for filling later.

Step 8

DIY Fringed Heart Piñata: Easy Step-by-Step Tutorial from a Seasoned Crafter

Create the Fringe

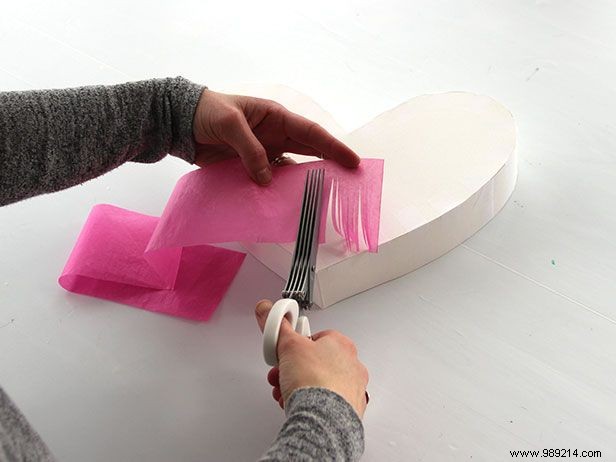
Fold a 4-inch tissue paper strip lengthwise, then cut fringes toward the fold, leaving a ½-inch uncut edge.

Pro Tip

For speed, use fringing scissors from your craft store.

Step 9

DIY Fringed Heart Piñata: Easy Step-by-Step Tutorial from a Seasoned Crafter

Apply the Fringe

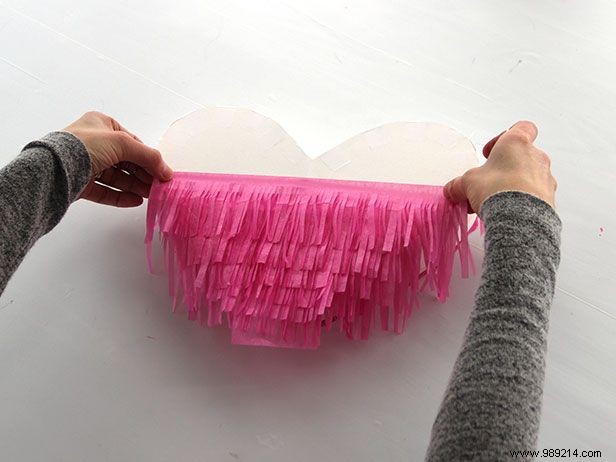
Start at the bottom, layering fringes upward with glue.

Pro Tip

A glue stick works, but a glue roller saves time and mess.

Step 10

DIY Fringed Heart Piñata: Easy Step-by-Step Tutorial from a Seasoned Crafter

Finish the Border

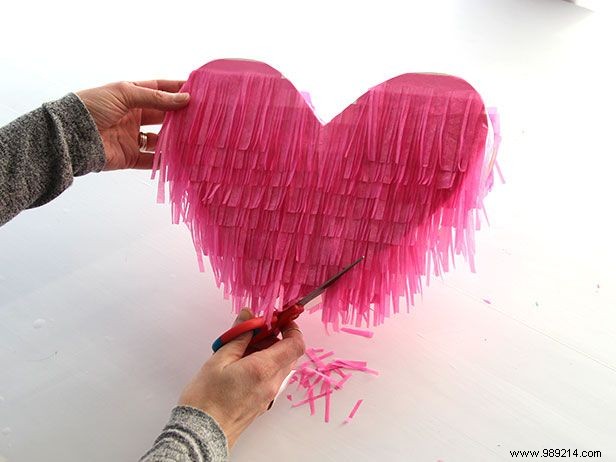
Leave the fringe natural or trim for a polished edge.

Step 11

DIY Fringed Heart Piñata: Easy Step-by-Step Tutorial from a Seasoned Crafter

Fill with Candy

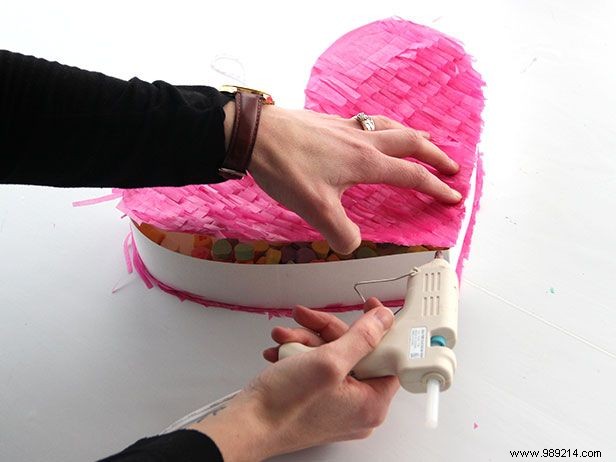
Stuff the piñata with candy through the opening, then seal it.

Step 12

DIY Fringed Heart Piñata: Easy Step-by-Step Tutorial from a Seasoned Crafter

Cover the Sides

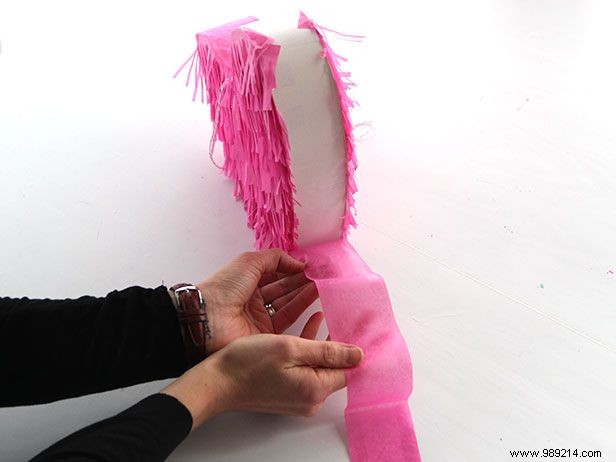
Wrap the sides with tissue strips or extra fringe pieces.

Step 13

DIY Fringed Heart Piñata: Easy Step-by-Step Tutorial from a Seasoned Crafter

Hang and Enjoy

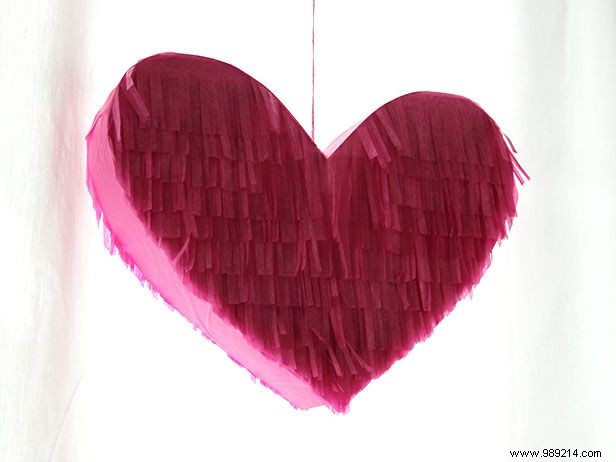
Thread string or yarn through the top for hanging—party time!