As a seasoned crafter with years of experience in paper arts, I've found origami flowers like these paper roses to be a delightful project for craft parties, Girl Scout meetings, bridal showers, or simply creating stunning decor at home.
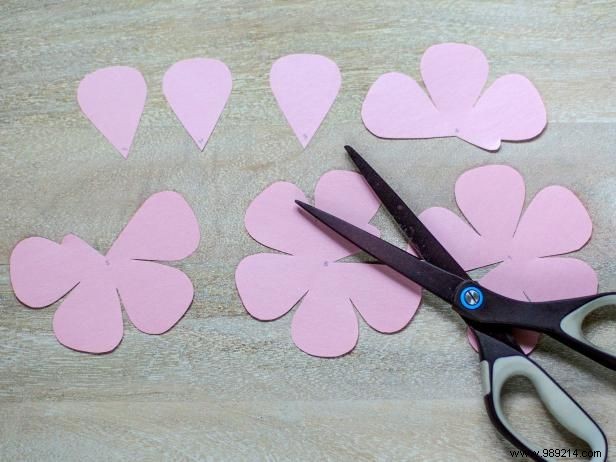
Download the rose template, then the leaf template. Print them out and carefully cut along the lines for the numbered petals and leaves.
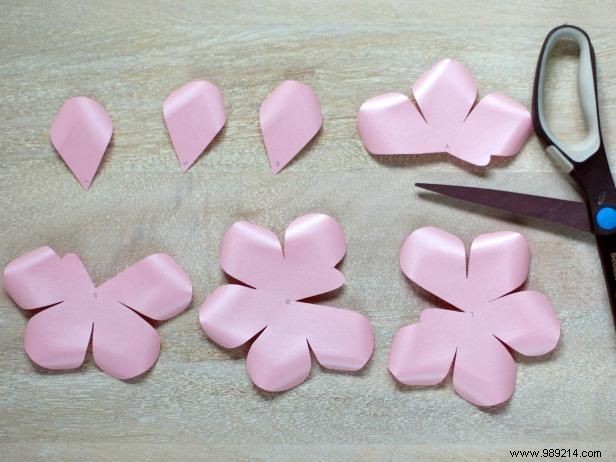
Gently use the edge of scissors to curl the two corners of each petal, giving them a natural, lifelike curve.
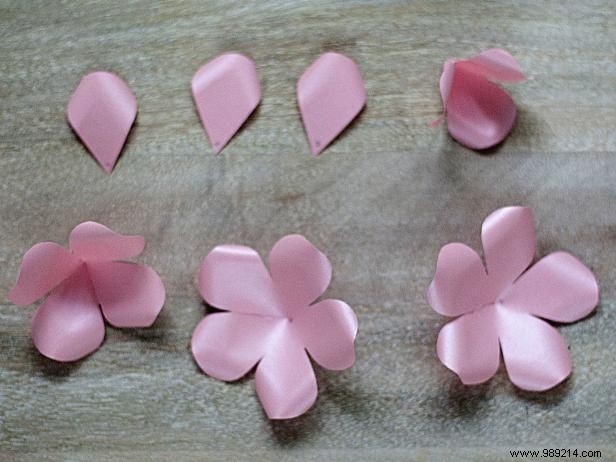
Apply glue to the tabs on petals 4-7, then pinch them together to form a cone shape.

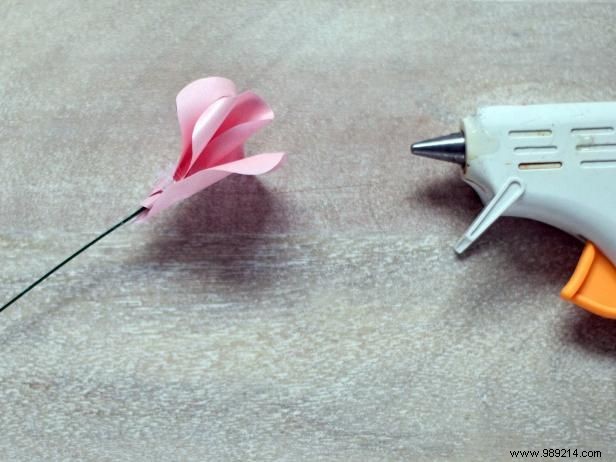
For a long-stemmed rose, use floral wire. Fold back about an inch at the end, then glue the edge of petal #1 to this bent section.
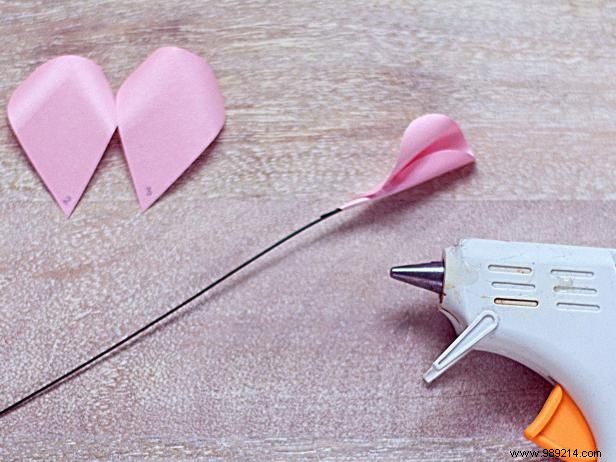
Wrap petal #1 around the wire in a spiral, folding the corner back for dimension.
Glue petal #2 onto the wire, wrapping it around petal #1 and folding the corners back. Repeat with petal #3 to complete the bud center.

Pinch the centers of petals #4 to #7 onto the floral wire. Add glue at the base and twist each as you attach to stagger the petals naturally.
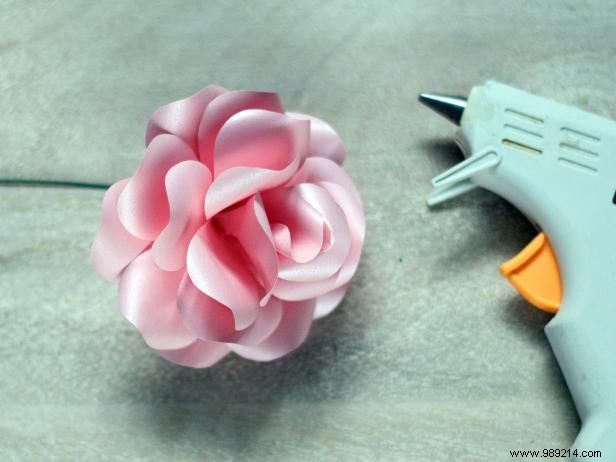
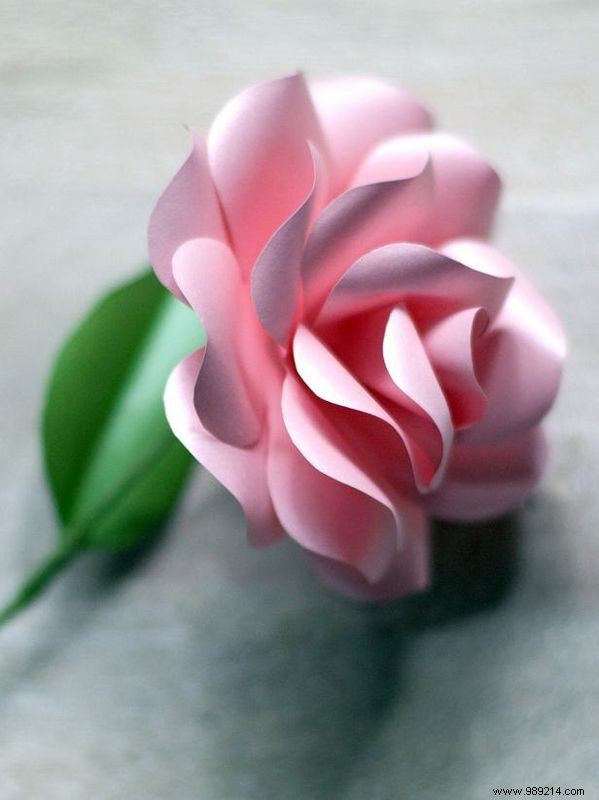
Once all petals are placed, adjust their rotation for a more realistic, full bloom appearance.
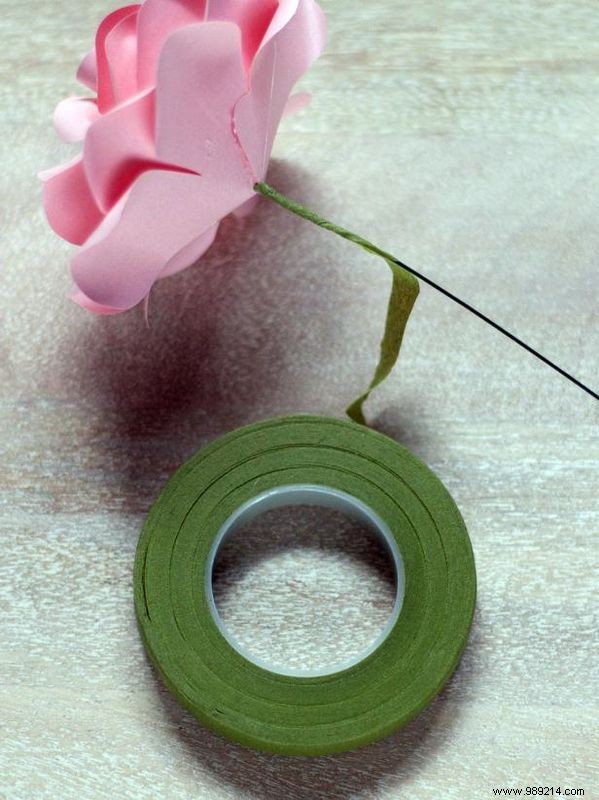
Starting at the base of the rose, wrap floral tape around the wire. Stretch the tape gently as you go to activate its adhesive.
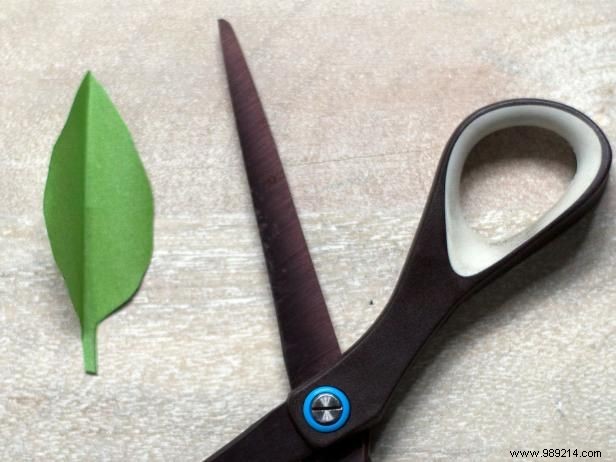
Cut out the sepal, fold it in half, and crimp the sides with scissors for a textured look.
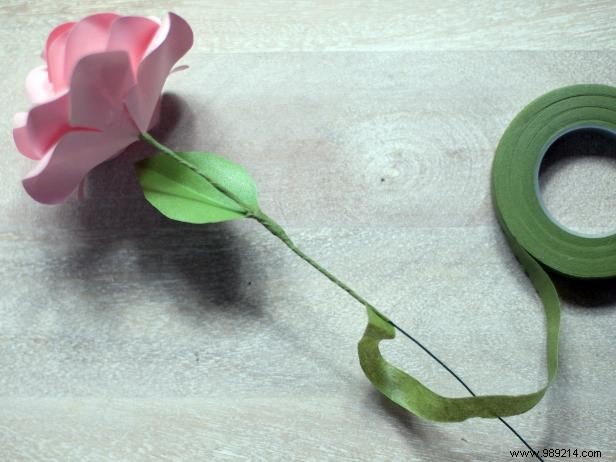
Attach the leaf to the floral wire with a bit of glue, then cover it with floral tape as you continue wrapping the stem.
Complete the stem wrapping with floral tape. Bend and adjust the wire to showcase the bloom beautifully.

For a hair accessory, select a hair clip with an adhesive-friendly surface to attach your rose securely.

To create a corsage, use strong magnets or a jewelry clasp to easily attach it to clothing.