By Melissa Caughey, a seasoned crafter with years of hands-on experience rediscovering childhood favorites.
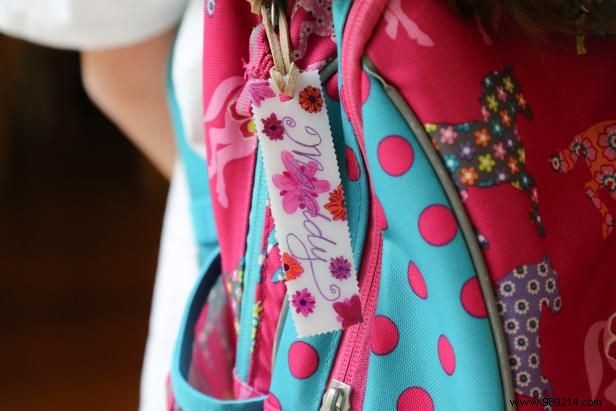
Growing up, I cherished creating custom designs for my room using shrink film. Years later, I rediscovered it at my local craft store and introduced it to my kids. We've had endless fun making durable back-to-school name tags for their backpacks, reliving those nostalgic moments together.
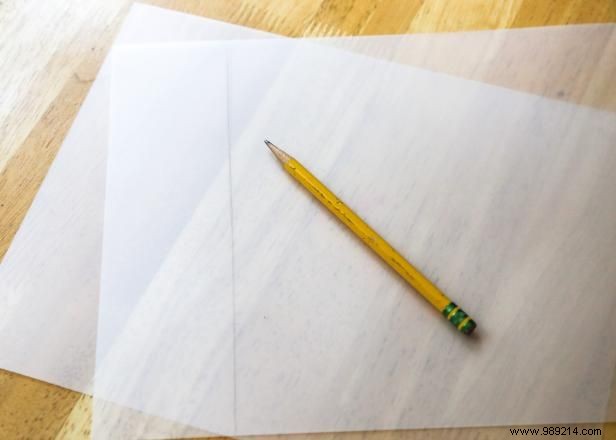
Begin by lightly tracing your desired label shape onto the shrink film with a pencil.
The film shrinks to about half its size when baked, so plan your design accordingly for the perfect final fit.
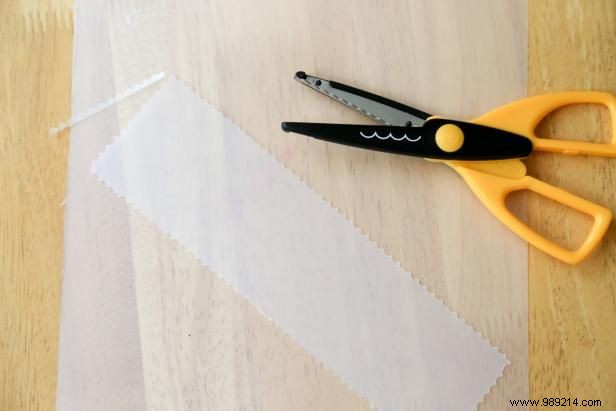
Carefully cut along the traced lines using sharp scissors for clean edges.
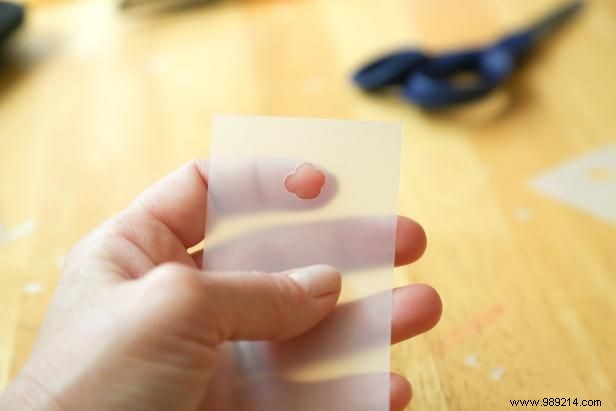
Use a hole punch to create an opening, then enlarge it to twice the size. This accounts for shrinkage, ensuring it fits the cord perfectly after baking.
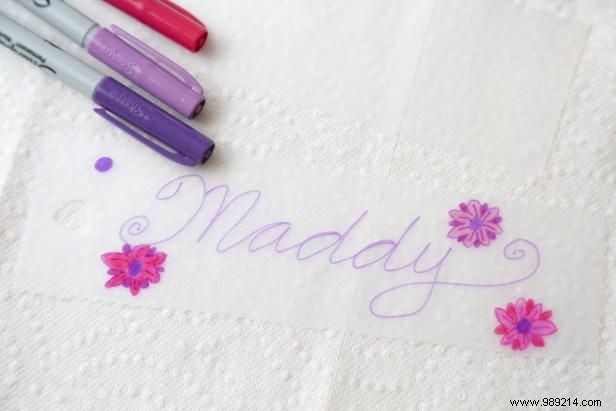
Get creative with permanent markers to add names, designs, or patterns that reflect your child's personality.
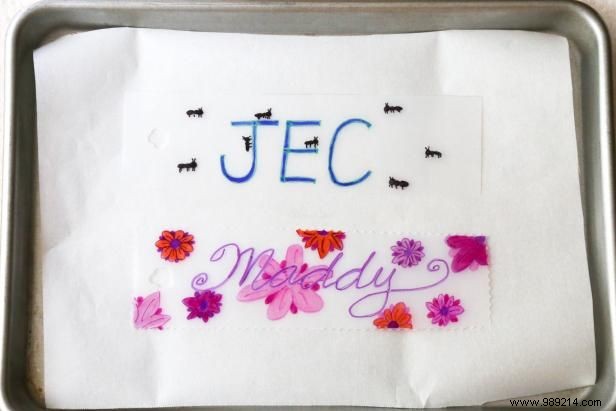
Place the decorated pieces on a parchment-lined baking sheet and bake according to the shrink film's package instructions for safe, even results.
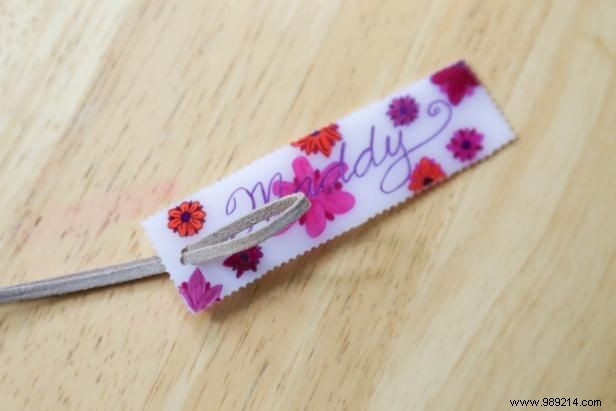
Once fully cooled, cut an 8-inch piece of leather cord, fold it in half, and thread the loop through the hole at the top of the tag.
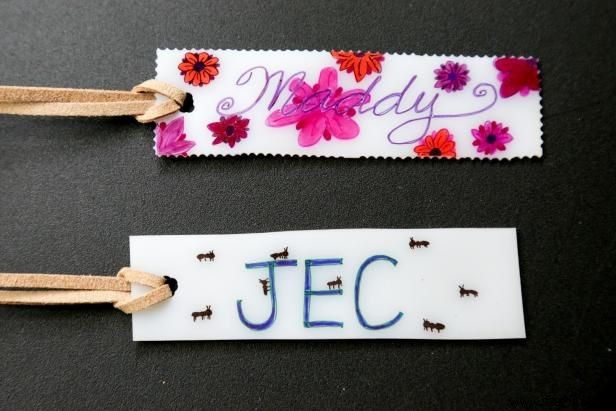
Pass the cord ends through the loop and pull tight to form a sturdy knot. Your tag is now ready.
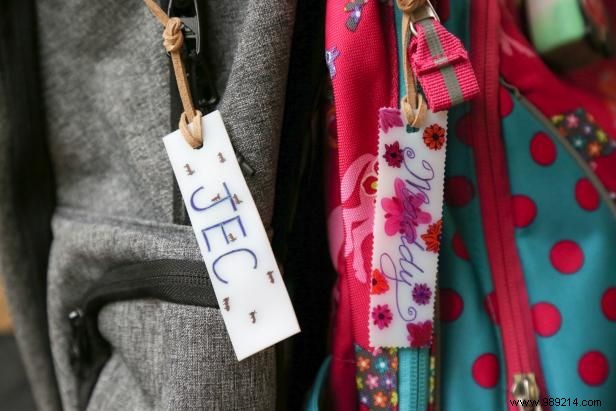
Simply loop the tag onto the backpack strap or handle – it's all set for the school year!