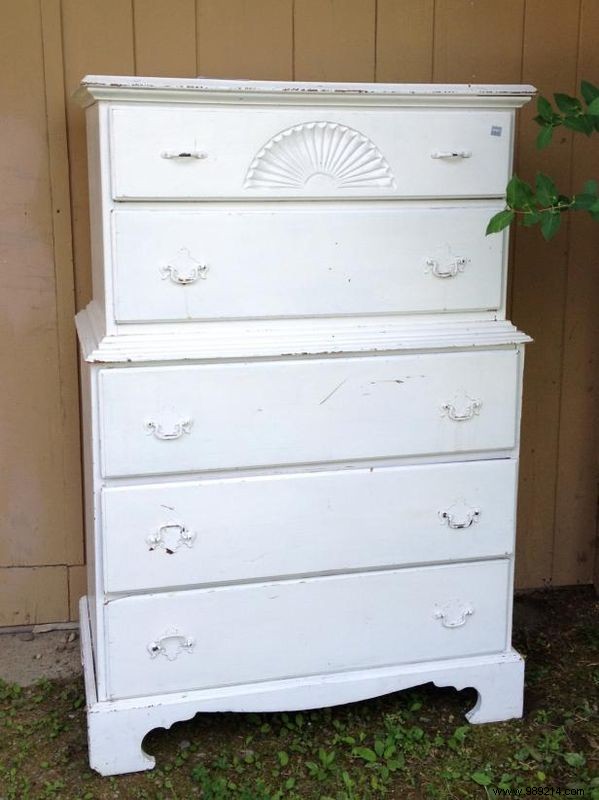
As experienced furniture upcyclers, we snagged this solid vintage dresser for just $40. Despite its poor paint job, it had great bones. A fresh coat of vibrant paint and retro floral accents brought it back to life with timeless charm.
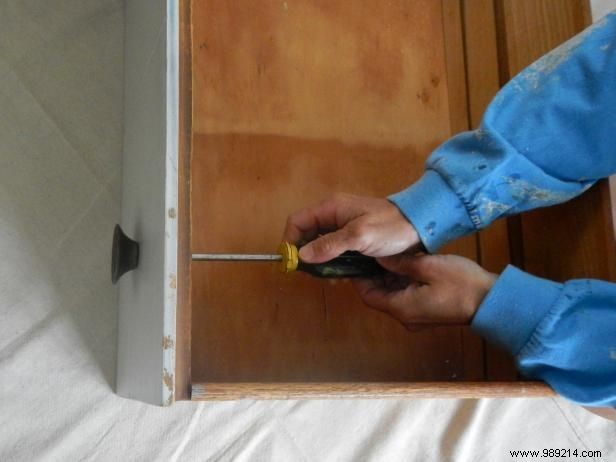
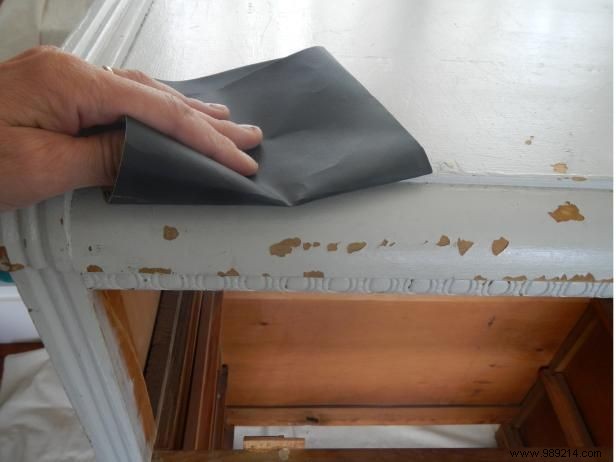
Remove all drawer pulls and hardware. Sand lightly with the grain to scuff the existing finish, ensuring better paint adhesion. Wipe thoroughly with a damp cloth to eliminate dust.
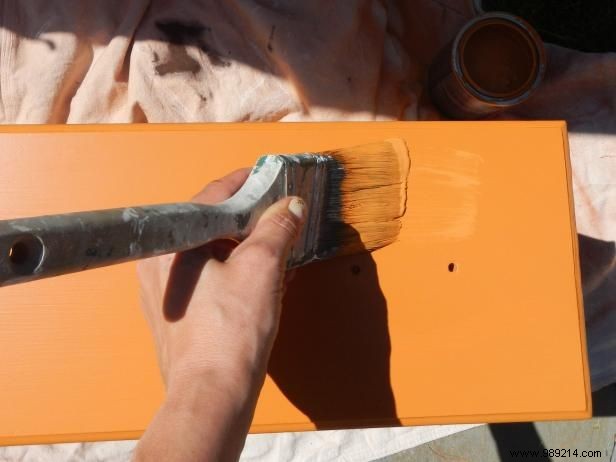
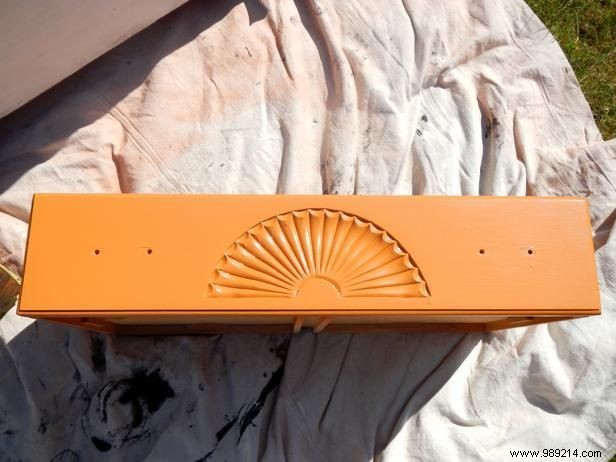
Apply a base coat using a wide brush for even coverage. Allow full drying time, then add a second coat for a smooth, durable finish.
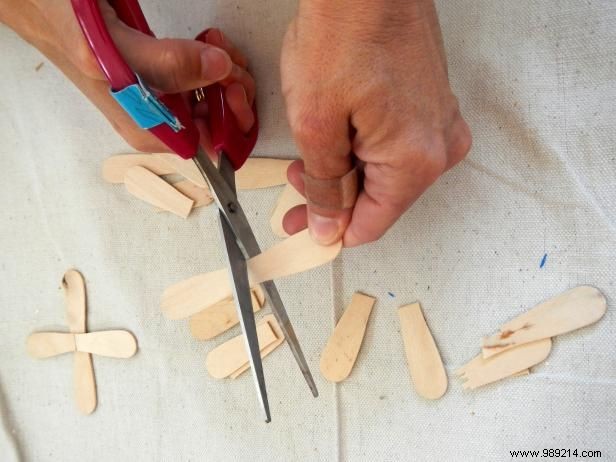
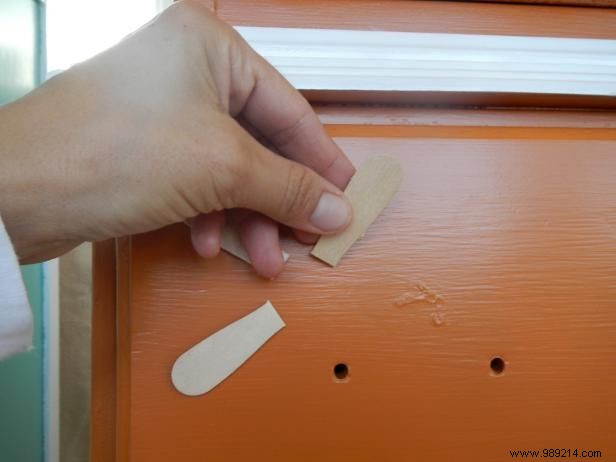
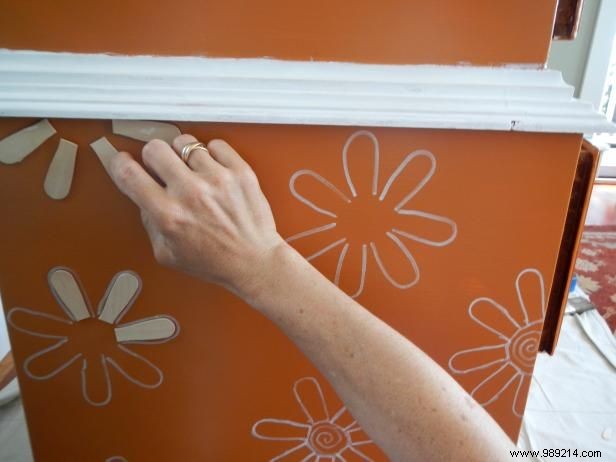
Cut mini wooden craft spoons in half using scissors. Fold painter's tape over one side of each half to protect the surface.
Arrange 5-6 spoon halves on the dresser to form flower petals, leaving a quarter-sized space in the center.
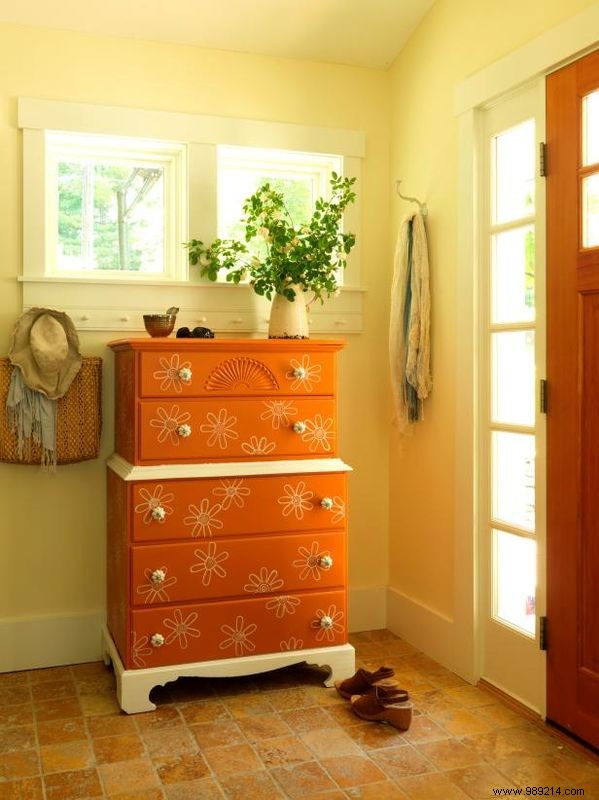
Photos by Susan Teare
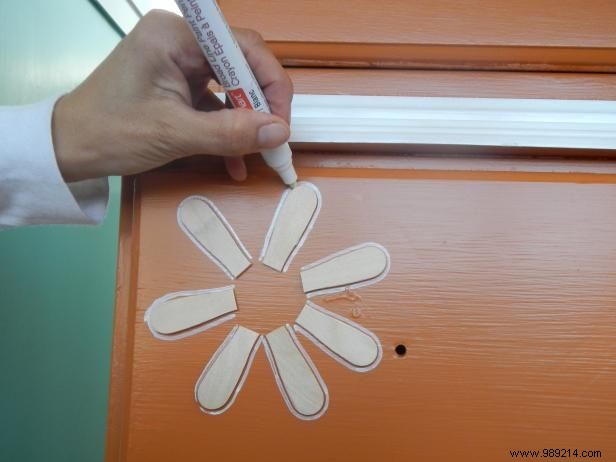
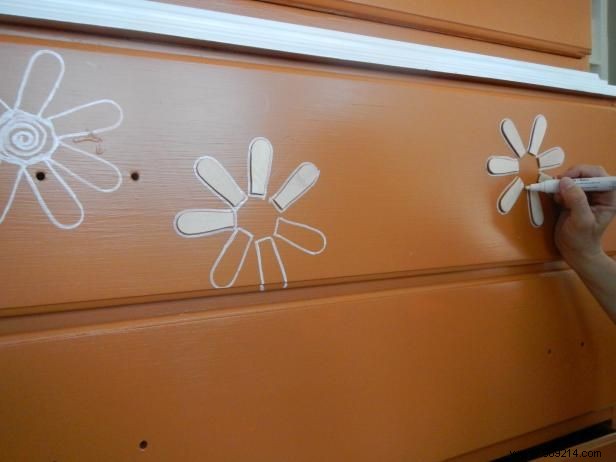
Position petals as desired, then trace outlines with a white paint pen while holding them steady. Remove templates after tracing each flower.
Freehand a spiral or trace a quarter for the center. Scatter flowers across the dresser, checking placement as you go. Let paint dry fully before reattaching hardware.