As a seasoned decorative painter with years of experience in faux finishes, I recommend starting by priming your wooden column with a high-quality white primer. Allow it to dry fully, then lightly sand the surface for a smooth base. Apply an even base coat of the black licorice paint from the Florentine Checkered Effect Marble Kit. Let it dry completely before proceeding.
Moisten the included sponge and pinch its edges to create a ragged texture for a natural, varied pattern. On a paper plate, squeeze light green and dark green paints in a twisting motion, one over the other. Add the white marbling color and thickener/extender on top—this encourages subtle blending. Gently rotate the plate to merge the colors without overmixing. Dip the sponge into the mixture and dab it onto the column, using the sponge wedge for tight crevices. Allow the paint to dry fully.
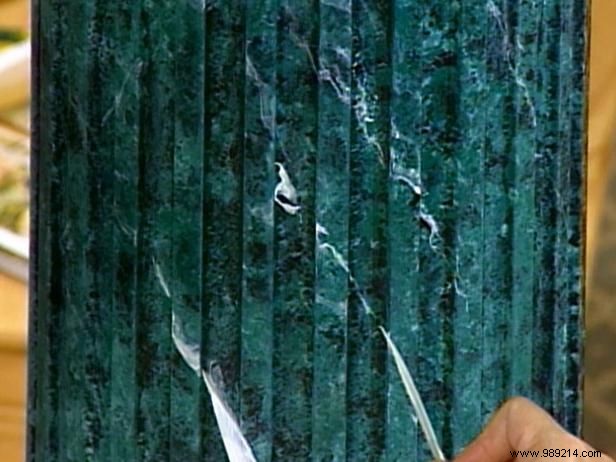
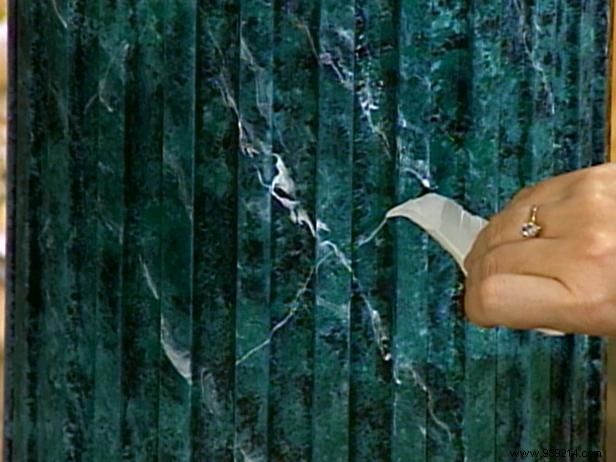
For that authentic marble appearance, mix equal parts white paint and thickener/thinner. Using the kit's pen, apply random diagonal streaks with a light, nervous hand to mimic natural veins—real marble is beautifully imperfect, so vary the intensity. To create cracks, draw thinner lines opposite the veins; at intersections, feather the line downward for realism. Let everything dry, then seal with a gloss acrylic spray for a polished, high-shine finish.