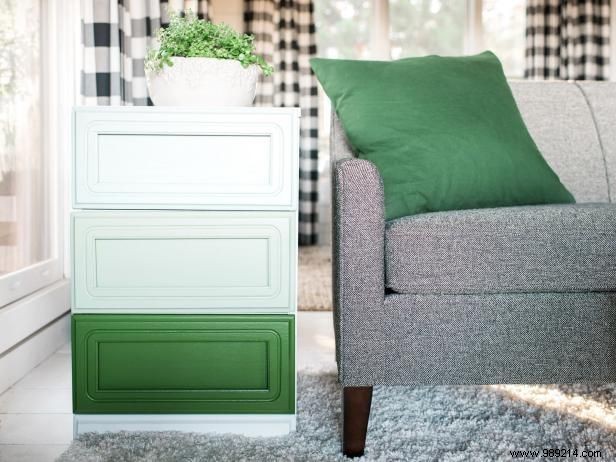
As a professional furniture refinisher with years of hands-on experience, I've perfected the ombre effect by starting with the deepest shade at the bottom and gradually lightening toward the top. Plan your color placement first and mark each drawer accordingly—drawers often shift slightly, so this ensures flawless results.
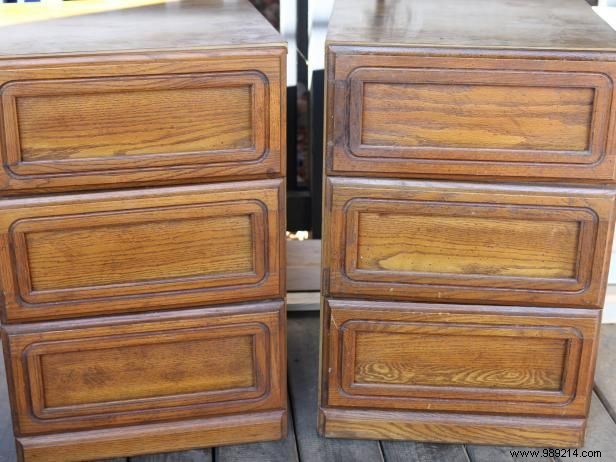
For optimal paint adhesion and durability, choose a solid wood sideboard or chest with at least three drawers. This foundation is key to a professional ombre finish that lasts.
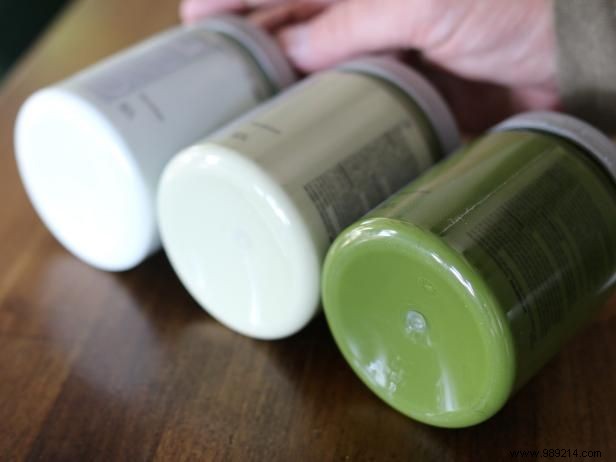
The secret to authentic ombre lies in subtle tonal variations of a single color family. Select one primary hue and mix darker shades at the base transitioning to lighter ones above for a seamless, balanced gradient.
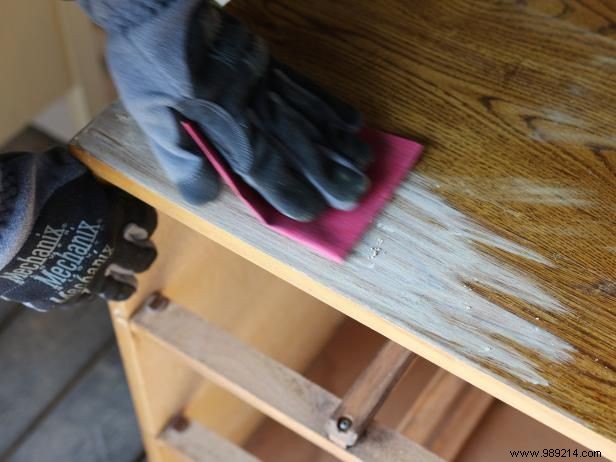
To ensure superior paint adhesion, lightly sand the existing finish with fine-grit sandpaper and a sanding block. Wipe down thoroughly with a damp cloth to remove all dust, prepping for a smooth application.
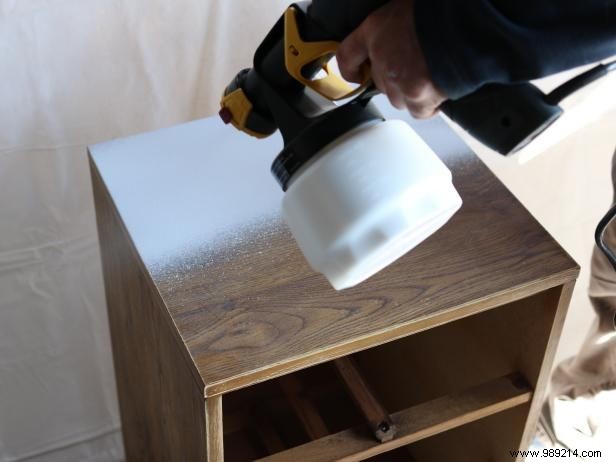
Using a paint sprayer for even coverage, apply your base color to the sideboard's frame (sides and top). For maximum impact, consider painting the frame white—it makes the ombre drawers truly pop.
Rustic Blank Photography, LLC
Spray the front of each drawer with its assigned shade, following your marked placement. Allow at least 48 hours of drying time in a well-ventilated area before reassembling indoors.