With years of upcycling furniture for bathrooms, I recommend starting with a reclaimed cabinet around 34-36 inches tall to match standard counter heights. Ensure the top is sturdy enough for your sink. Bring the sink template for precise measurements and optimal faucet placement. For practicality, choose a piece with doors rather than drawers to easily accommodate plumbing.

Most sink manufacturers provide a template; if not, create one yourself to ensure a precise cut for dropping the sink in perfectly.
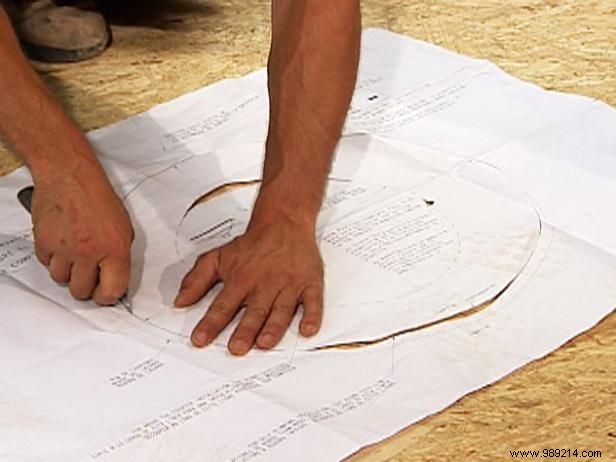
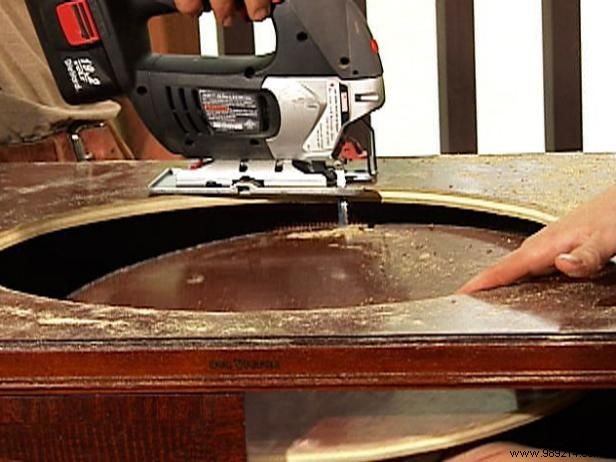
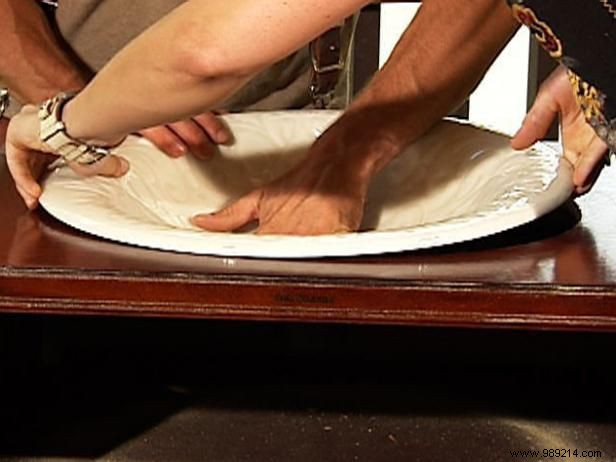
Trace the sink outline on the vanity top first (Image 1) to plan faucet and handle positions. Use a jigsaw to cut the hole (Image 2), then drop the sink into place (Image 3). This step confirms the best layout for fixtures.
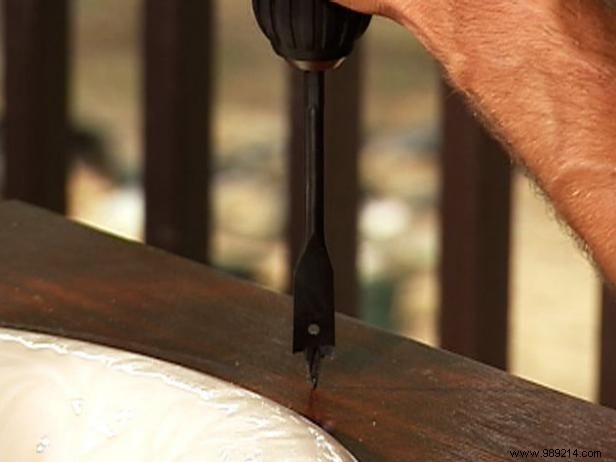


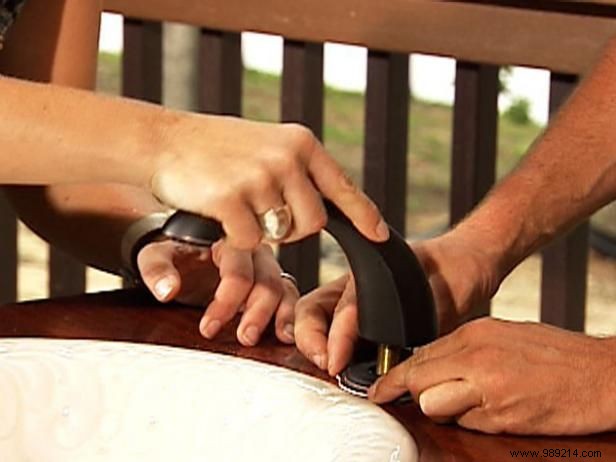
Mark positions for the faucet and handles, then drill precise holes using the right bits (Image 1). For hot and cold handles, we use 1-inch bits (Image 2). Thread the cartridges through from below and secure the handles (Image 3).

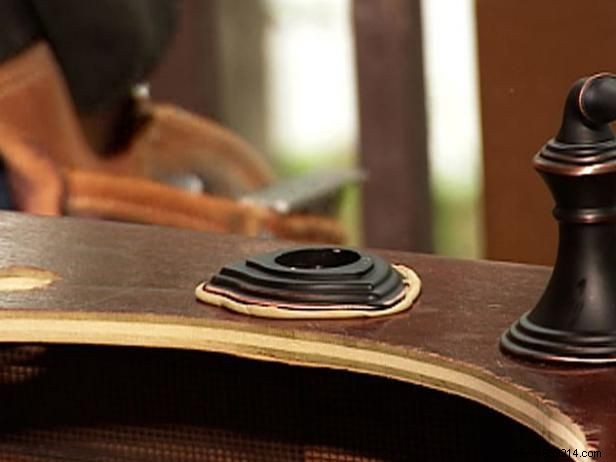
Apply plumber's putty around the faucet base for a watertight seal (Images 1 and 2). Press firmly onto the vanity and install the faucet assembly (Image 3).
Position the vanity against the wall and mark cutouts for pipes. Drill access holes large enough for future maintenance. In our project, we removed an interior shelf to fit the plumbing.
Slide the vanity into position, then attach the P-trap to the sink drain from below—hand-tighten or use a wrench gently to avoid leaks. Connect water supply lines to the shut-off valves, hand-tightening brass or plastic fittings to prevent damage.