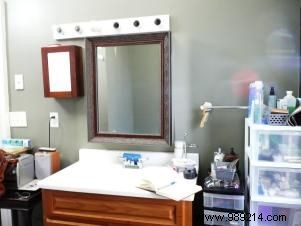
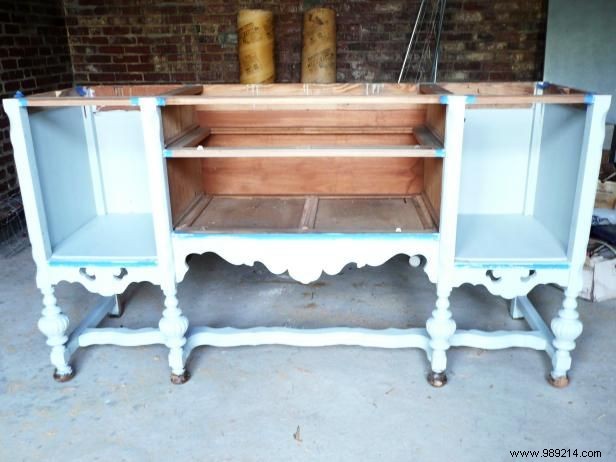
In this hands-on project, we turned a thrift store dresser into a unique, budget-friendly bathroom vanity. To keep costs low, we paired it with a second-hand sink and reclaimed marble tiles for the top.

Hunt thrift stores and estate sales for a dresser or cabinet that fits your space. Measure width, height, and depth—aim for at least 18 inches wide for a standard sink, ideally 20-22 inches deep. Trim height if needed.
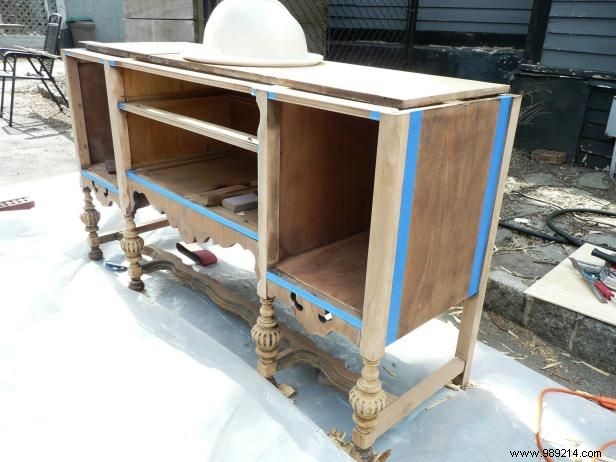
Remove the top, doors, drawers, and hardware. Sand all surfaces thoroughly. We reattached the top, but you can keep the original wooden one.
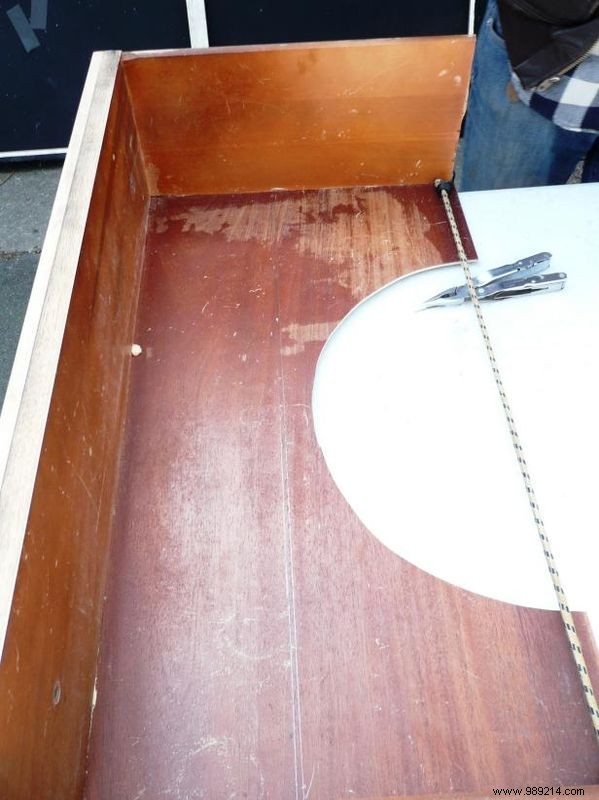
Cut out the center of the top drawer for sink plumbing. Reposition it as a stationary shelf, securing with wood glue and nails from inside to prevent opening.
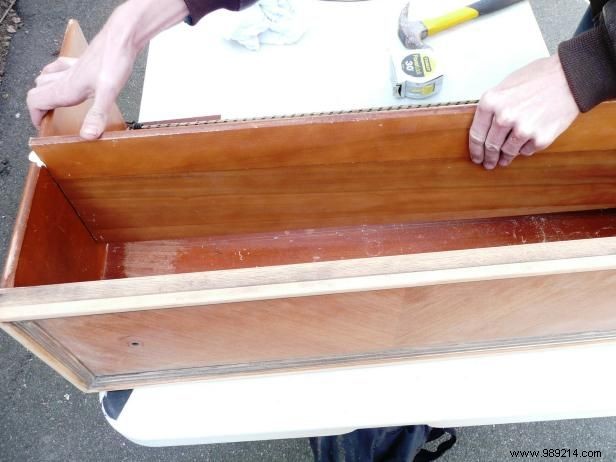
For the bottom drawer, cut and shorten it forward. Secure the back with nails or L-brackets.
Paint or stain the dresser, then apply 1-2 coats of marine-grade varnish for moisture protection.
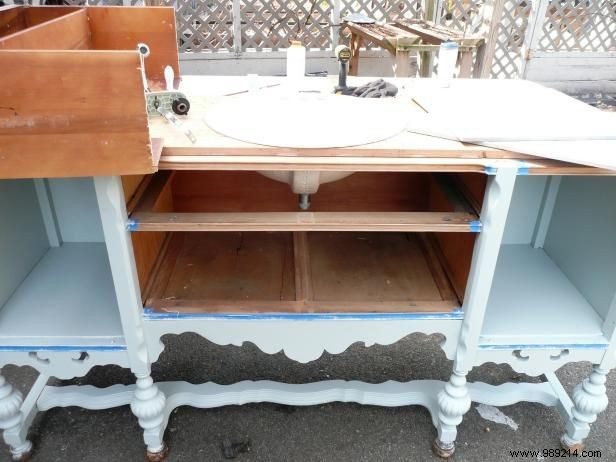
Mark sink placement, allowing rim overhang. Position the faucet and trace circles for both.
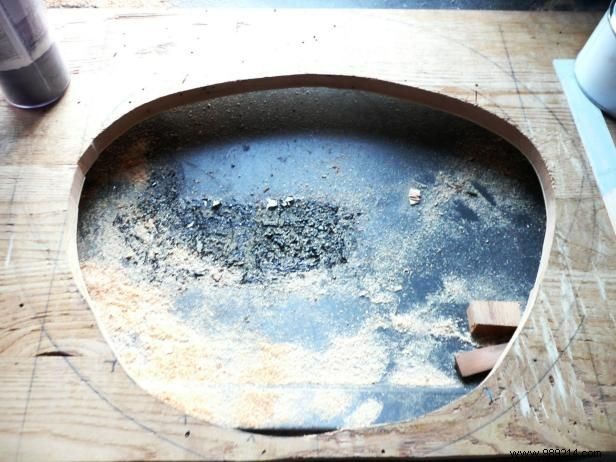
Drill pilot holes for the sink circle, then use a jigsaw. Test-fit the sink (easier to enlarge than redo). Repeat for faucet holes.
Use a wet saw for tile cuts. For faucet holes without a core bit, shape crescents. Dry-fit all pieces, leaving edge gaps for trim. Center from the dresser's midline, label for reassembly.
Apply marine-grade varnish to the wood top for waterproofing.
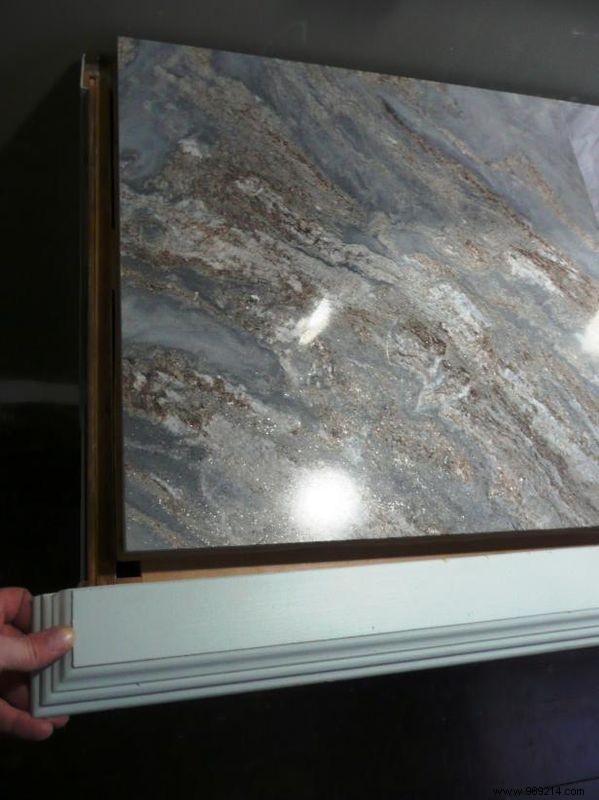
Starting center-out, apply zigzag thinset to tile backs and wood. Position precisely, butt seams with adhesive. Once dry, seal with three lacquer coats, ensuring no water gaps.

Drop in sink, secure with clear adhesive and bathroom caulk. Seal all tile, trim, and joints. Reposition vanity and connect plumbing (or hire a pro).