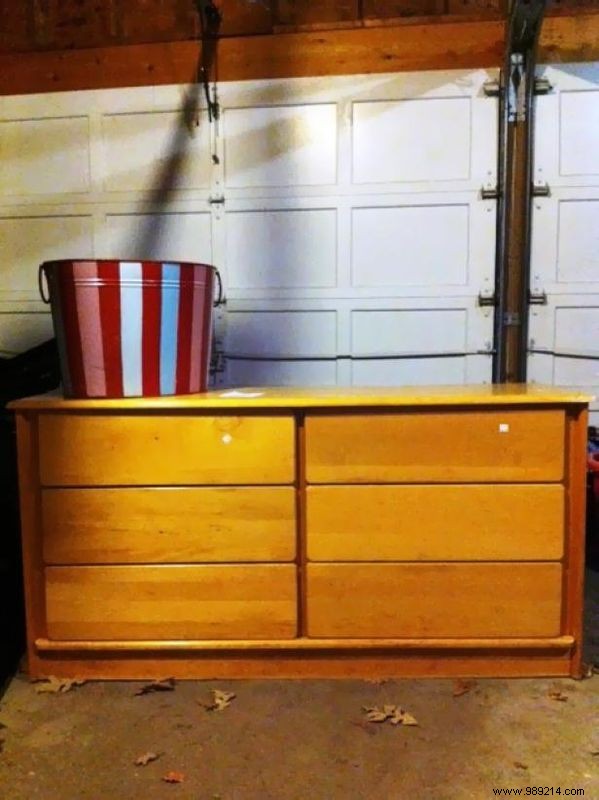
Every home needs an organized drop zone for keys, gloves, hats, and more. This upcycling project, inspired by salvage expert Joanne Palmisano, turns a thrift store chest of drawers into stylish mudroom storage. We refreshed it with blue paint and added picture frames with chalkboard centers, creating personalized spots for each family member.

Clean the dresser thoroughly with wood soap. Remove the drawers and hardware. Sand at least the exterior surfaces to ensure the paint adheres properly. Wipe away all sanding residue.
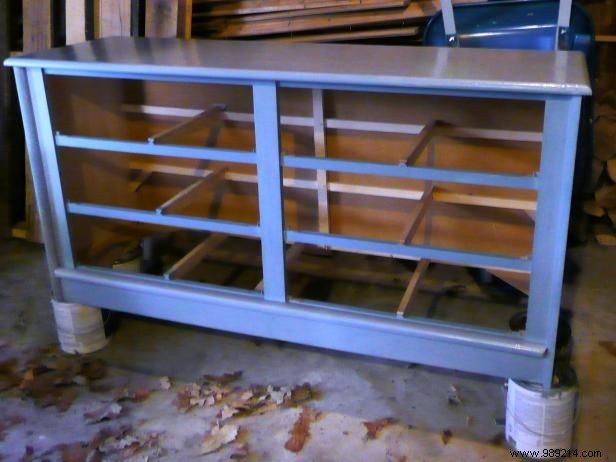
Once fully clean and dry, apply a coat of paint. Allow it to dry completely, then add a second coat if needed for even coverage.
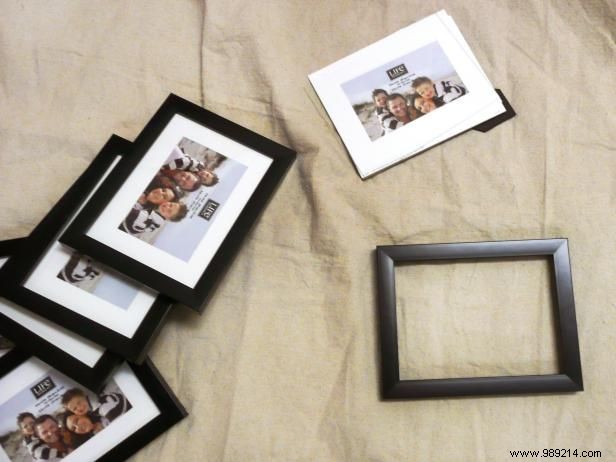
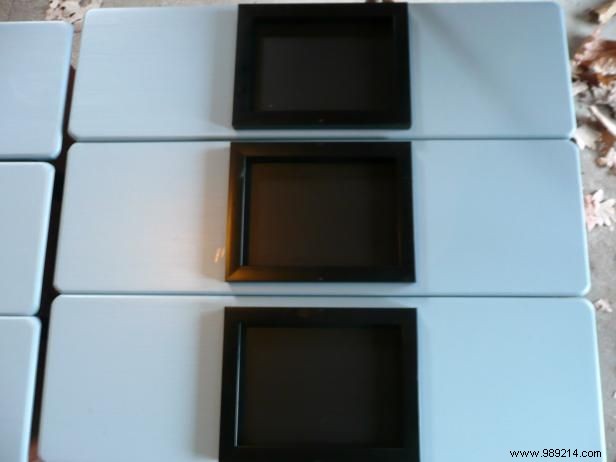
Remove the glass and backs from the frames. Center a frame on each drawer front and trace the inside edge with a pencil to create a template for the chalkboard paint. Repeat for all drawers.
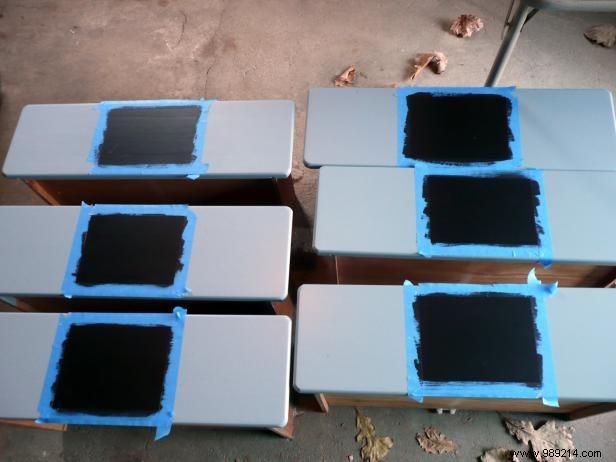
Apply blue painter's tape about 1/2 inch outside the pencil lines to frame the chalkboard area. Paint inside the taped section with chalkboard paint and let it dry for 24 hours. Apply a second coat if necessary and dry for another 24 hours.
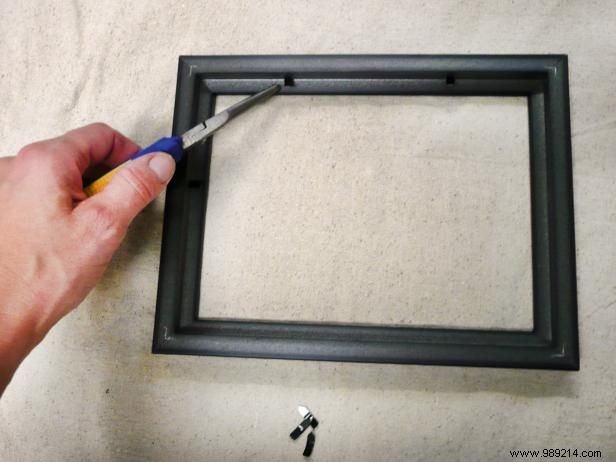
Mark the top and bottom centers of each wooden frame, then drill small holes at those points for nails.
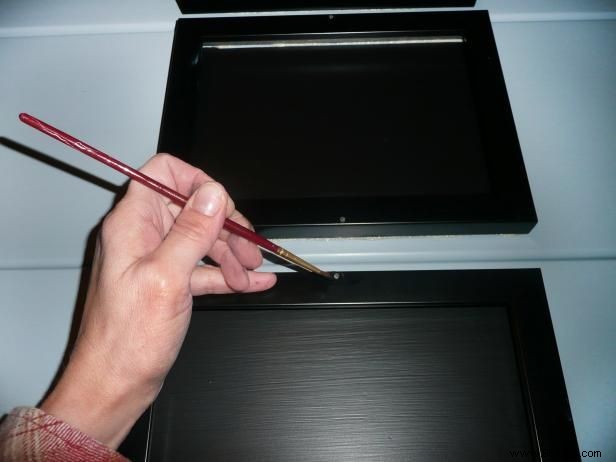
Remove the painter's tape. Apply a small amount of glue to the back of each frame and position it over the chalkboard-painted area. Let the glue dry for a few hours. Hammer nails into the pre-drilled holes for extra security. Cover the nail heads with a dab of black paint and allow to dry.
Joanne Palmisano is the author of Salvage Secrets (W.W. Norton, September 2011). Visit her blog, also called Salvage Secrets.