Discover the joy of crafting this charming Christmas elf stocking—a beginner-friendly project that adds whimsical holiday magic to your décor. With clear steps and simple techniques, you'll create a treasured heirloom.
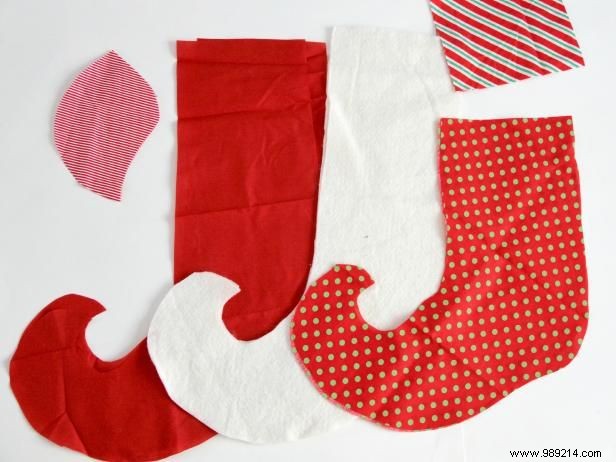
Cut the pattern pieces as indicated. You'll need: two lining fabric pieces, two cotton or interfacing lining pieces, two heel pieces, two upper stocking pieces, and two lower stocking pieces.
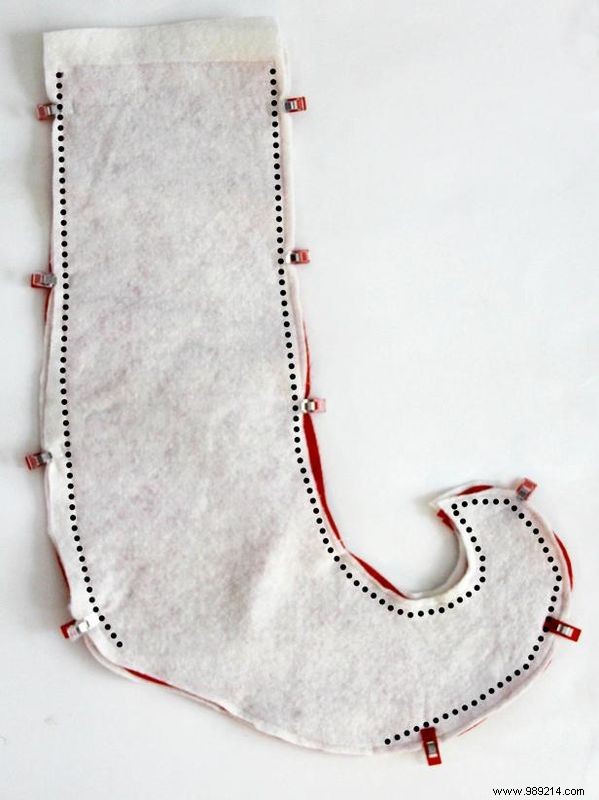
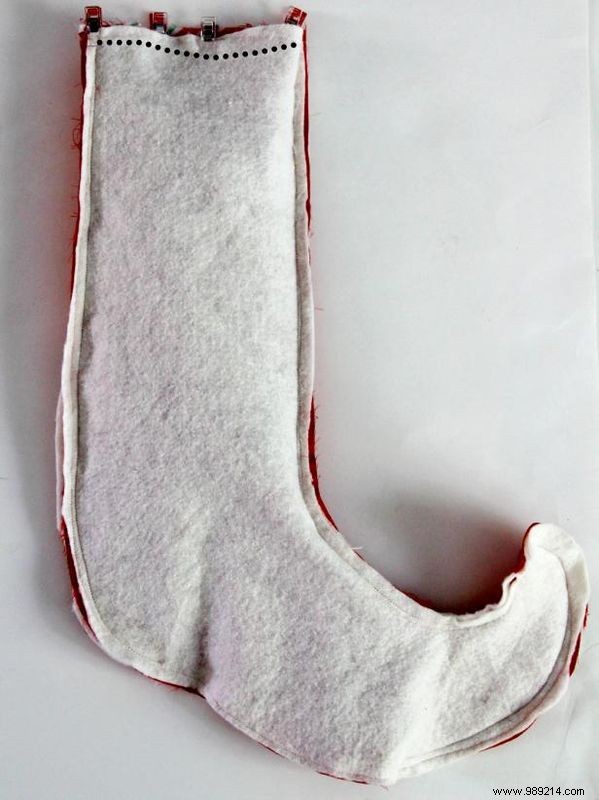
Place the cotton/interfacing piece on the wrong side of a lining fabric piece. Baste around the outer edges to secure. Repeat for the second set. Place the interfaced lining pieces right sides together. Pin around the edges and sew, leaving a 5-6" opening at the bottom foot area. Leave the top stocking edge open—sew only the sides.
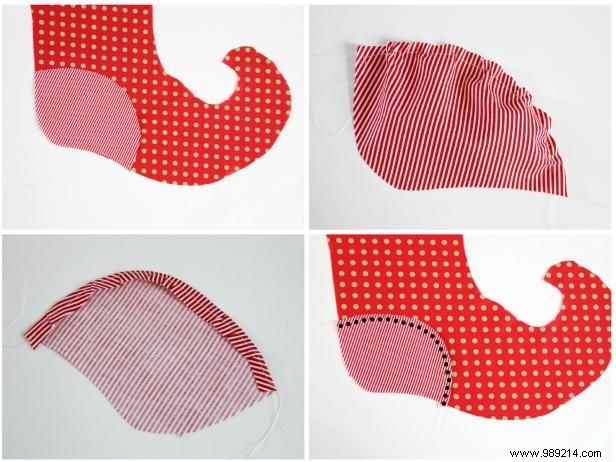
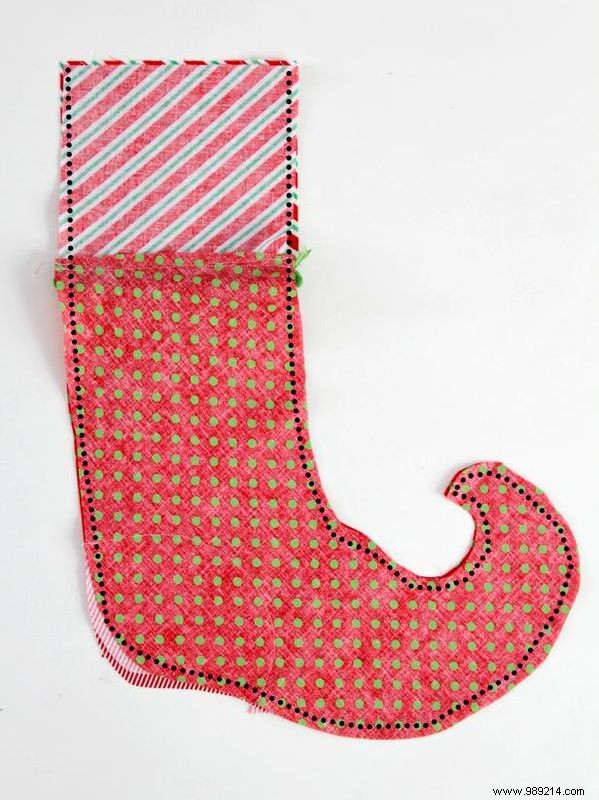
Align the curved end of the heel piece with the heel marking on the outer lower stocking piece. Sew gathering stitches along the outer edge of the top curve. Gently pull the bobbin thread to gather the fabric for a smooth curve. Press the gathered edge to the wrong side. Align and sew the heel to the lower stocking along the pressed edge. Repeat for the second heel and lower stocking piece.
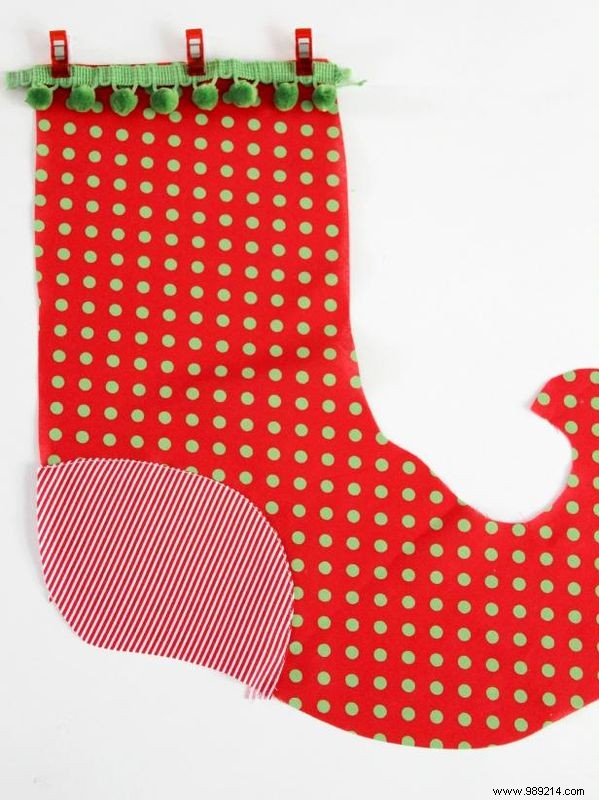
Position the pom-pom trim along the top edge of the lower stocking. Baste in place, allowing 1/4" seam clearance.
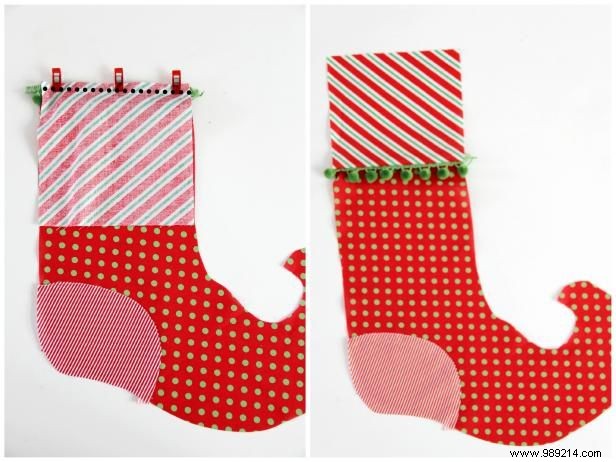
Pin the upper stocking piece right sides together with the lower stocking and pom-pom trim. Sew in place—a zipper foot helps sew close to the pom-poms. Press the seam upward and edge-stitch. Repeat for the second exterior piece.
Place front and back exterior stocking pieces right sides together, matching raw edges. Pin and sew around the sides, leaving the top edge open.

For smooth curves, especially at the foot, trim seam allowances and clip small notches close to the seam line without cutting through stitches.
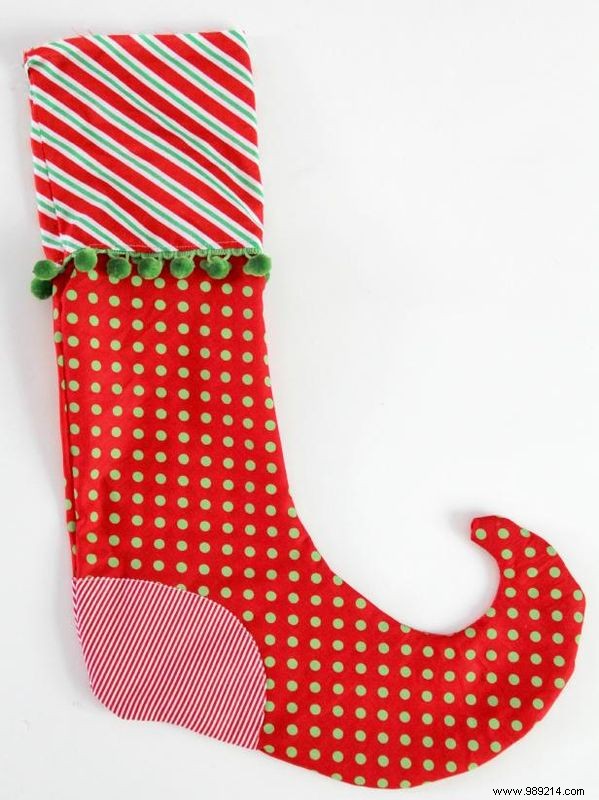
Turn the stocking right side out and press. Use a pointed tool to gently push out all edges.
Place the lining over the exterior stocking right sides together, matching side seams at the top. Pin and sew around the top edge. Turn the stocking right side out through the lining's bottom opening. Close the opening and tuck the lining inside. Poke out edges with a blunt tool.
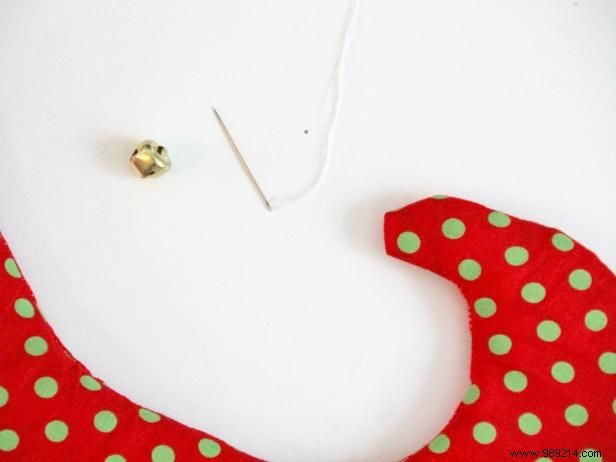
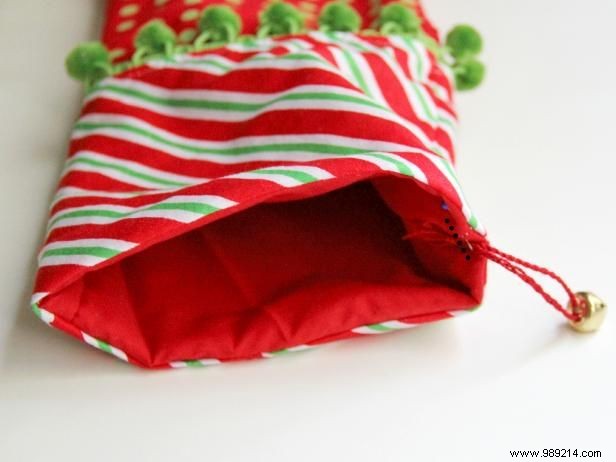
Hand-sew a bell to the pointed toe using needle and thread.
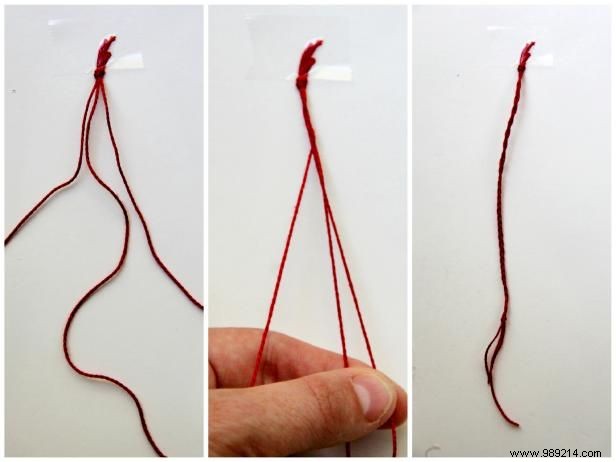
Cut three 7" strands of embroidery floss. Knot one end, braid to the other end, and knot to secure.
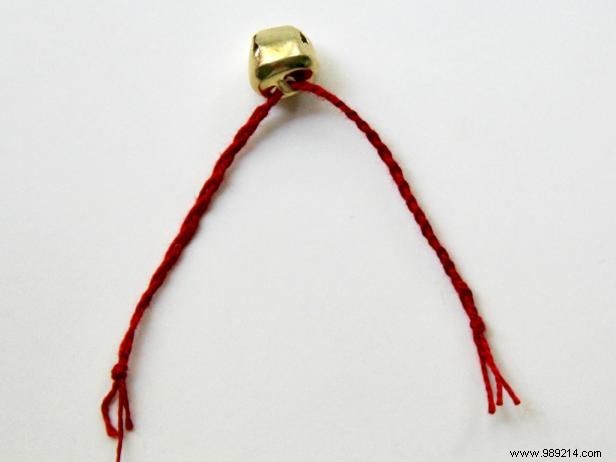
Thread a bell onto the braid and position in the center.
Form a loop with the braid ends and pin inside the back seam. Sew securely over the ends with multiple stitches.
Personalize your elf stocking with embroidery, appliqués, or fabric markers for a unique touch.