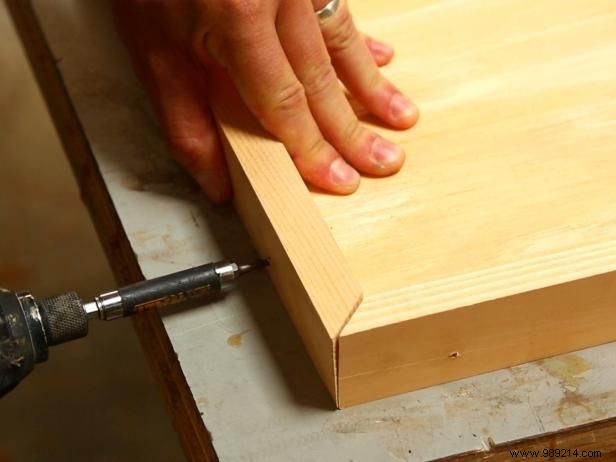
Cut a sheet of 3/4-inch plywood to your desired headboard dimensions. Miter-cut 1x2 lumber to wrap around the top and sides of the plywood. Secure the 1x2s to the plywood edges with screws or nails. No saw? Most hardware stores offer free cutting services.
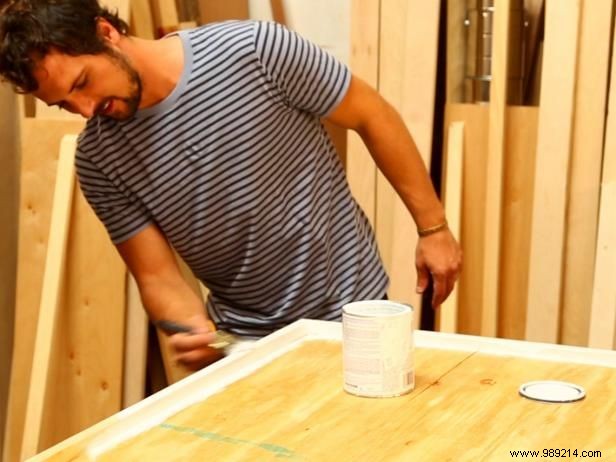
Prime and paint the plywood and trim for a polished finish. I used a classic white for versatility and brightness in our bedroom.
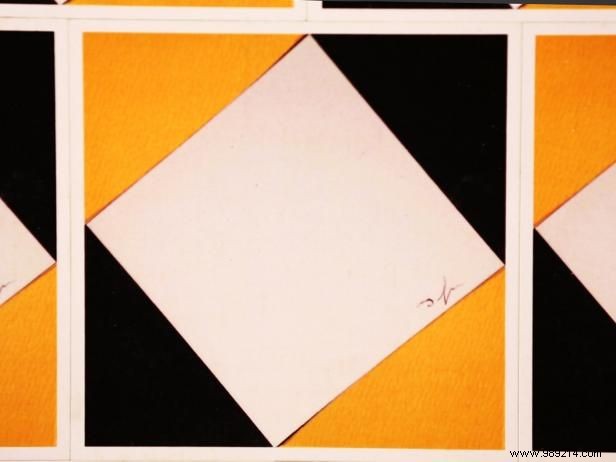
Start by sketching your pattern with colored construction paper. Photograph it, then print the design onto 4x4-inch cardstock pieces for precise scaling and easy application.
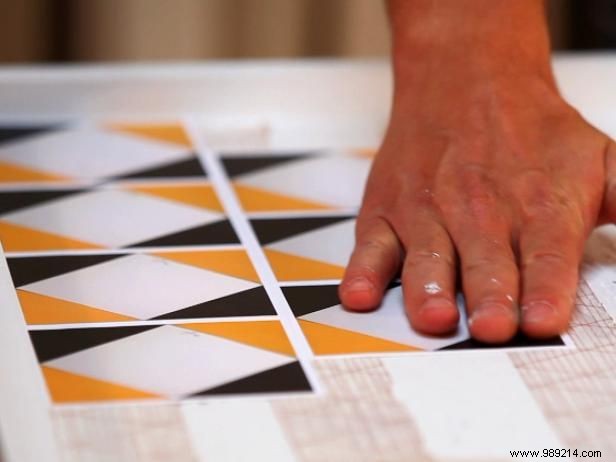
Arrange the pattern pieces to plan spacing. Apply double-sided flooring tape—available at hardware stores—in even rows on the plywood. This heavy-duty tape keeps cardstock flat and secure without shifting.
The repositionable double-sided tape simplifies placement. If a piece isn't perfect, lift and realign it effortlessly for flawless results.
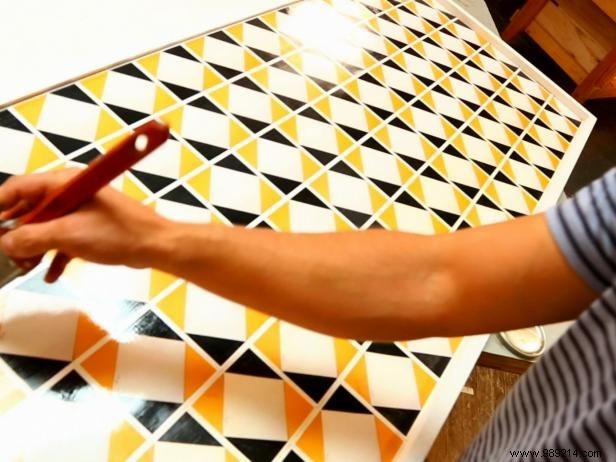
Brush on a coat of clear polyurethane to safeguard the artwork and add a subtle sheen. Apply a second coat if needed for full coverage and durability.