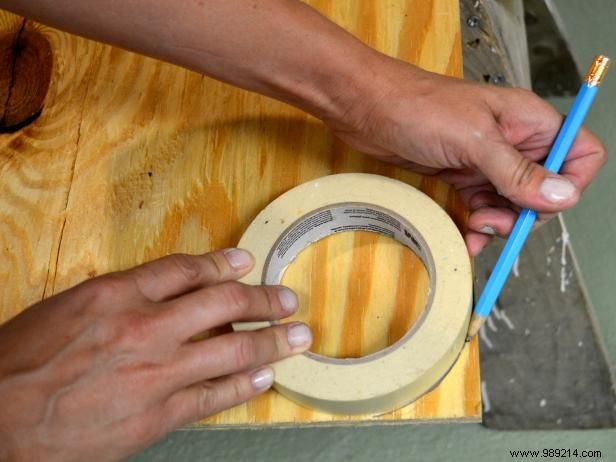
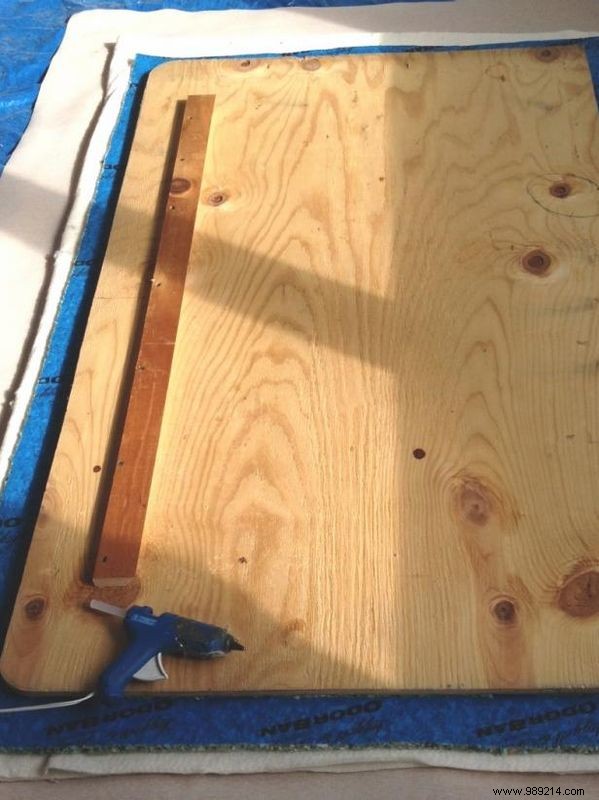
Trace smooth curves on the top corners of your plywood headboard using a compass or a handy round object like a roll of tape—it makes marking the radius effortless.
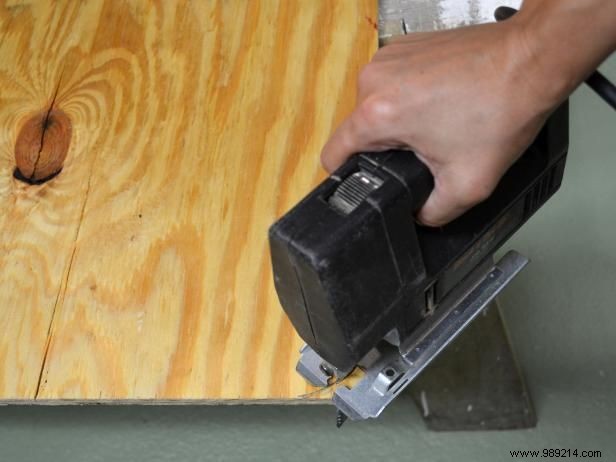
With a hacksaw, carefully cut along the marked curves at the top two corners, leaving the bottom corners sharp at 90 degrees for stability.
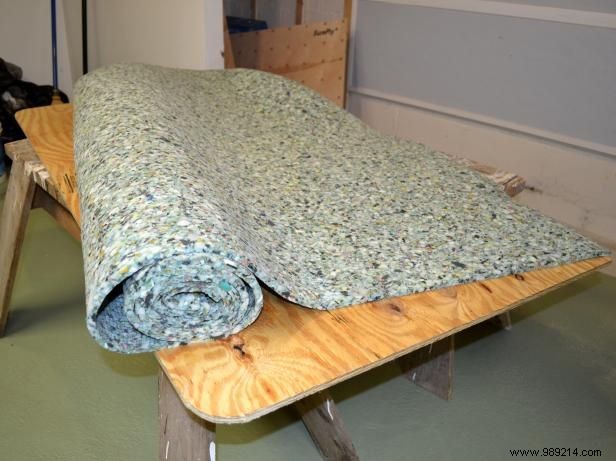
Cut carpet padding at least three inches wider than the plywood on all sides. Start generous—it's easier to trim than to redo—and save the scraps for edging later.
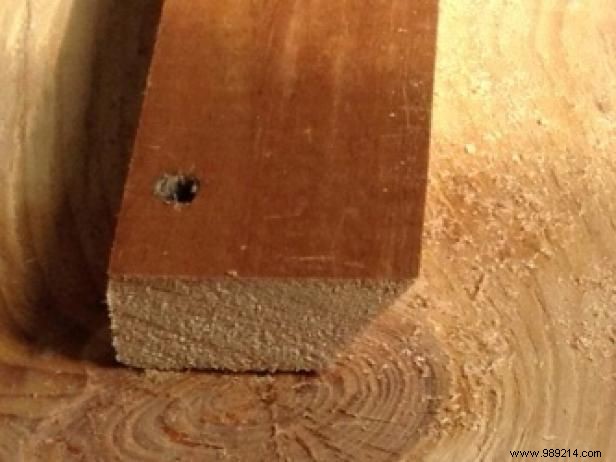
For secure wall hanging, craft a French cleat by cutting a 1x6 board in half lengthwise at a 45-degree angle. Mark your desired height on the wall and headboard back. Mount one piece to the wall with the long bevel facing up and outward, using a level and 2-1/2” screws into studs. Test the fit, then secure the mating piece to the headboard back with 1-1/2” screws, long bevel down and outward (positioned about 5” from the top).
On a clean workspace, lay faux leather vinyl face down, top with batting, then carpet padding. Center the plywood precisely on top for even coverage.
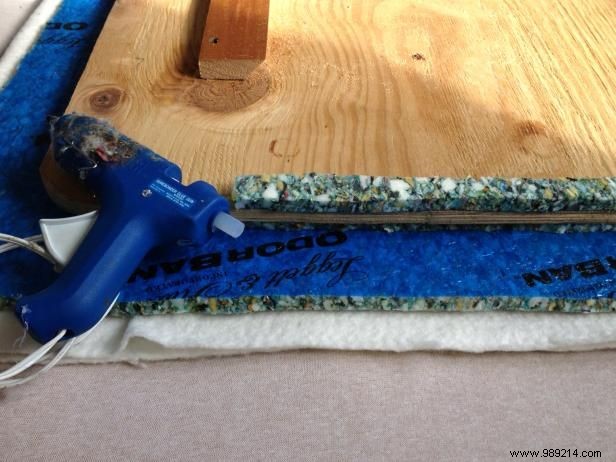
Double up padding around all plywood edges using scrap strips—hot glue them in place. This creates a plush, tufted profile, keeps the headboard level against the wall, and prevents tilting.
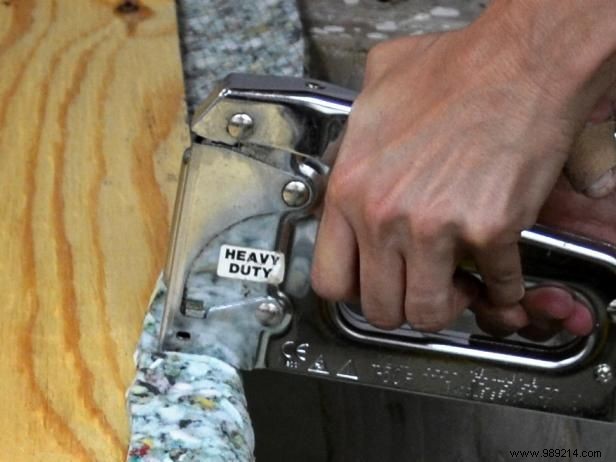
Begin at the middle of a long side: pull carpet padding and batting taut, then staple to the plywood back. If layers slip, dab hot glue under the padding first. Trim excess at corners for smooth results.
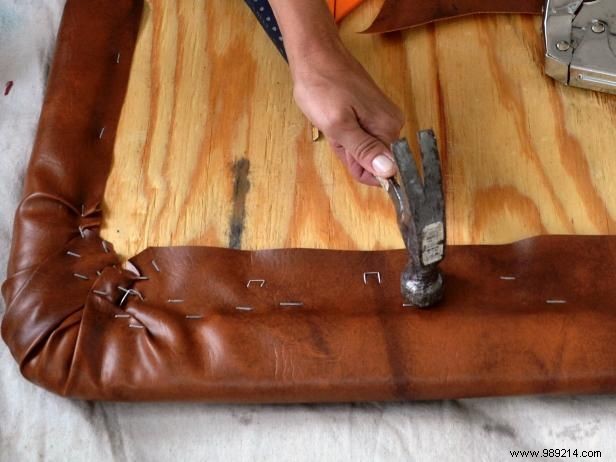
Tack the vinyl loosely first: staple once or twice in the center of each side, alternating long and short sides. Check positioning front-side up, adjust if needed, then staple fully around. Mitre corners to avoid bunching; use a mallet to drive staples home.
Susan Teare, Joanne Palmisano
Slide the headboard onto the wall cleat. Level and center it for a flawless finish.