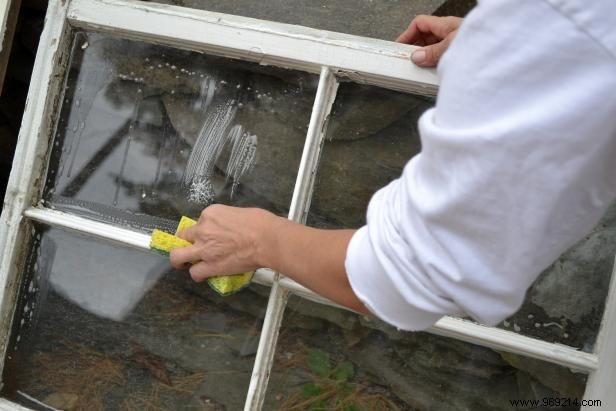
Begin by meticulously cleaning the glass panes and wooden frame. Allow everything to dry completely. Choose a window with safety glass and true divided-light panels (not snap-in glazing). Verify that the caulking around the glass is secure and intact.
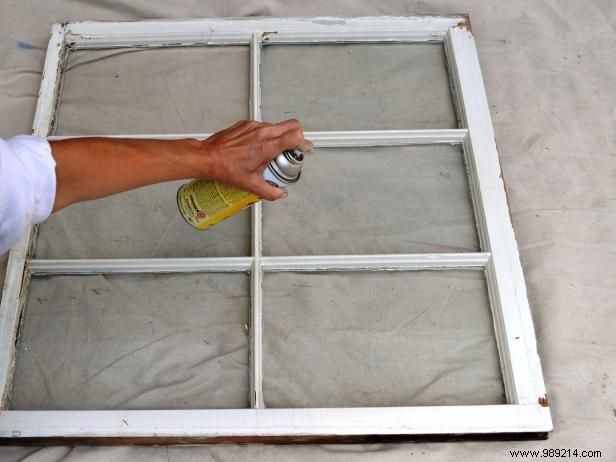
Apply a spray sealer, such as lacquer, to all wooden elements. This step ensures durability and a professional finish based on proven woodworking practices.
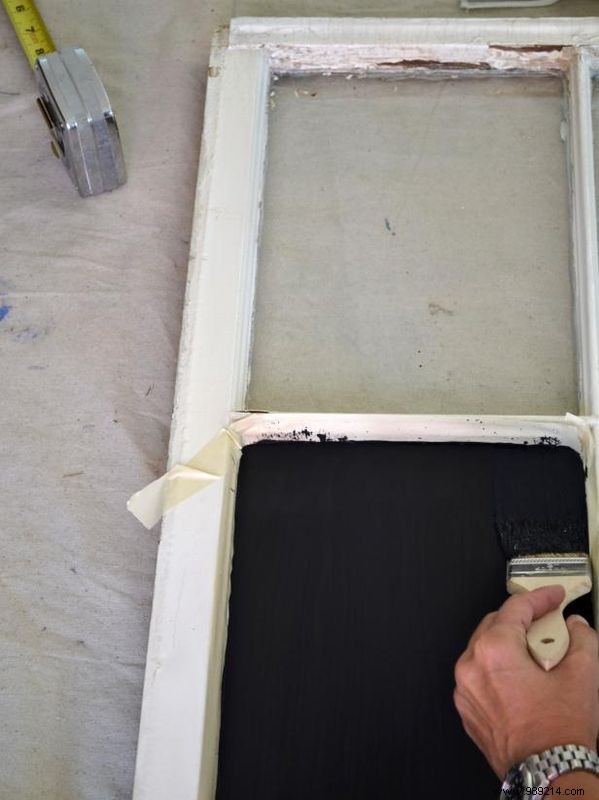
For magnetic chalkboard panels, mask the inside edge of the wood frame next to the glass with painter's tape. Coat the glass with magnetic primer, applying a second layer after the first dries. Top with chalkboard paint and allow full curing for optimal writing surface.
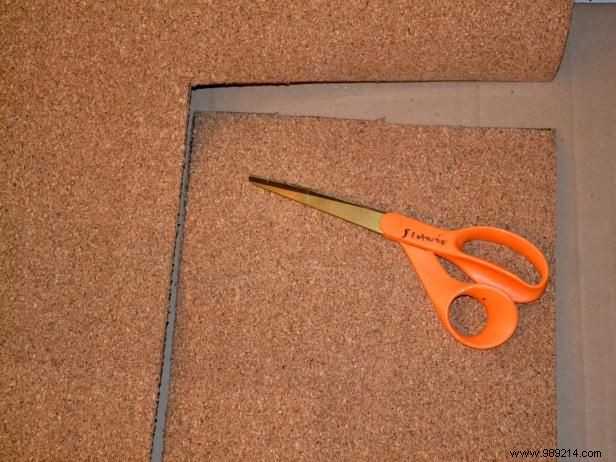
Measure each pane for cork boarding and cut two cork sheets to those dimensions per panel. Doubling up provides the ideal thickness for pinning notes securely.
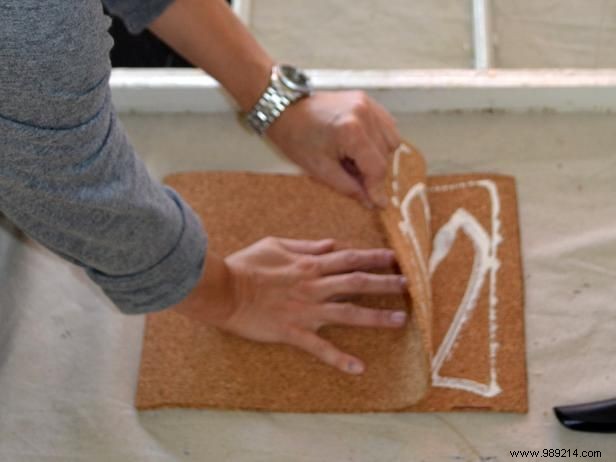
Spread construction adhesive between two cork pieces and press together for enhanced depth. Weigh down with heavy books during drying to achieve a rock-solid bond.
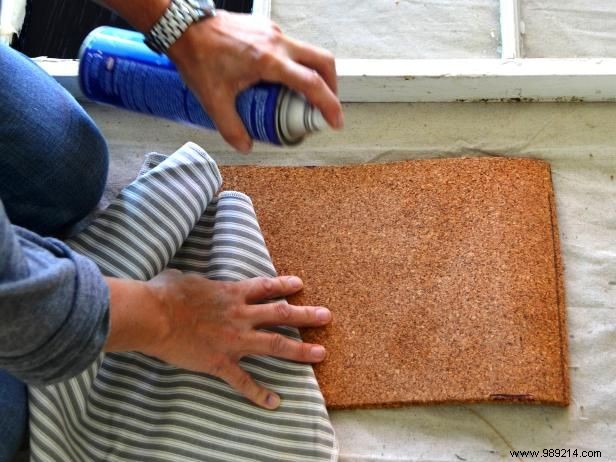
Once dry, position fabric over the cork and secure with spray adhesive. Select fabric generous enough to wrap the edges neatly for a polished look.

Measure the dry-erase panes as before and cut one sheet per panel for a smooth writing surface.
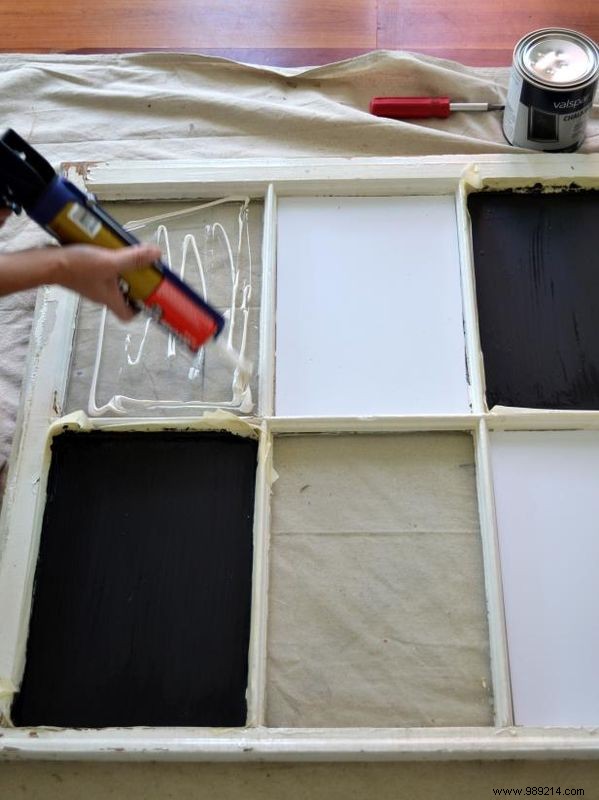
Apply construction adhesive to the glass backs, then press dry-erase and cork panels firmly into position. Prop with heavy books while curing to prevent shifting.
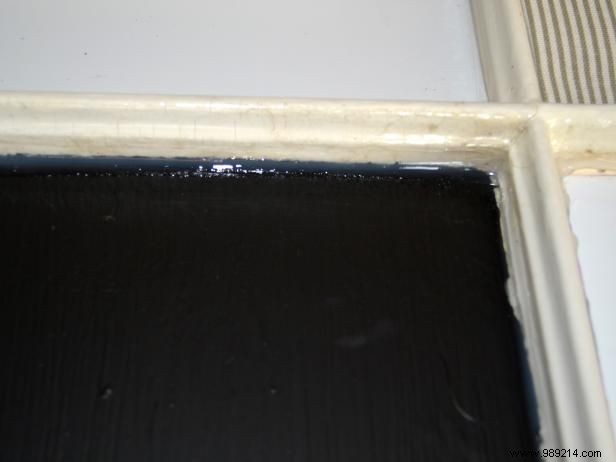
Run a bead of clear caulk along the inner edges of painted glass, chalkboard, and dry-erase panels. This provides a clean, professional seal and extra hold.