As experienced DIYers, we spotted a large vintage school chalkboard at a recycling center and gave it new life as a versatile family command center—complete with memo board, calendar, and organizers for keys, mail, and phones.
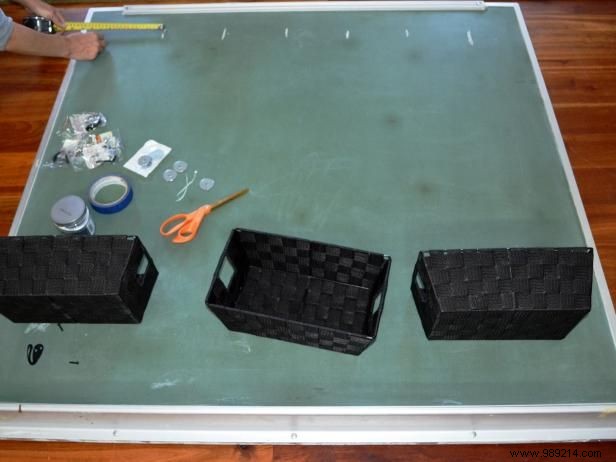
Clean the chalkboard thoroughly. Use a tape measure and simple math to plan equal spacing for your calendar grid. We designed ours for six consecutive days, with Sunday at the end. Lightly mark the lines with chalk.
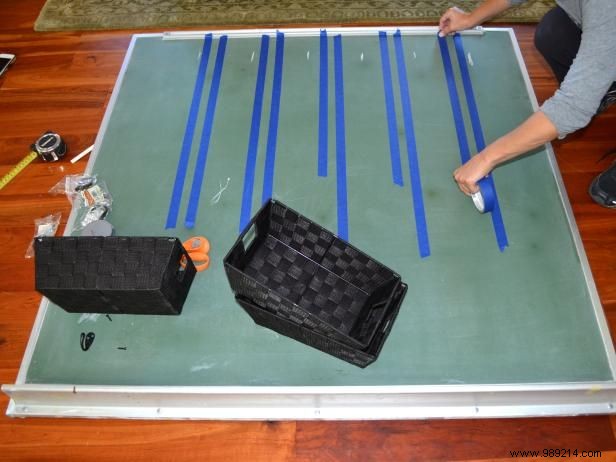
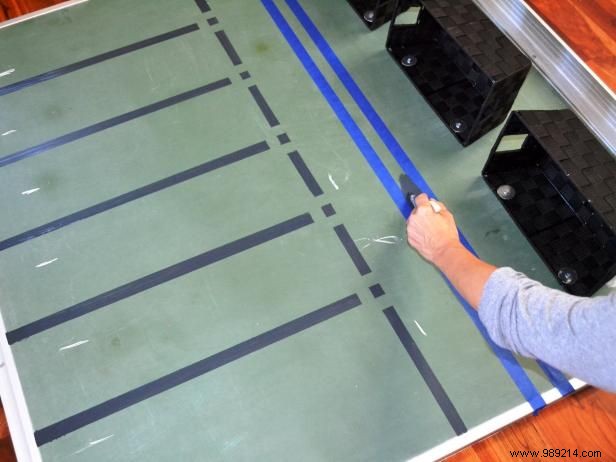
Apply painter's tape along the marked lines to create crisp borders. Press firmly on the tape edges to prevent paint bleed.
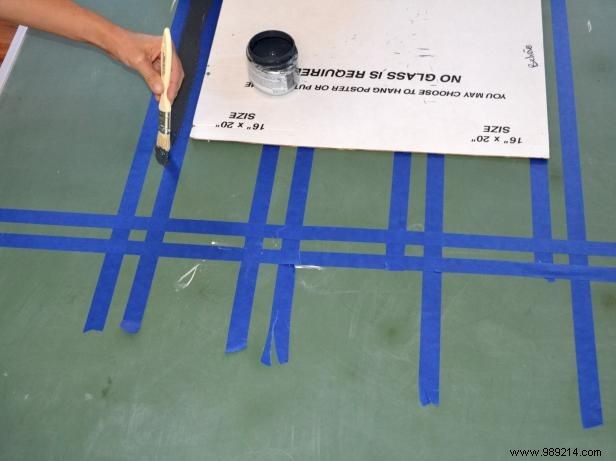
Paint between the taped lines. Allow the first coat to dry fully before applying a second for a durable finish.
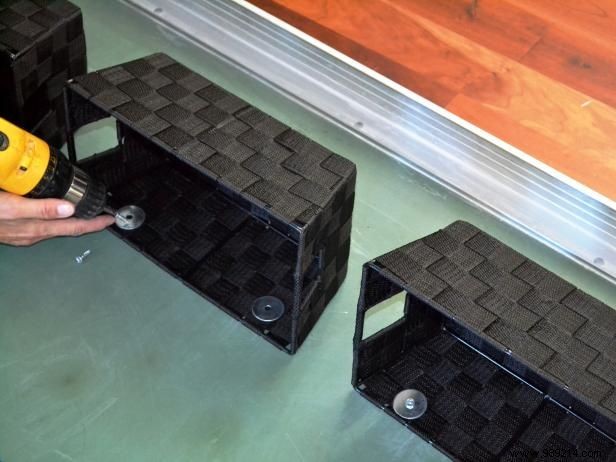
While the paint dries, position three baskets centered on the lower board. Secure them with washers and screws, ensuring screws don't protrude from the back to avoid wall scratches.
Complete the grid by adding lines for Sunday.
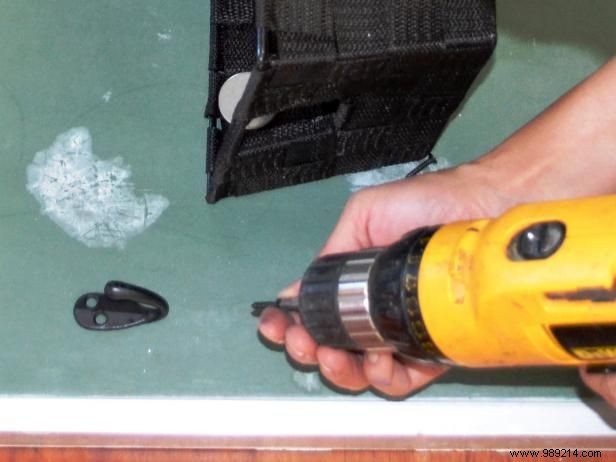
Install hooks on one side of the board for hanging keys and accessories.
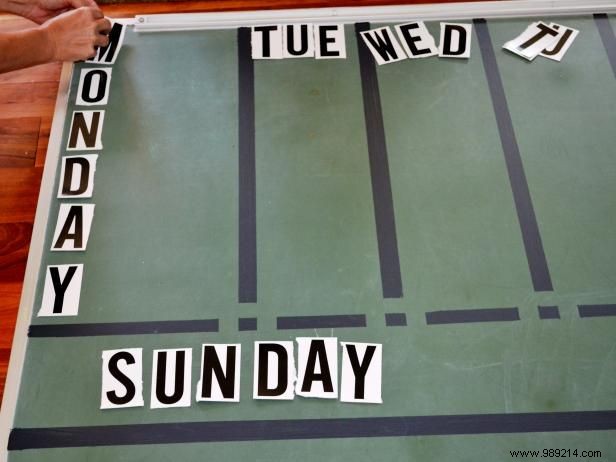
Apply stick-on letters, or use chalk or paint to label days of the week and family member initials.