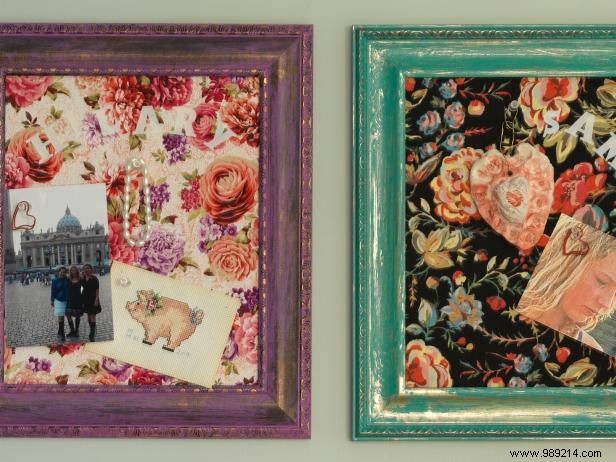
Experienced DIY crafters know the joy of upcycling thrift store finds. We refreshed old picture frames with a shabby-chic finish, layered them with cork and decorative fabric, and created functional boards perfect for displaying photos, notes, and cherished keepsakes.
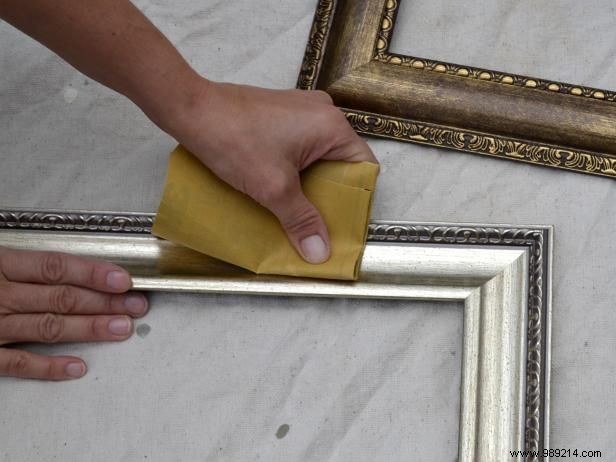
Select two photo frames of the same size, each with unique edge details. Remove the glass and cardboard backing. Lightly sand the wooden frame to gently distress the existing finish.
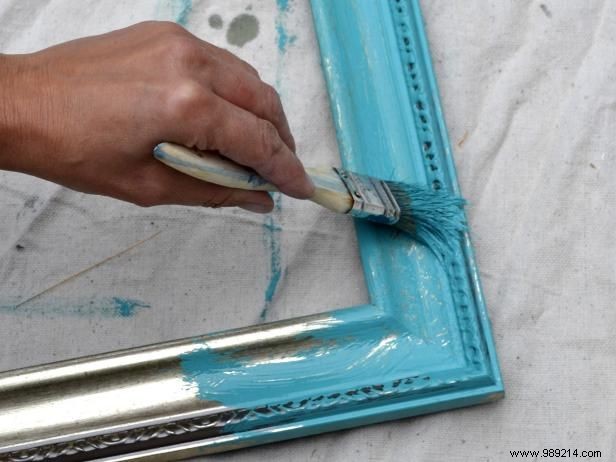
Brush on a thin layer of paint. For a shabby-chic look, avoid full coverage to let the original wood peek through naturally.
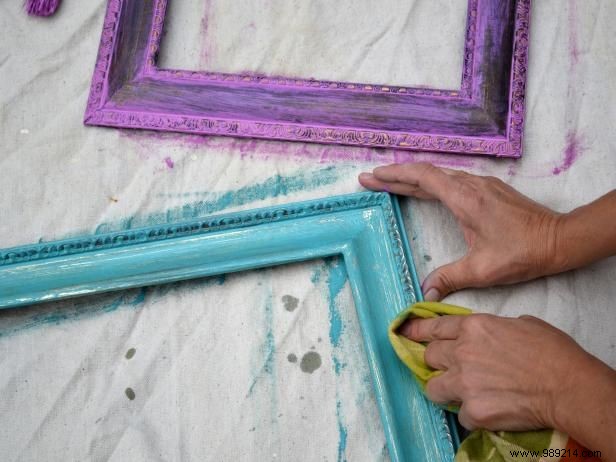
Once the paint is nearly dry, wipe away select areas with a rag to reveal the underlying finish and enhance the vintage appeal.
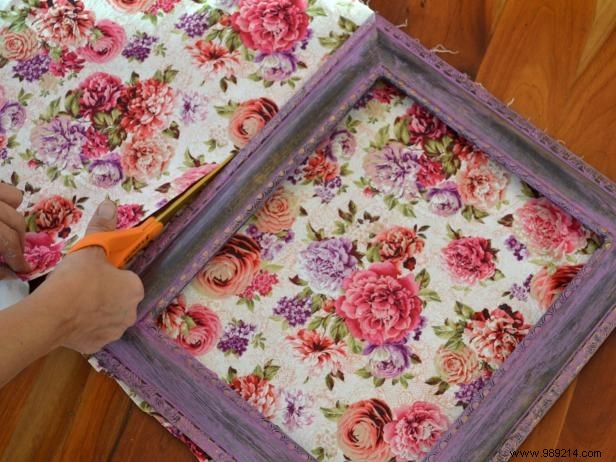
Position the frame over your chosen fabric and trim along the outer edge. This allows excess fabric to fold neatly over the back of the inner cardboard.
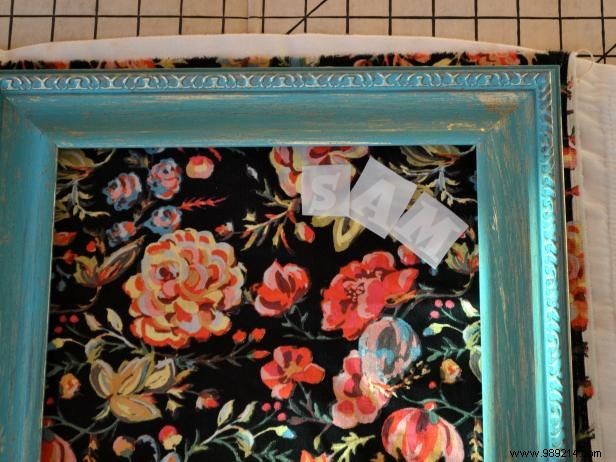
Arrange iron-on letters to form a name or message on the fabric, ensuring they align outside the frame's inner border.
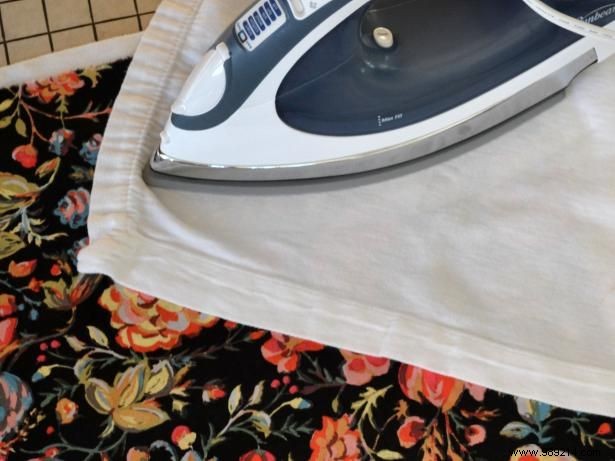
Follow the package instructions to securely iron the letters onto the fabric.
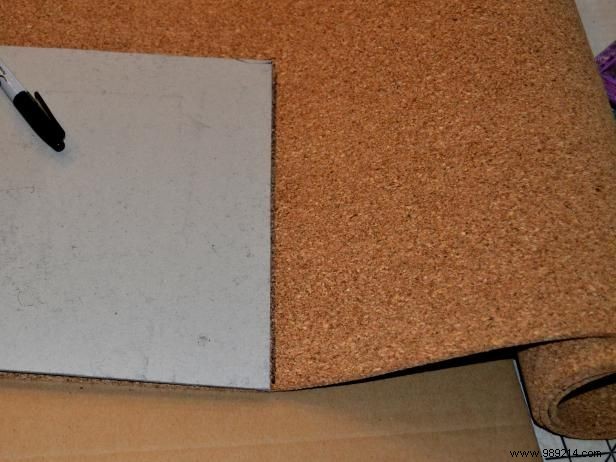
Use the cardboard backing as a template to mark and cut the cork sheet to size. Secure the cork to the cardboard with spray adhesive.
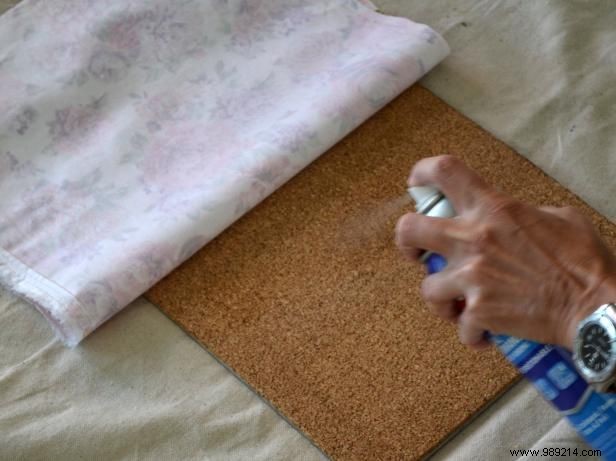
Spray adhesive onto the fabric's back, then center it over the cork. Position letters precisely, smooth out bubbles with your hands, and fold excess fabric over the edges.
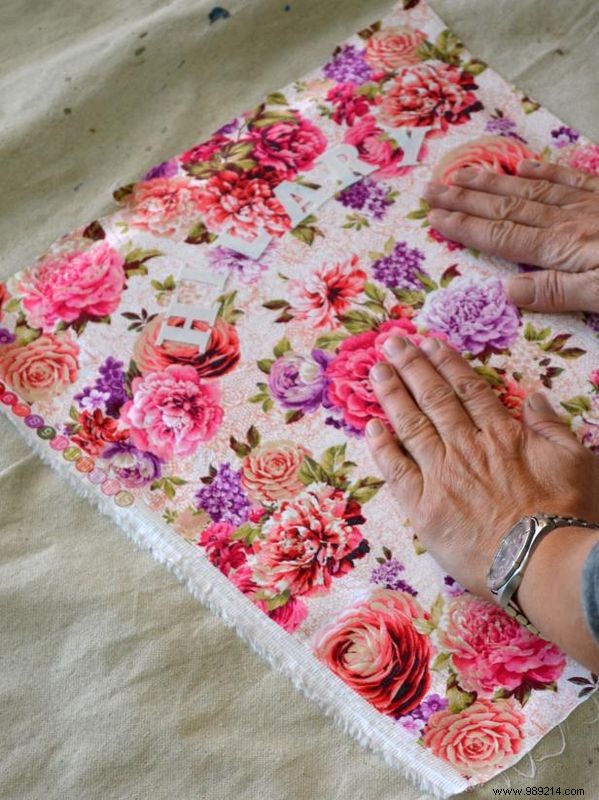
Press down firmly on the fabric to eliminate any remaining air pockets and ensure a taut finish.
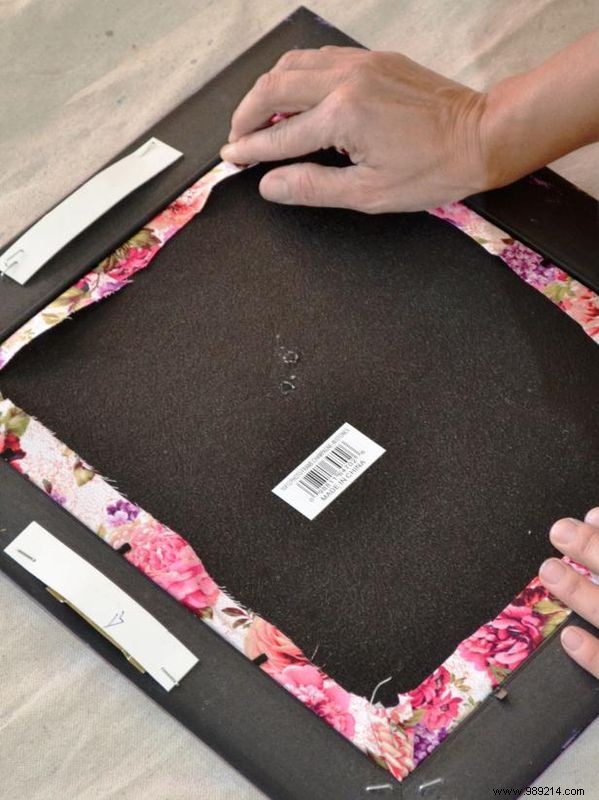
Slide the fabric-covered cork into the frame and secure it with the original thumbtacks or clips.
Project by Joanne Palmisano, photography by Susan Teare
Mix frame styles, paint colors, and fabrics to craft message boards that reflect your personal style.