My Halloween style is very black and white. There is something so elegant about tombstone and skull engravings, right? This old-school image transfer technique gives the pumpkin an imperfect, aged look that's just what you need to dress up your mantle or centerpiece.
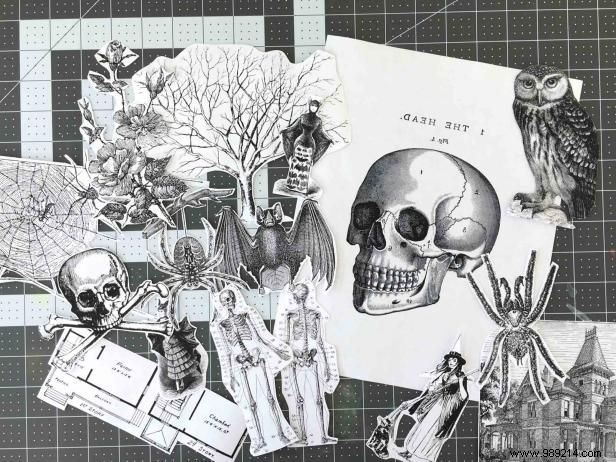
First things first, find a nice collection of Halloween-themed images and print it out. I find that black and white images work best with this technique. And as long as any printer works, a laser print will work better.
In recent years, "royalty-free images" have become quite abundant on the Internet. These are images you can use without having to worry about paying fees. My favorite place to read royalty-free images is thegraphicsfairy.com.
If any of your images have words, you will need to mirror the image before printing. If the word reads backwards on paper, it will read correctly when transferred.
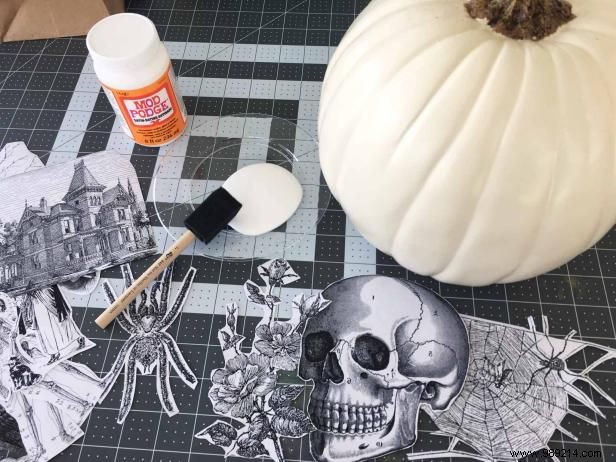
When cutting, get as close to the black lines as possible.
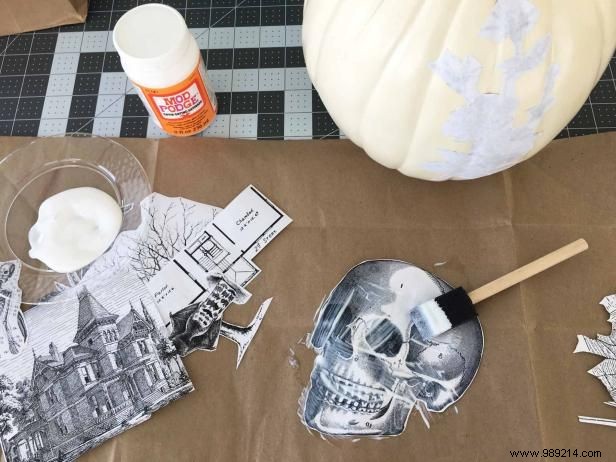
Using your foam brush, cover the printed surface with decoupage glue. Then place the image/glue face face down on your pumpkin.
Note that if you have two sheets of paper overlapping, only the bottom image will be displayed.
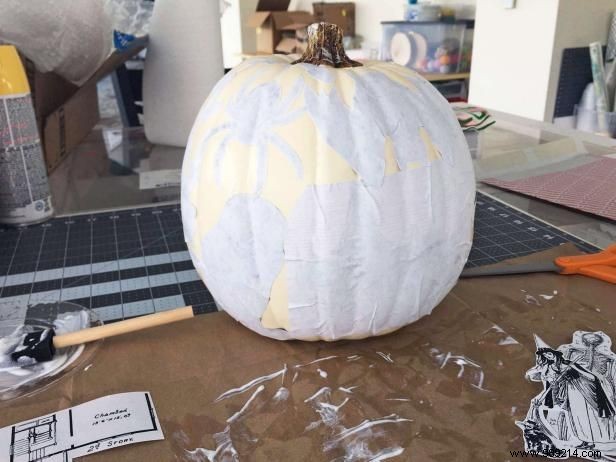
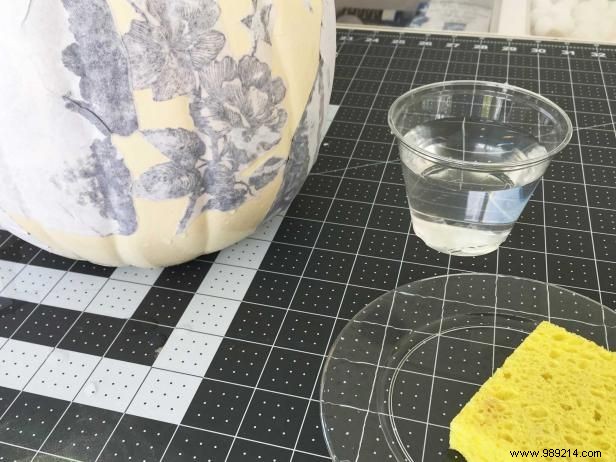
Use a damp sponge or spray bottle filled with water to soak a small area of paper.
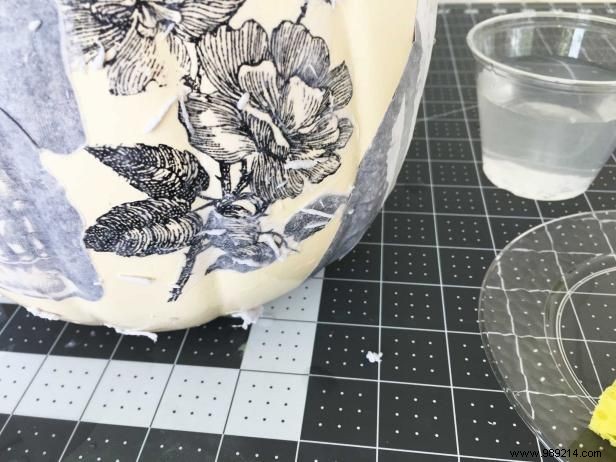
SOFTLY Start rubbing the paper with your finger. You will notice that the black image has been transferred to the pumpkin. This may take a few minutes, so be sure to keep the area moist.
Repeat in small areas until as much white as possible has been removed.
Keep the gourd clean by:
This is the key to the most attractive finished product. If you're not sure how you did it, check your pumpkin an hour or two after you're done. If you still see a lot of excess white, repeat steps 5 and 6.
If you plan to keep your decoupaged foam pumpkin for next year, you may want to spray it with a clear acrylic stamp to protect the transferred images.