For the tree sides: two 3/4" x 15" x 16" pieces
For the berries: 80 pieces at 5/8" x 1/2"

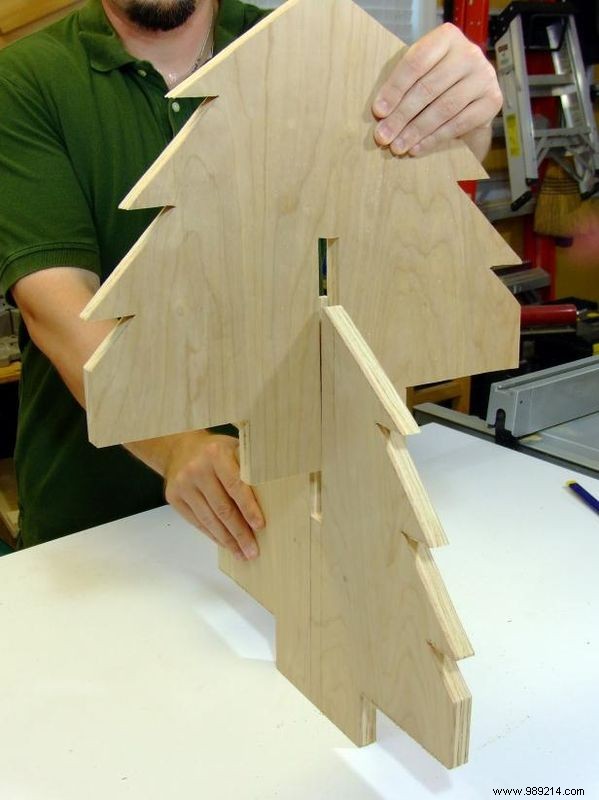
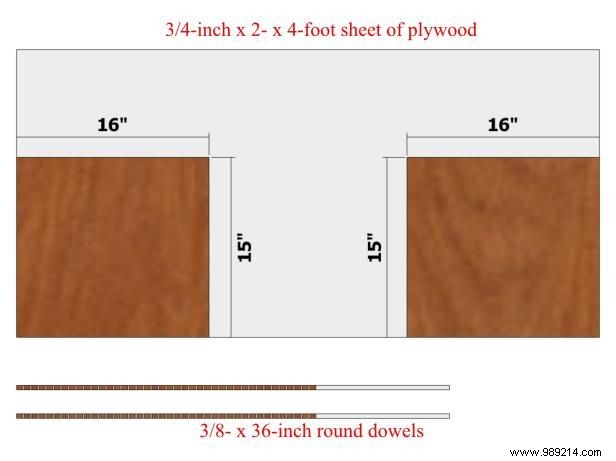
Start by cutting the two blanks for the tree sides according to the cut list and Image 1. To minimize tear-out along the edges, apply painter's tape or masking tape to the cut lines before sawing.
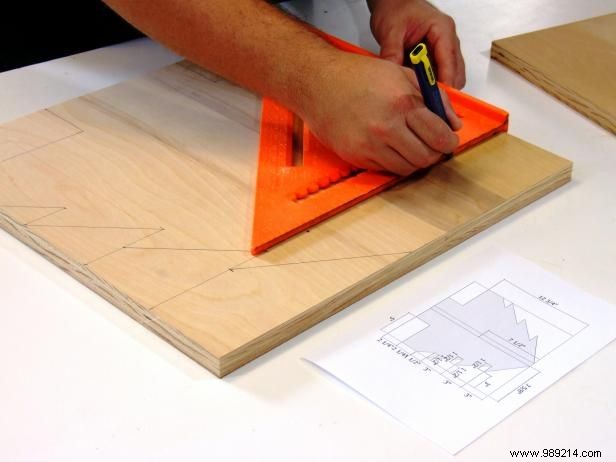
Using the layout in Image 2 as your guide, mark the tree profiles on both sides. A framing square works perfectly for drawing the diagonal lines. Pay close attention to the center: this 3/4-inch-wide slot allows the two sides to interlock securely.
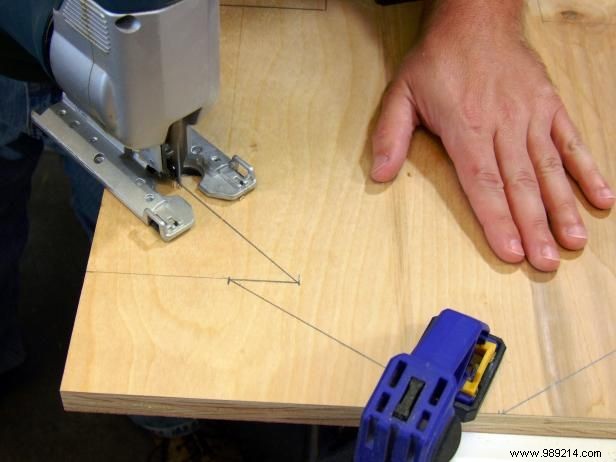
Cut away excess material on the sides and center slots using a hacksaw, as shown in Image 3.
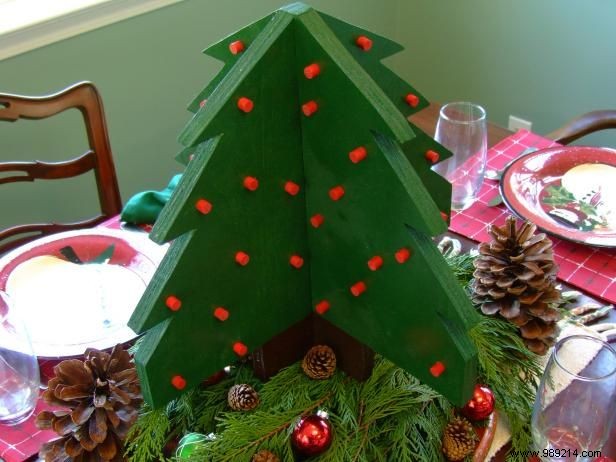
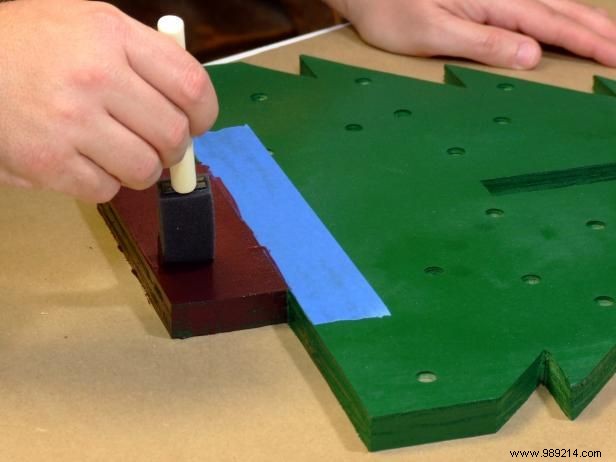
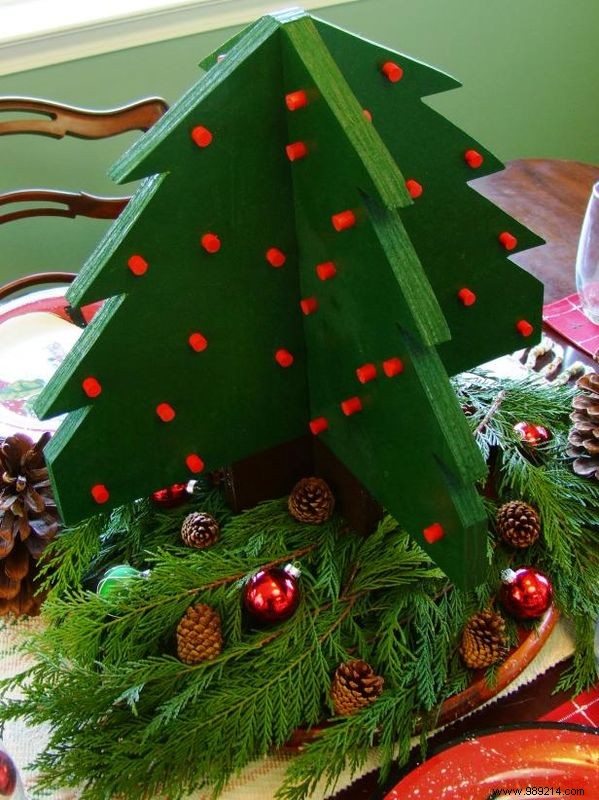
Test-fit the tree sides (Image 4). If they don't slide together smoothly, lightly sand the inner edges of the slots. Then, sand all edges and corners for a smooth finish. Paint the upper sections of the tree sides dark green and the lower trunk sections brown for a realistic look.
From a 3/8-inch dowel, cut 80 berries, each 1/2-inch long, using a handsaw with a miter box or a miter saw for precision.
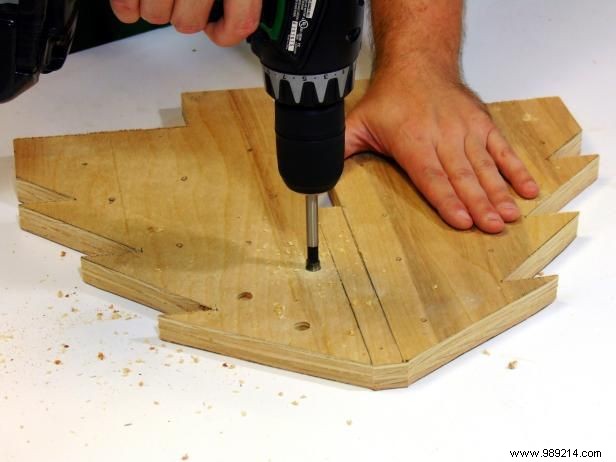
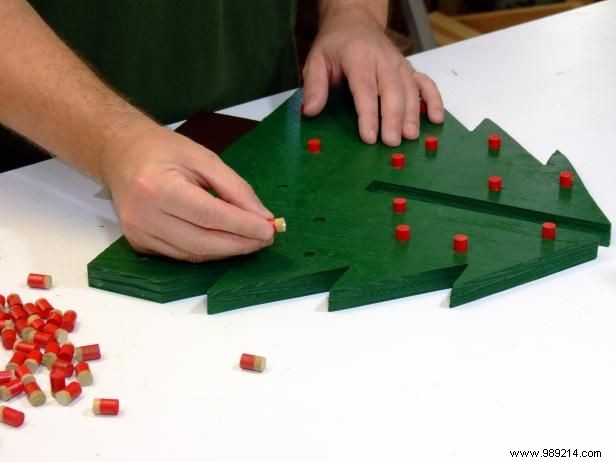
On each tree side, mark 20 random spots for the berries and drill 3/8-inch-deep holes using a 3/8-inch Forstner bit (Image 1).
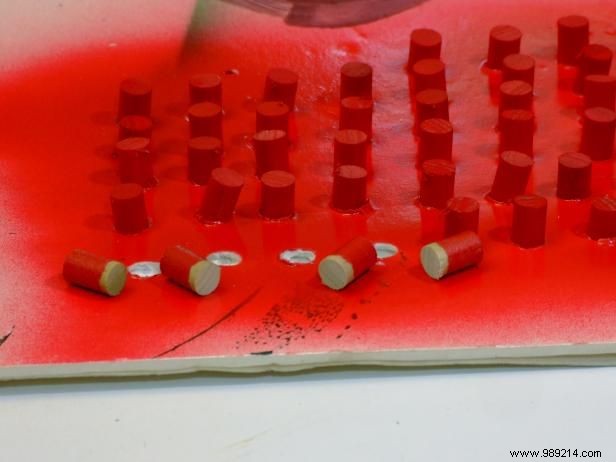
Spray-paint the berries red (Image 2). For efficiency, insert them upright into a foam board—drill matching holes in the foam first.
Apply glue to the base of each berry and press into the tree holes as shown in Image 3. Gently tap with a wooden or rubber mallet if needed to secure them.
Apply self-adhesive felt pads to the bottom of the tree sides to prevent scratches on your tabletop.