Transform your yard into a festive holiday spectacle with this durable outdoor Santa sleigh pulled by reindeer. As a woodworking enthusiast with years of experience crafting weather-resistant decorations, I recommend filling the sleigh with gift boxes wrapped in Mylar paper—it holds up beautifully in wet conditions. This project uses pocket hole joinery; if you're new to it, review the basics first.
All pieces are cut from 3/4-inch plywood. Refer to the Materials and Tools tab for the complete list.
Reindeer (fold the pieces for the set)
For the body: two at 3/4" x 12-1/2" x 32"
For the antlers: four at 3/4" x 5" x 12"
For the ears: four at 3/4" x 2-1/2" x 2-1/2"
For stretchers: two at 3/4" x 1-1/2" x 16"
Sled
For studs: four at 3/4" x 2-1/2" x 11"
For the rails: two at 3/4" x 2-1/2" x 11-1/2"
For runners: two at 3/4" x 5-1/2" x 36"
For stretchers: two at 3/4" x 1-1/2" x 16"
For the sides: two at 3/4" x 10-3/4" x 26-5/8"
For the back: one at 3/4" x 10-3/4" x 17-1/2"
For the front: one at 3/4" x 3-1/4" x 17-1/2"
For the bottom: one at 3/4" x 17-1/2" x 25-1/8"
For the divider: one at 3/4" x 5" x 17-1/2"
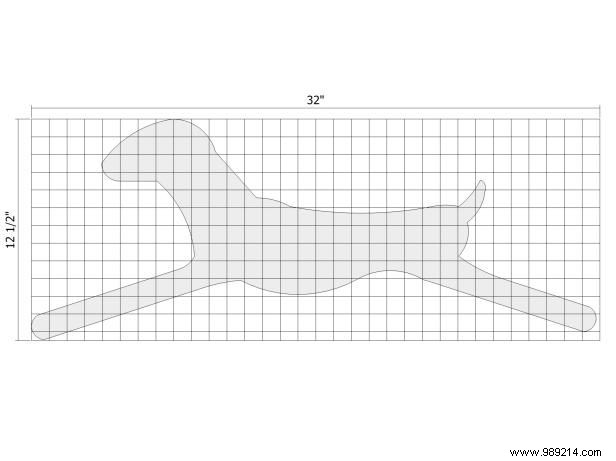
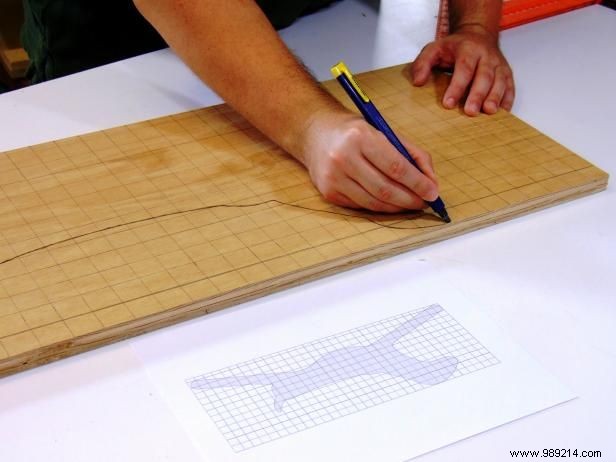
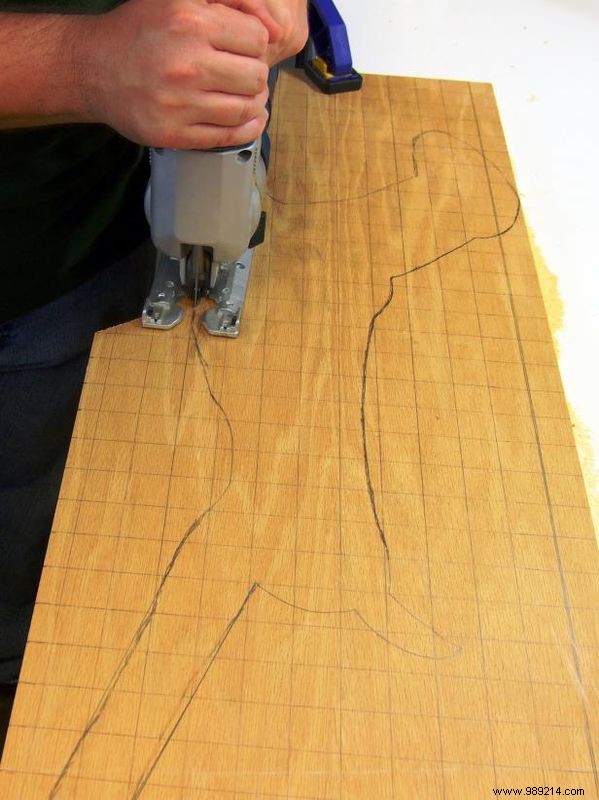
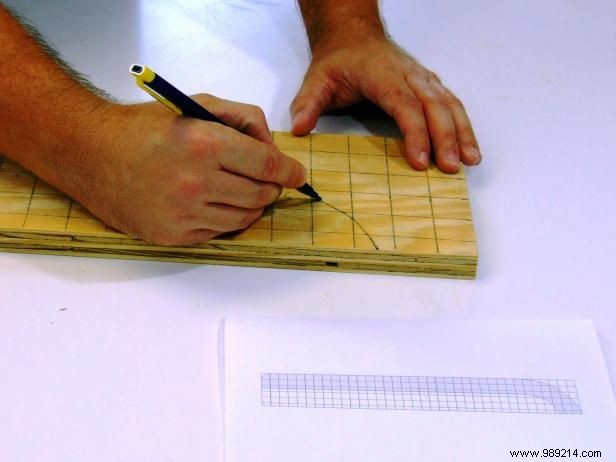
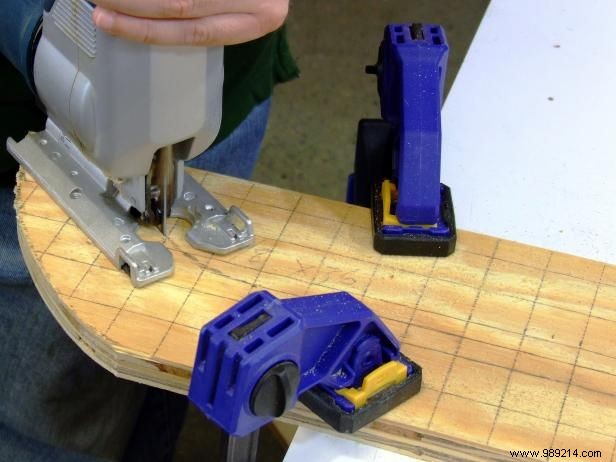
Trace the reindeer body pattern onto plywood using the guide (images 1 and 2)—make two identical pieces. Cut them out carefully with a jigsaw (image 3). Apply light brown paint to both bodies and let dry completely.

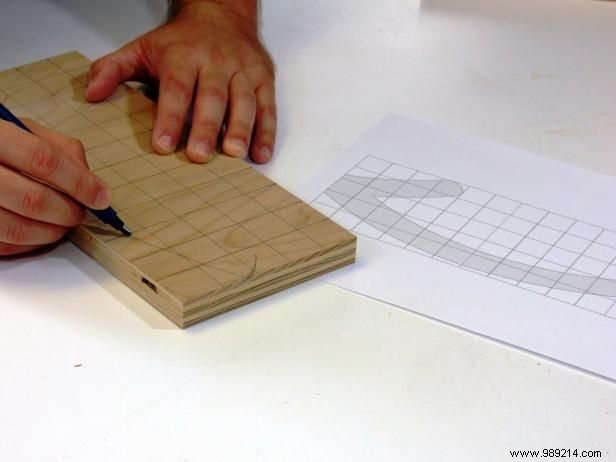
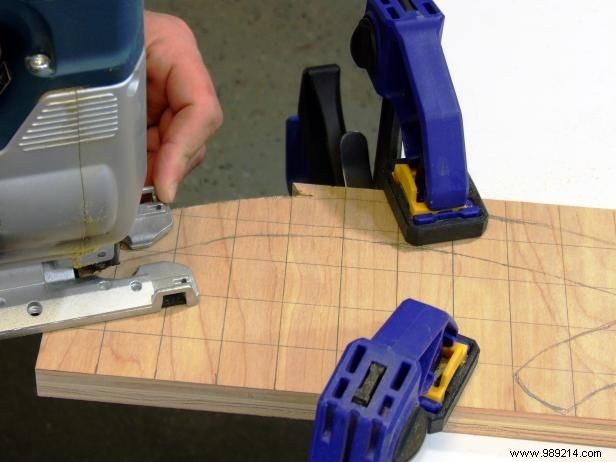
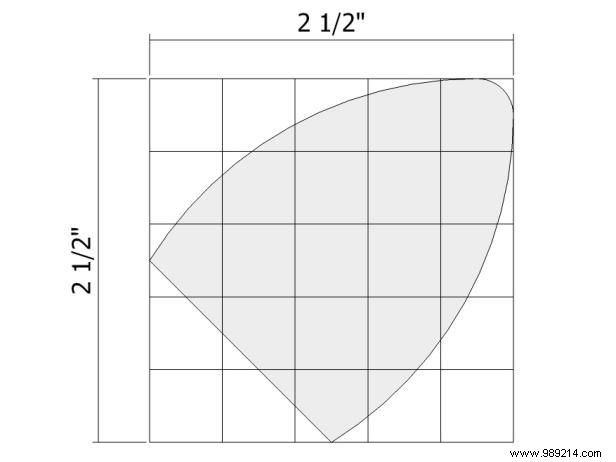
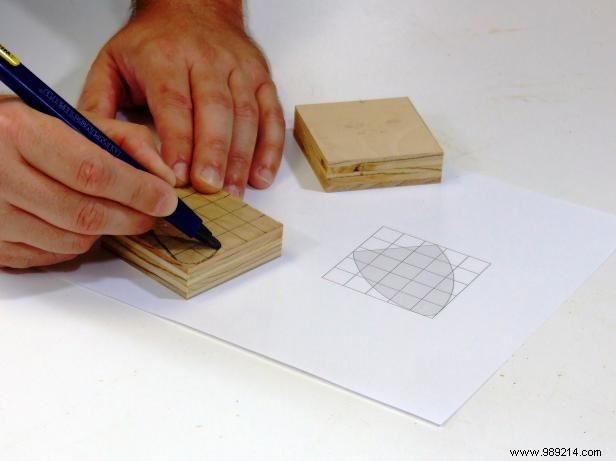
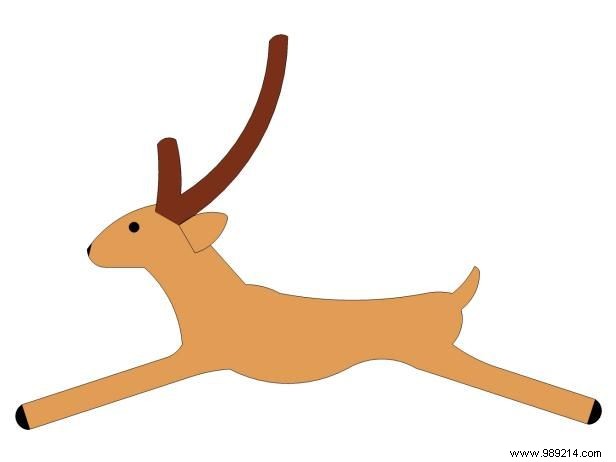
Mark the antlers using the guide (images 1 and 2)—cut four with a jigsaw (image 3). Trace the ears (images 4 and 5)—cut four using a band saw. Paint the ears light brown and antlers dark brown.
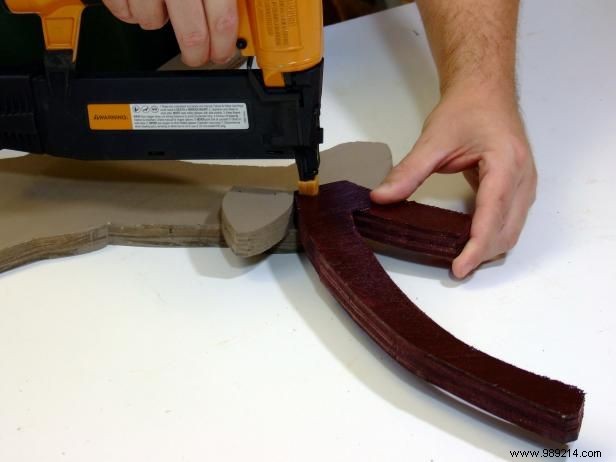
Position the ears and antlers per the guide, adding painted details (image 1). Secure them to the body with glue and galvanized nails (image 2). Attach the stretchers to link the two reindeer into a team.
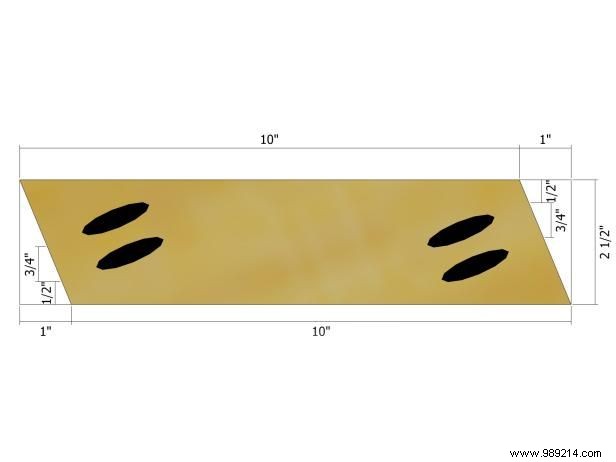
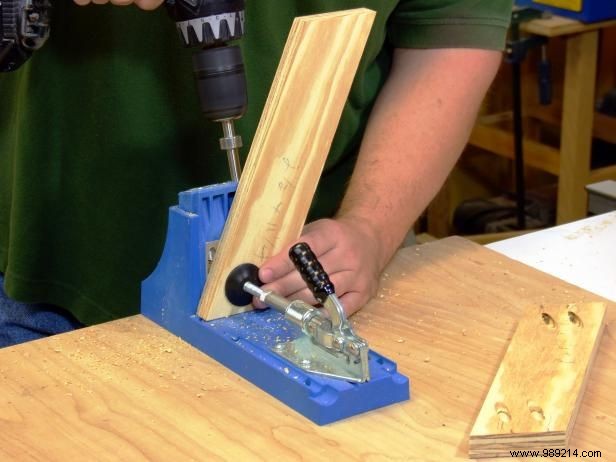

Shape the studs using the guide (image 1) and drill pocket holes (image 2). Follow the guide to shape the rails and drill pocket holes (image 3).
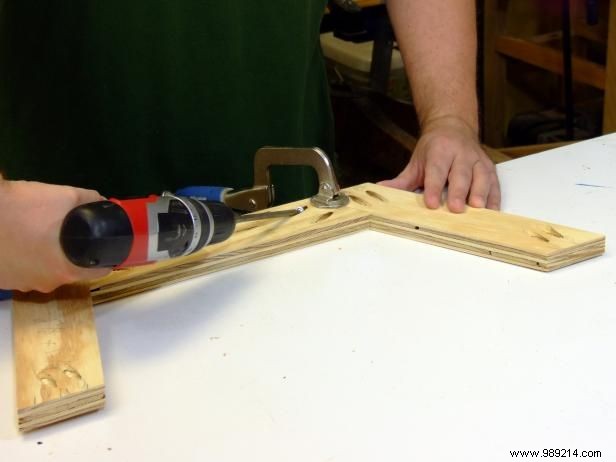
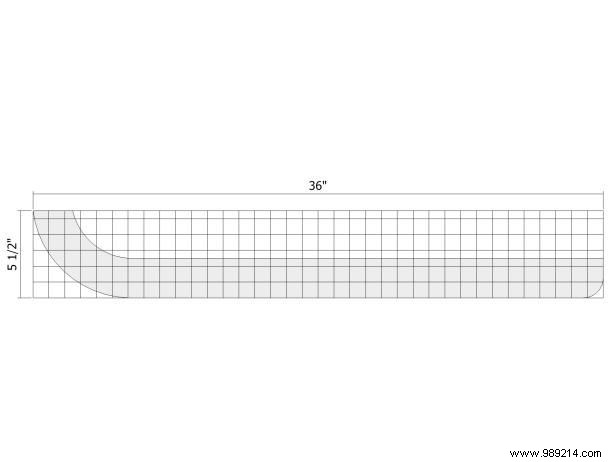
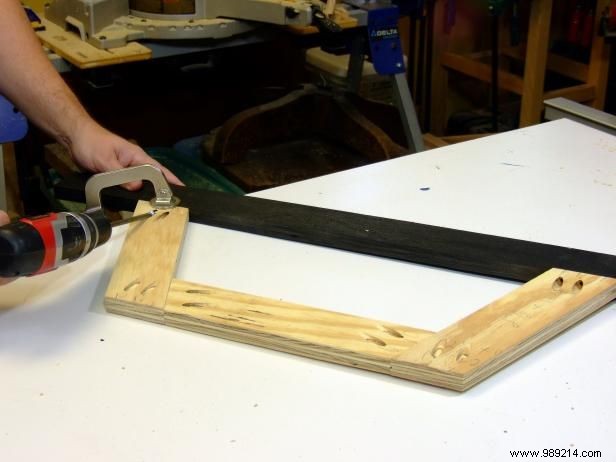
Position and attach the rails with glue and 1-1/4-inch pocket hole screws (image 1). Mark and cut the runners per the guides (images 2-4); paint them black and dry. Secure the rail assembly 5 inches from the back (image 5). Attach stretchers flush to the studs with glue and 1-1/4-inch screws.
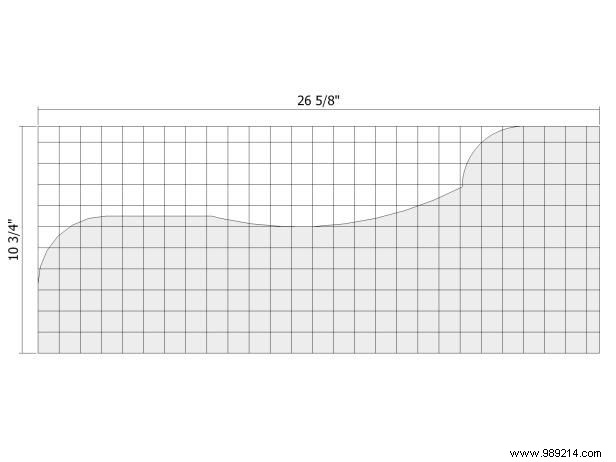
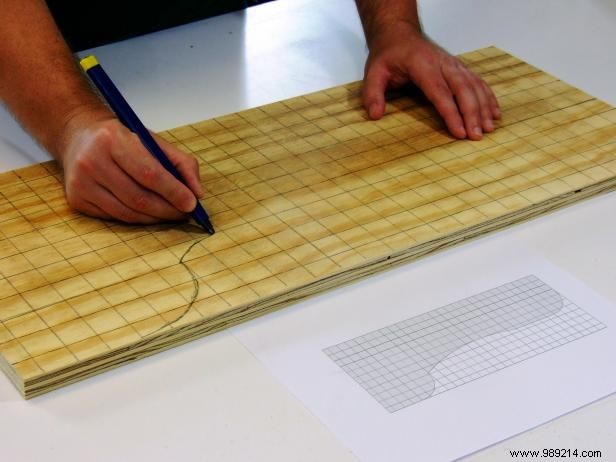
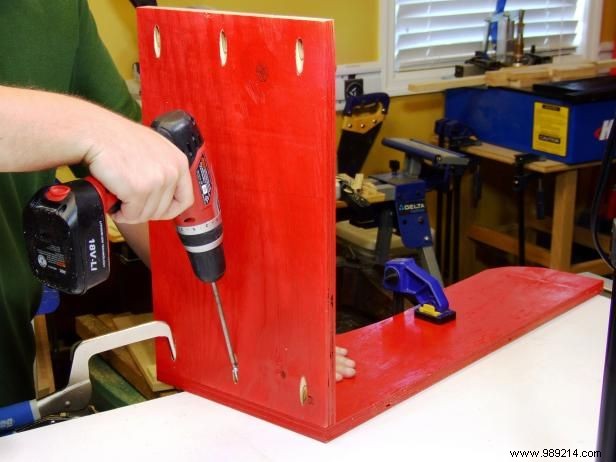
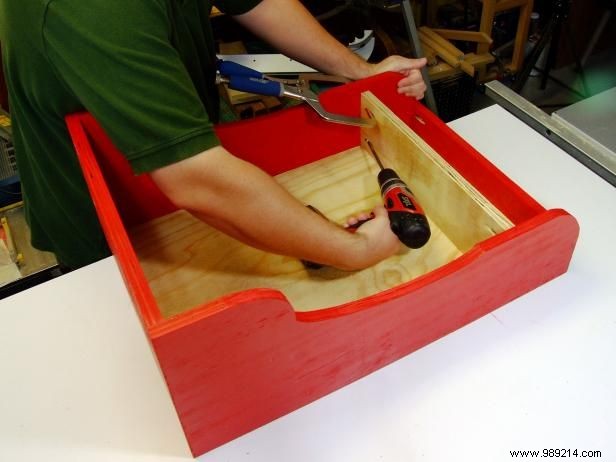
Mark and cut the sides (images 1-2); paint sides, back, and front red. Drill pocket holes in back and front ends. Assemble back to one side (image 3), then add front and second side with glue and 1-1/4-inch screws. Fit the bottom to internal dimensions, drill pocket holes, and attach flush to the bottom edge. Adjust and install the divider 4-1/4 inches from the front (image 4).
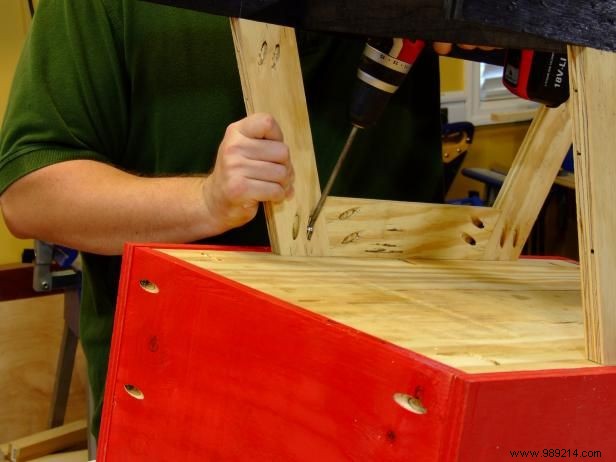
Lay the top assembly face down. Position the base 5 inches from the front edge, flush with side outsides. Secure with glue and 1-1/4-inch screws.
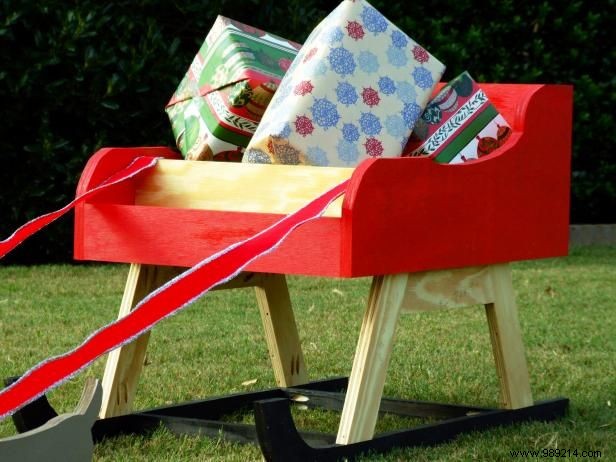
Position the reindeer team directly in front of the sleigh. Wrap ribbons around their necks and staple the ends inside the divider for a polished, enchanting display.