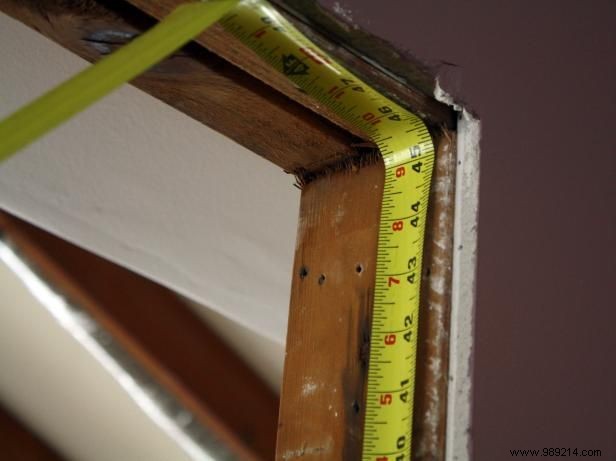
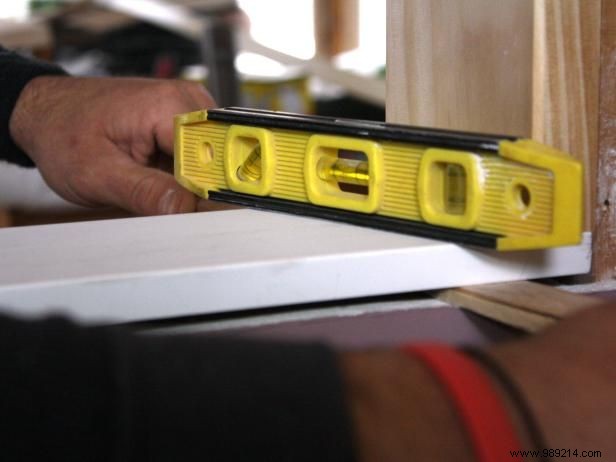
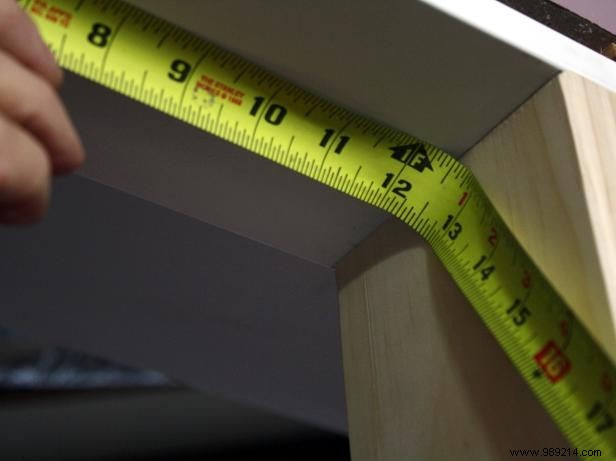
Measure the window opening precisely to determine the dimensions for the legs and jambs.
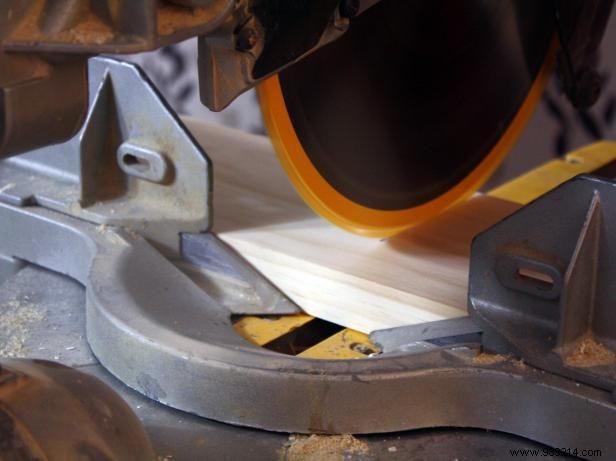
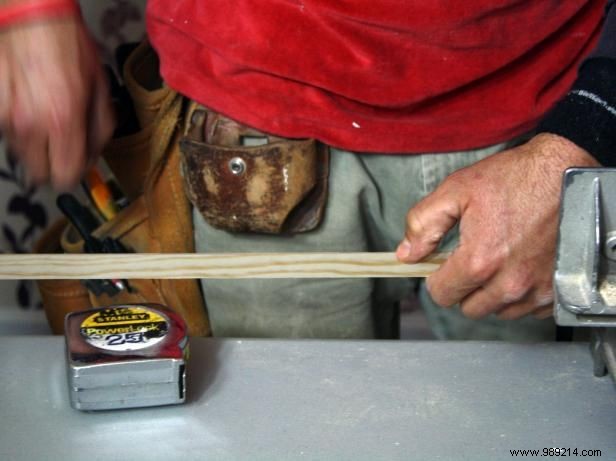
Using 5¼-inch MDF, cut the jambs and legs to the frame size with a hacksaw. Measure from the cut edge to ensure the box is perfectly square.
Custom-cut the number of jamb legs needed for your desired shelves. These will run parallel to the frame legs.
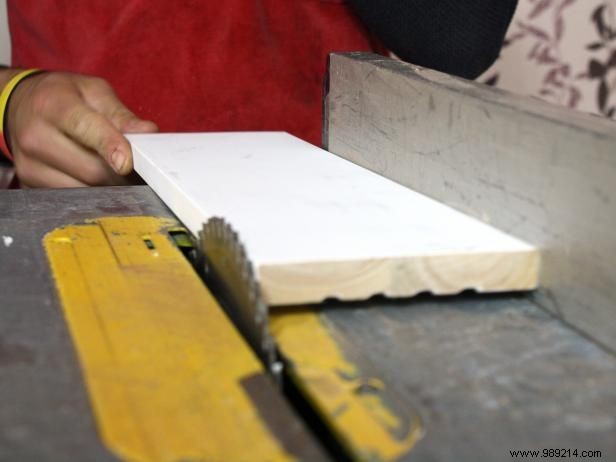
Use a table saw to rip the 5¼-inch MDF to 4-9/16 inches wide. Ensure all jamb legs match in width for uniformity.
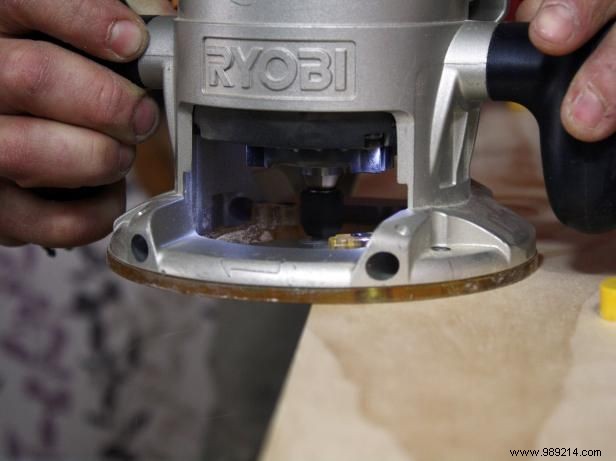
Run a router along each edge of the jamb legs for a smooth, polished finish.
Measure the stained glass piece to fit the frame inside the shelving unit.
Secure all four frame sides and legs to the jamb with 2½-inch drywall screws, pre-drilling each hole. Insert the assembled frame into the window opening.
Level the frame using shims, then secure it to the wall with a framing nailer and 2-inch nails.
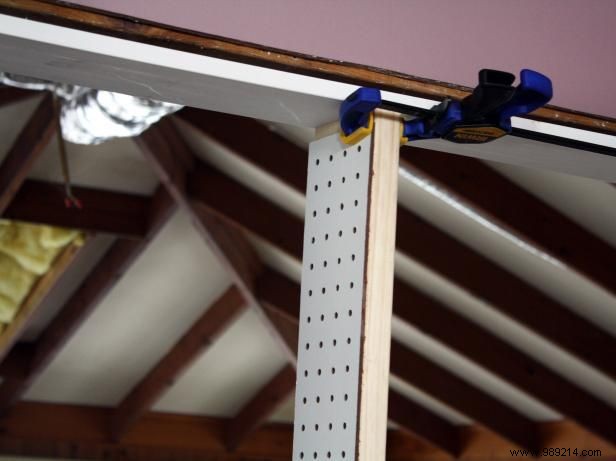
With the unit level, glue pegboard to the inside of the MDF where the shelves will attach.

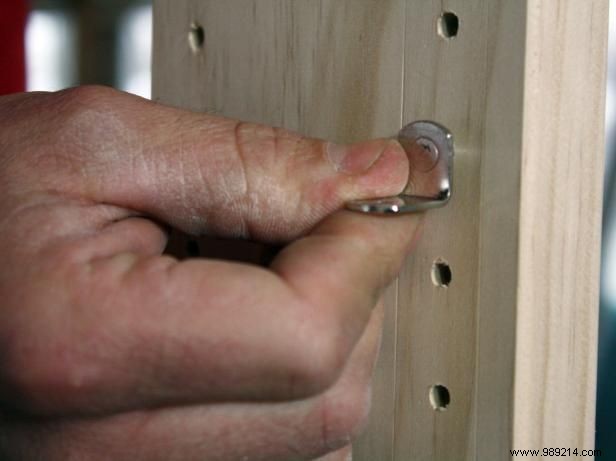
Drill holes in the MDF at your desired heights and spacing for adjustable floating shelves.
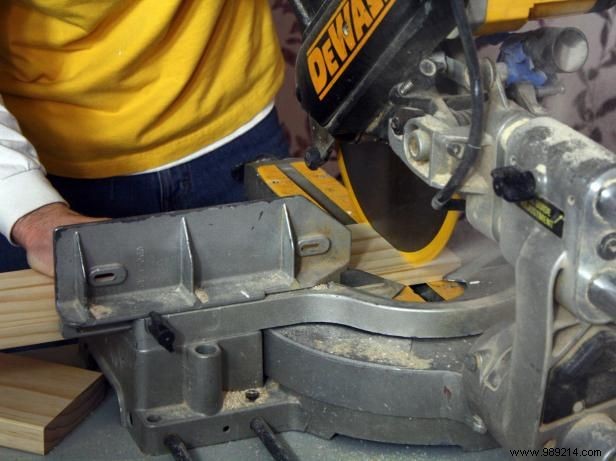
Measure the shelf lengths and cut each to size using a hacksaw.
Rip each shelf to match the jamb leg width on a table saw, then route the ends for a smooth, professional look.
Position and install each shelf at the desired height.
For the stained glass section, install ¼-inch round trim cut to fit the window frame. Cut pieces individually with a hacksaw.
Identify the exact depth where the stained glass will sit securely.

Secure one side of the ¼-inch round stopper with a finish nailer.
After installing all four stopper pieces, carefully insert the stained glass. Add the back stopper to hold it firmly in place.
Remove the shelves and paint them in your chosen color.
Add trim around the window edges and reinstall the painted shelves.