Brian Patrick Flynn, Scripps Networks, LLC
Step 1: Determine the size of the banner
Interior designer Brian Patrick Flynn recommends starting by assessing the wall or space where the banner will hang. Aim for a standard bunting size of 10 inches high by 8 inches wide for optimal visual impact.
Brian Patrick Flynn, Scripps Networks, LLC
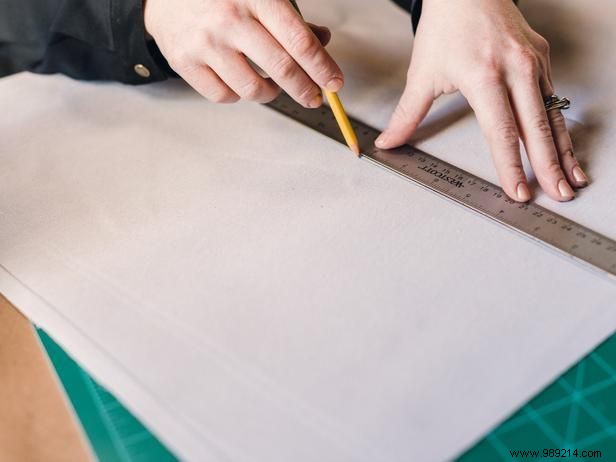
Step 2: Mark the vinyl backing
Using a ruler and permanent marker, measure and mark your faux leather or vinyl sheet according to the desired bunting dimensions.
Brian Patrick Flynn, Scripps Networks, LLC
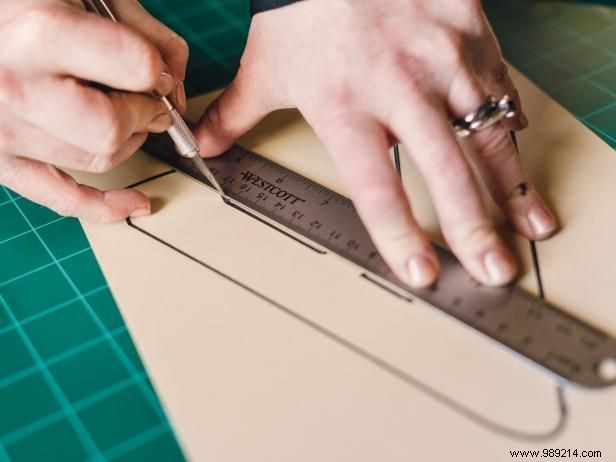
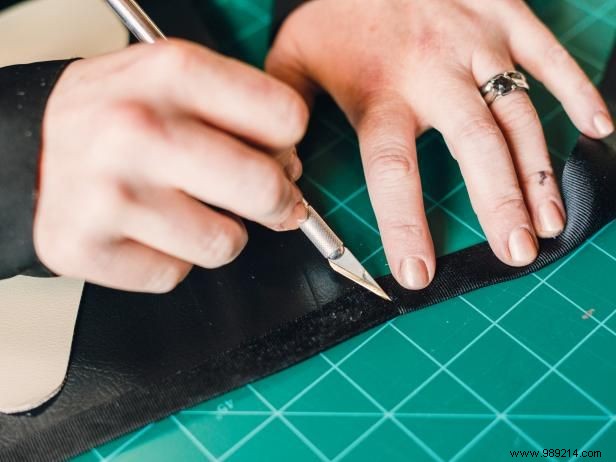
Step 3: Cut the vinyl to size
Follow your marked lines and precisely cut the faux leather using a craft knife or heavy-duty upholstery scissors.
Brian Patrick Flynn, Scripps Networks, LLC
Step 4: Create letter templates
Select a classic font, print the required letters for your message on cardstock, and carefully cut them out to form reusable stencils.
Brian Patrick Flynn, Scripps Networks, LLC
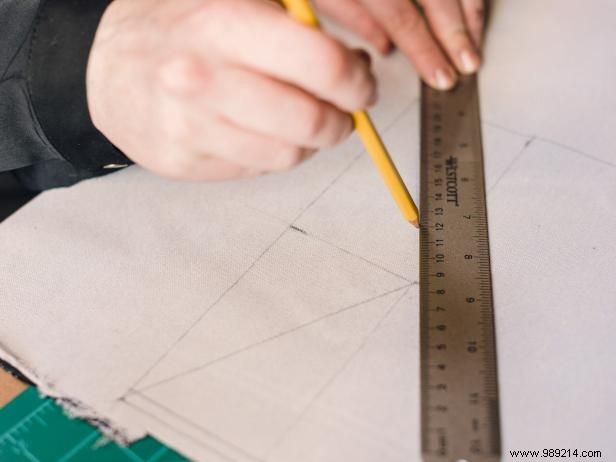
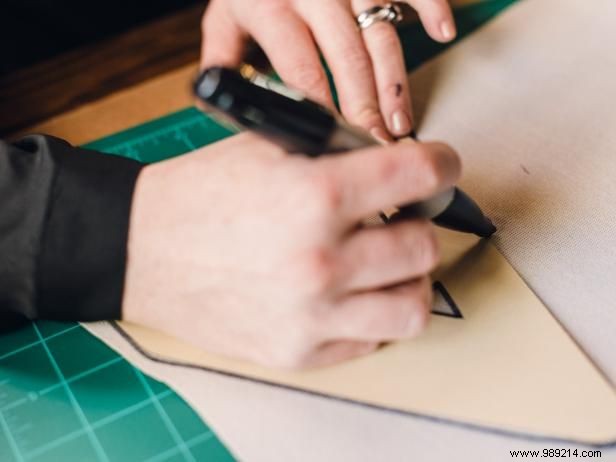
Step 5: Trace letter stencils
Position each stencil on the reverse side of the faux leather and trace the outline with a permanent marker.
Brian Patrick Flynn, Scripps Networks, LLC
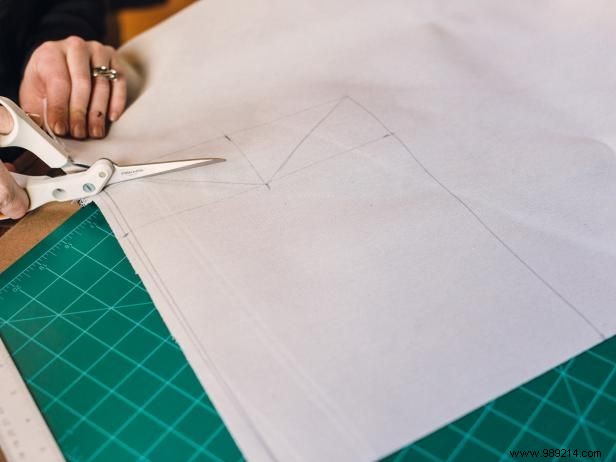
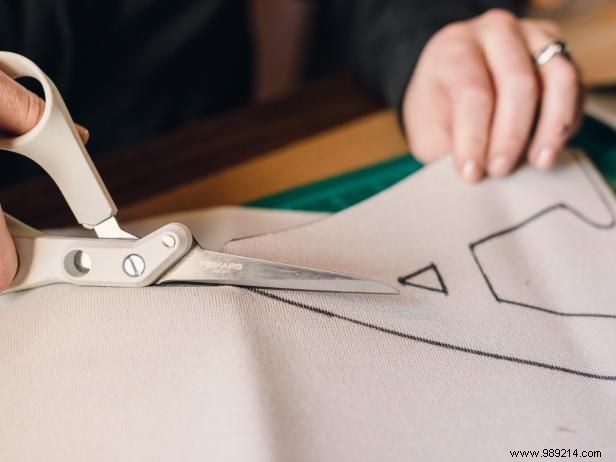
Step 6: Cut out the letters
Cut along the traced lines using upholstery scissors or a craft knife to create the individual letter shapes.
Brian Patrick Flynn, Scripps Networks, LLC
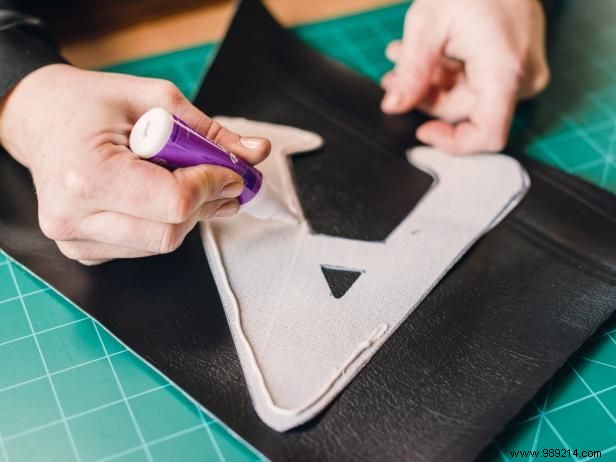
Step 7: Attach letters to the bunting
Apply fabric glue to secure the cut-out letters to the front of each bunting piece. Allow at least one hour for drying.
Brian Patrick Flynn, Scripps Networks, LLC
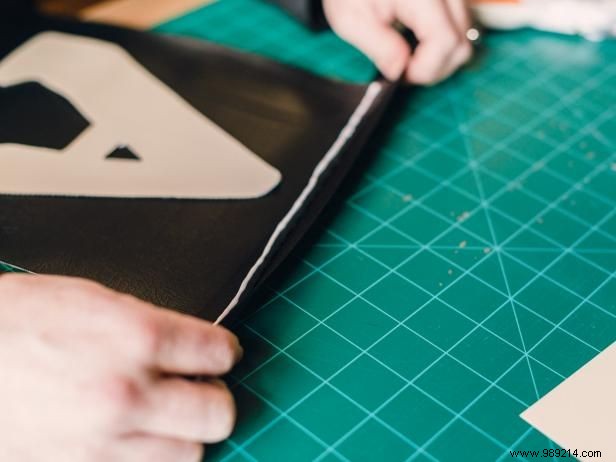
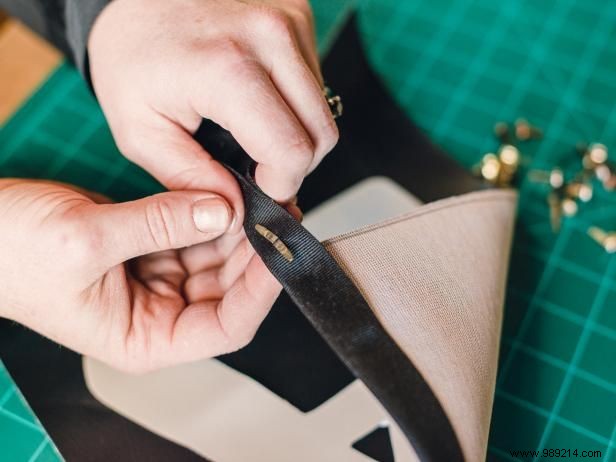
Step 8: Attach ribbon to the top
Lay out the bunting sections on a flat surface with 1-inch gaps. Fold ribbon over the top of each piece and secure with fabric glue on both sides.
Brian Patrick Flynn, Scripps Networks, LLC
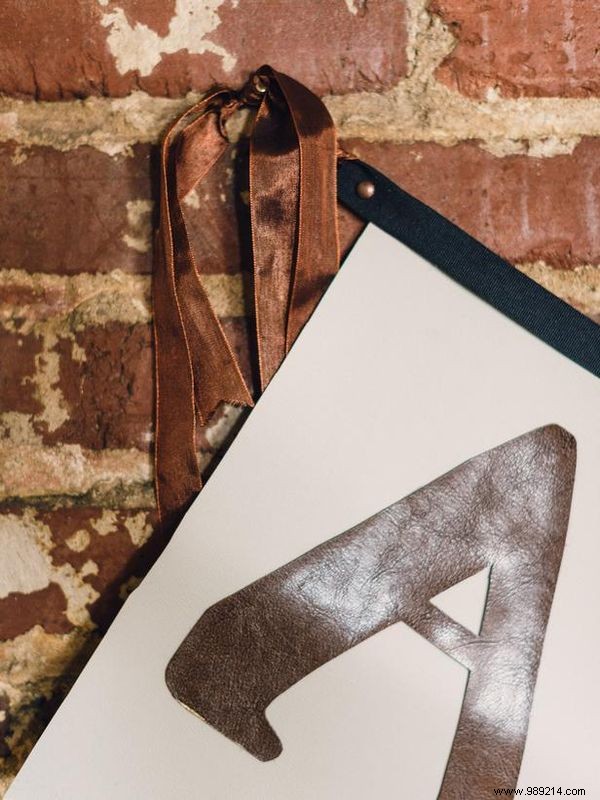
Step 9: Add rivet details
Embrace steampunk's Victorian-industrial vibe by punching holes through the ribbon over each gap using a craft knife.
Brian Patrick Flynn
Step 10: Insert brass fasteners
Push brass fasteners through the front of each hole and clinch them on the back. Finish by tying 18-inch contrasting satin or silk ribbons at each end.
Brian Patrick Flynn, Scripps Networks, LLC
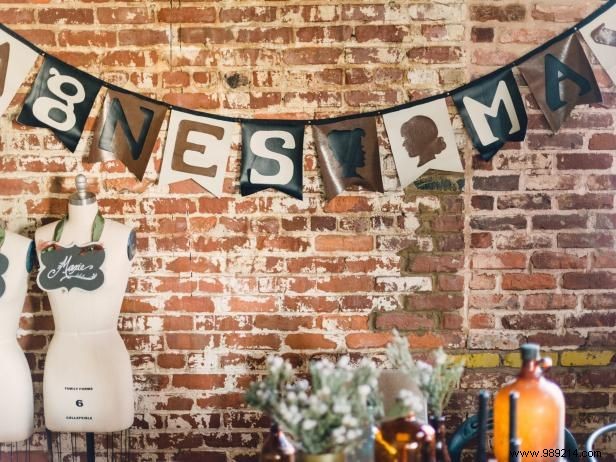
Step 12: Showcase your creation
This eye-catching faux leather steampunk banner becomes the centerpiece of your event decor—enjoy it long after the celebration ends.